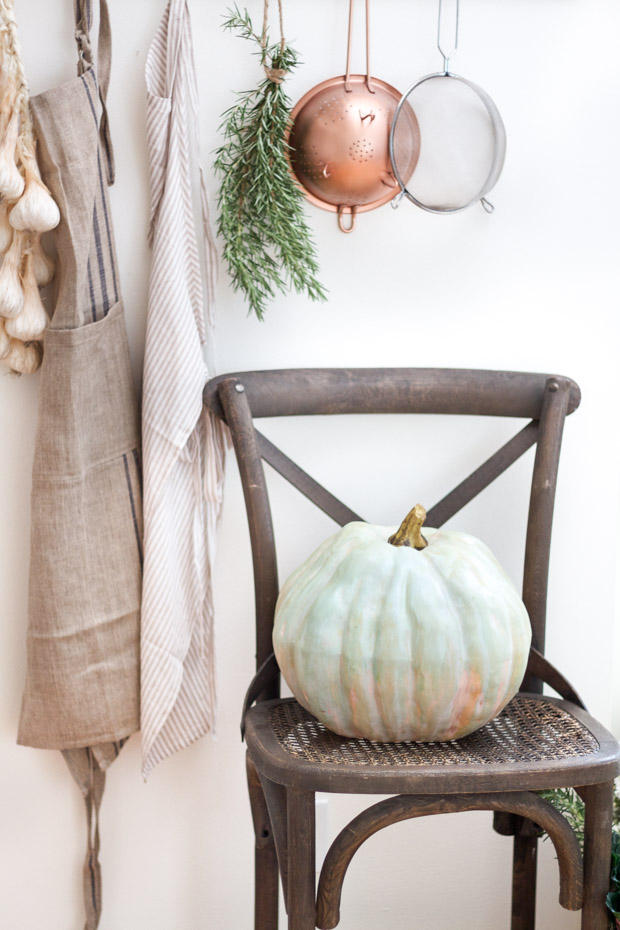
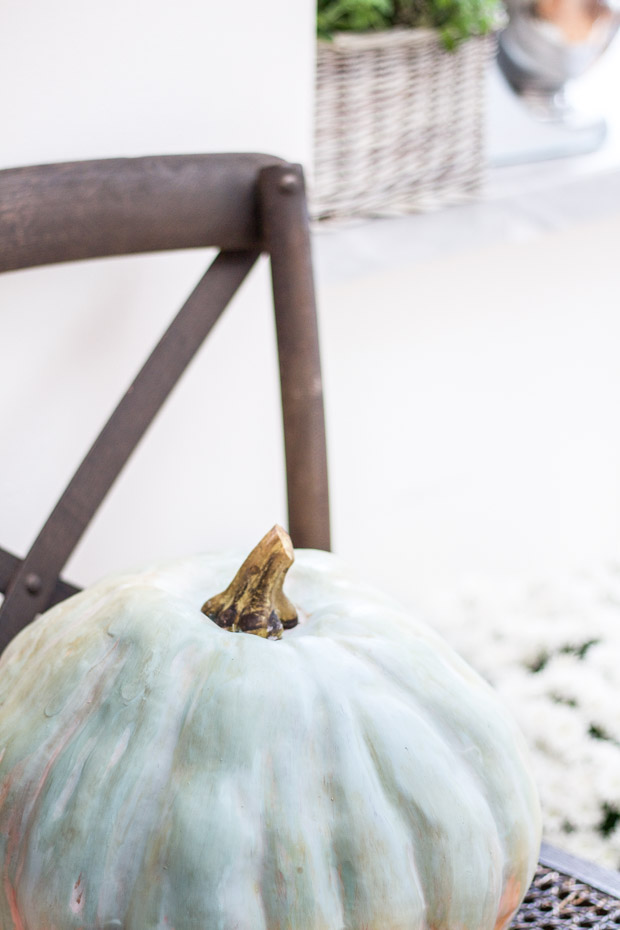
Hello Craftberry Bush friends! It’s Annie here from Zevy Joy today and I am back with an easy update for a faux store bought pumpkin, a DIY Heirloom Pumpkin that is! I don’t know about you, but I just love all the varieties of pumpkins you can find throughout the fall season. Their fancy colors range in a plethora of bright colors or muted jewel tones.
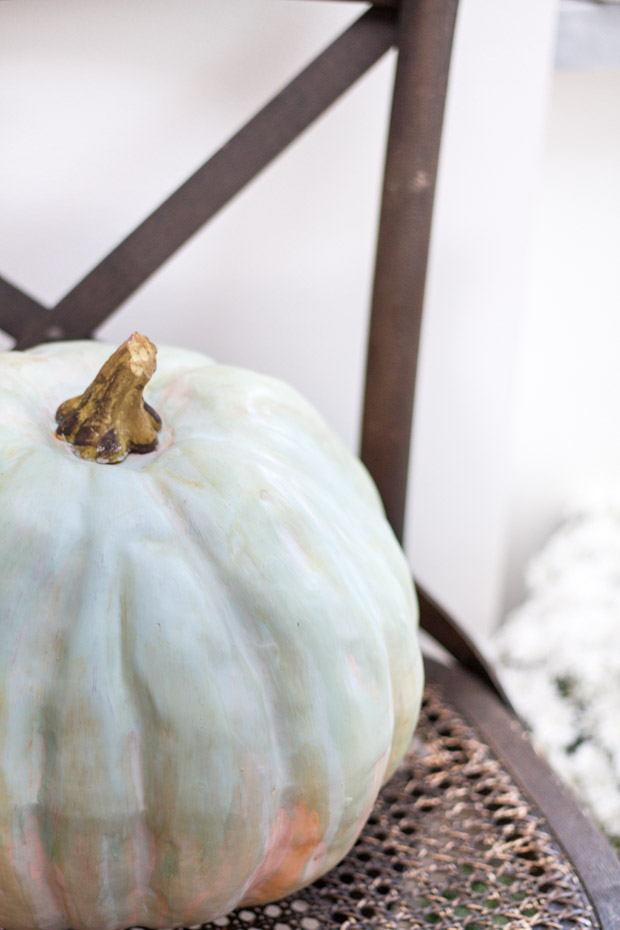
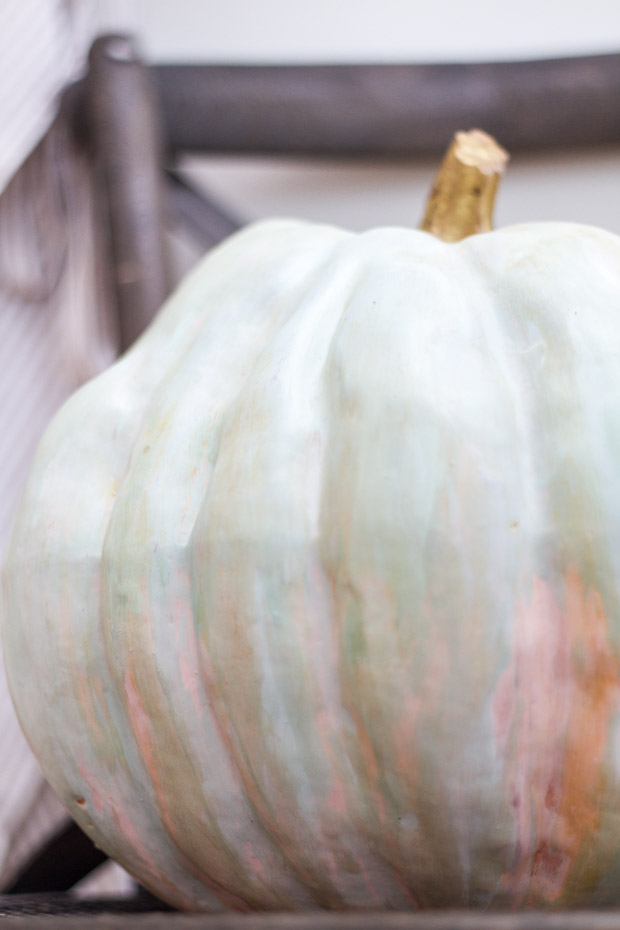
As much as I enjoy the traditional orange ones, the heirloom pumpkins have quickly become my very favorite these last few years. They can be anywhere from a sage green to more of soft blue with hints of pinkish orange.
This project was inspired by a challenge I faced when decorating for fall. It was early in September before real pumpkins were even available in our region. When I shopped the stores they were either faux and too expensive or not quite what I was wanting.
Luckily, I already had some faux pumpkins laying around our garage, they just needed a little updating ;)…So I decided to get crafty (which often brings on the best projects) and make my own heirloom pumpkins!
It was fairly simple and could of course be changed up with any shade of colors. I wanted to stick to the muted jewel tones or the soft blues and citrus pinks.
Here is what you will need to make some of your own!
- Faux Pumpkin of any size and shape.
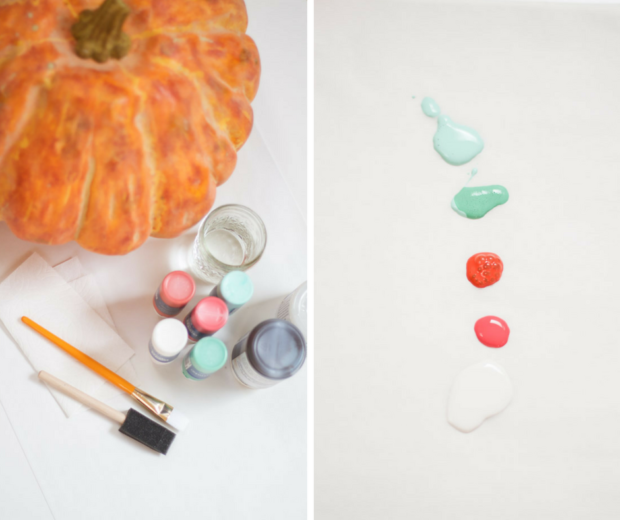
- A variety of Acrylic Paint colors. As seen in the picture to the right, for these specific pumpkins I used a white, coral pink, rich or pumpkin orange, a mint and then an aqua blue. These do not have to be exact just somewhere in the range of these colors.
- Dark Antiquing Wax (I used my chalk painting brand here) and then Chalk Paint Varnish. Each of these were on hand in my supply of paints and worked just great! You could also use one or the other if you choose.
- Sponge Brush or a normal Paintbrush (larger in size).
- Some Lint Free Cloths or Paper Towels for applying the antiquing wax.
- Glass of Water and more Paper Towels.
- Gloves would be a good idea too as this can get messy ;)…
Here is how you will paint these special pumpkins…
- Please note that none of this is an exact science when it comes to mixing or making colors. There is not a formula to follow, but instead just use what looks good to your eye. These pumpkins are not intended to be a perfect match with the real thing.
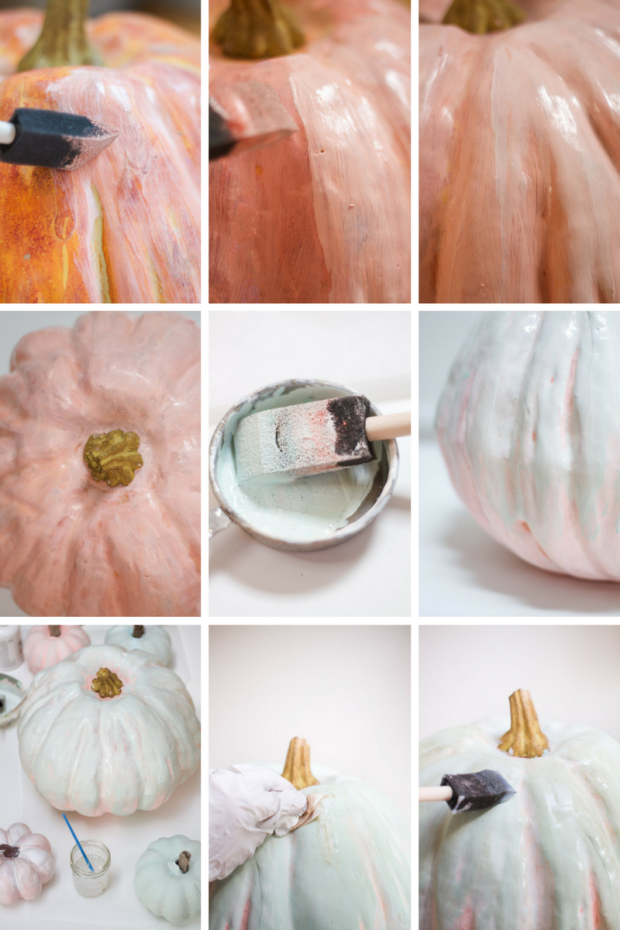
- First, you want to take the orange and mix it up with some white till it is lightened up. Using your sponge brush begin painting the pumpkin all over. Each painted layer should be thin and there is not a need to make the layers thick. It is ok to have colors showing through.
- You will then make another batch of orange paint, this time lighten it up with white a bit more and add a little bit of pink.
- Paint a third layer. This third layer should be the lightest by adding the most white paint. You do want the other layers to show through too.
- Let the layers dry. Now make up a minty blue color by mixing both the mint paint, aqua paint and the white paint as shown above. I did not wash my sponge brush I had used for all the orange layers because I wanted to mix up a very little bit of orange into the blue mix. If gives this color a very dull and muted look.
- Now paint the newly mixed blue onto the top of your pumpkin so that the bottom remains orange. This should be done organically as you would see on a real pumpkin. Have fun with it and let some orange show through here and there.
- Layer on a few coats of blue following the same steps as you did with the orange, lightening it up a bit each time.
- After your pumpkin is fully dry, you can take a soft cloth or paper towel and carefully rub some dark antiquing wax on here and there. Be careful as this wax is dark and goes a long way. Start small at first and get darker as you go.
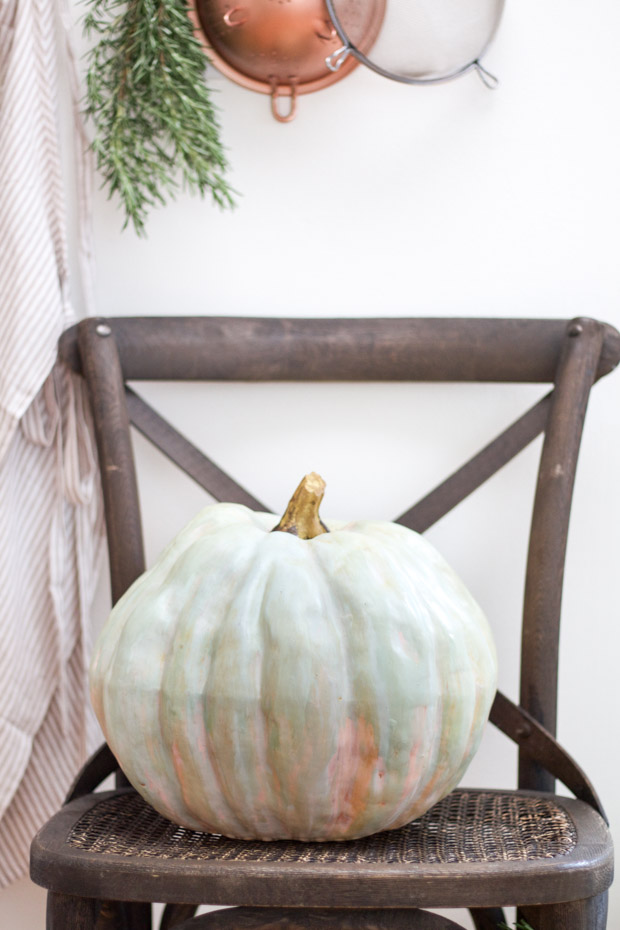
- Lastly, you can varnish the entire pumpkin. I will say, that when I did this step it caused the antiquing wax to yellow a bit more (I am not certain why) so be aware that may happen. I actually liked it as it made the pumpkin imperfect. I felt it made the pumpkin look as if it had actually been grown on a farm and loved on by the sun. The varnish itself gives the pumpkin a nice glossy look like a real pumpkin’s sheen.
There you have it! A colorful pumpkin that will last for years to come. As much as I love the real thing they can only make it so long in our house. Having this faux one allows me to buy a few real and save a bit of money by mixing some faux in too.
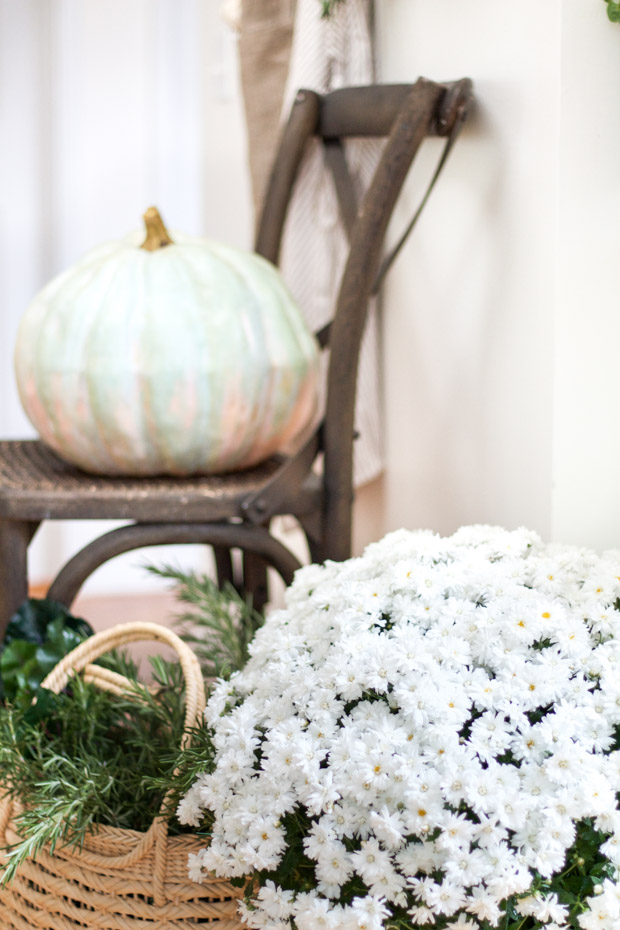
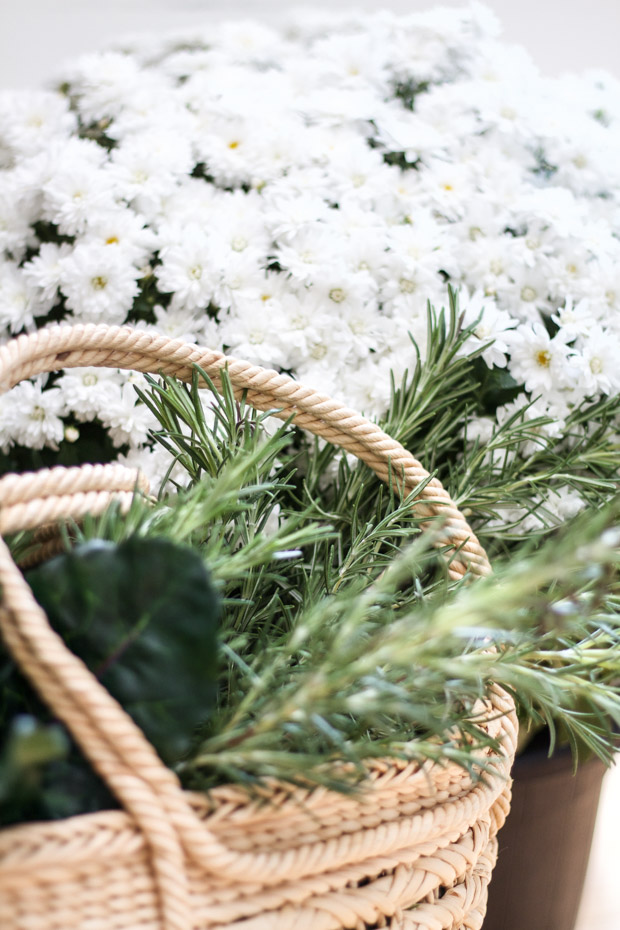
You can never go wrong with pumpkins this time of year as they are the perfect addition to all the pretty fall decor out there right now… Whether it be mums, wheat stalks, pinecones or plaid.
I hope this inspires you to go and paint some pumpkins during this beautiful autumn! Have fun with a simple pumpkin and turn it into something a bit more extrodinary with a little bit of paint. Thank you so much for visiting with me today and Lucy for inviting me. ‘Till next time ~


Really lovely and your directions are detailed!
Thank you so much Martha! I am glad you enjoyed!
So beautiful! Thanks for describing your technique!
Leslie I am glad to hear you think so, thank you very much!