Hello Craftberry Bush friends, it’s Annie from Zevy Joy. As always, I am thrilled to be joining you where today I have a simple fall-friendly tutorial.
I know it’s mid-August and there is still some summer to be enjoyed, but fall is slowly finding its way into our home with more texture, plaids, flannels and such. I was recently browsing the Pottery Barn Catalogs (Teen) and found this blanket. I loved how it looked braided/knotted and thought how easy it would be to replicate with generic fleece.
I am sure many of you are familiar with fleece blankets and that there are probably many ways to make one of these cool weather favorites. Another bonus to using fleece is that it is affordable. They even sell a variety of this fabric now that is anti-pill. Best of all – these types of blankets are no sew and this project only took several materials!
Here is what you will need to make one of your own and how I put it together.
note: this project does take some time. These are the types of projects that I like to spread out over a couple nights with a good movie or two 🙂
- You will need 2-3 yards by 58 inches wide of anti-pill fleece material (I kept the width as is and did not cut any off, but you could make it more narrow. I wanted a nice big blanket that could fit more than one person or even be used for bedding so I made mine 3 yards long as well), fabric scissors, a ruler and a pencil.
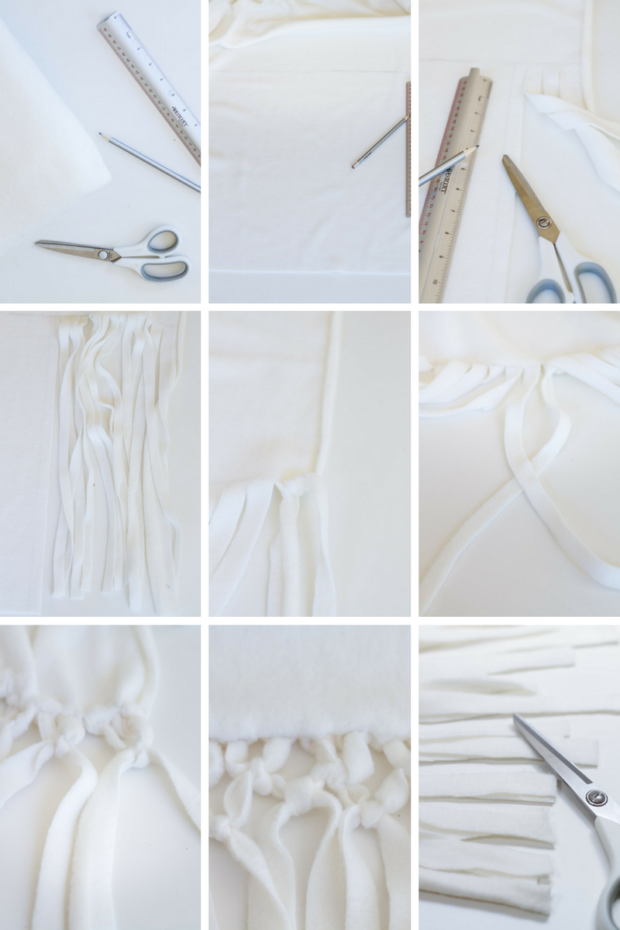
- First you will measure out 18 inches from each long edge of your blanket and draw a horizontal line with your pencil – this will be the guard for when you are cutting the tassels into the material. Please note the pencil will not show and should wash out just fine once you are done.
- Now draw vertical lines every 1/2 – 3/4 inch from each horizontal line all the way to the blanket edge.
- Begin cutting these vertical lines, creating long tassels that you will soon be knotting.
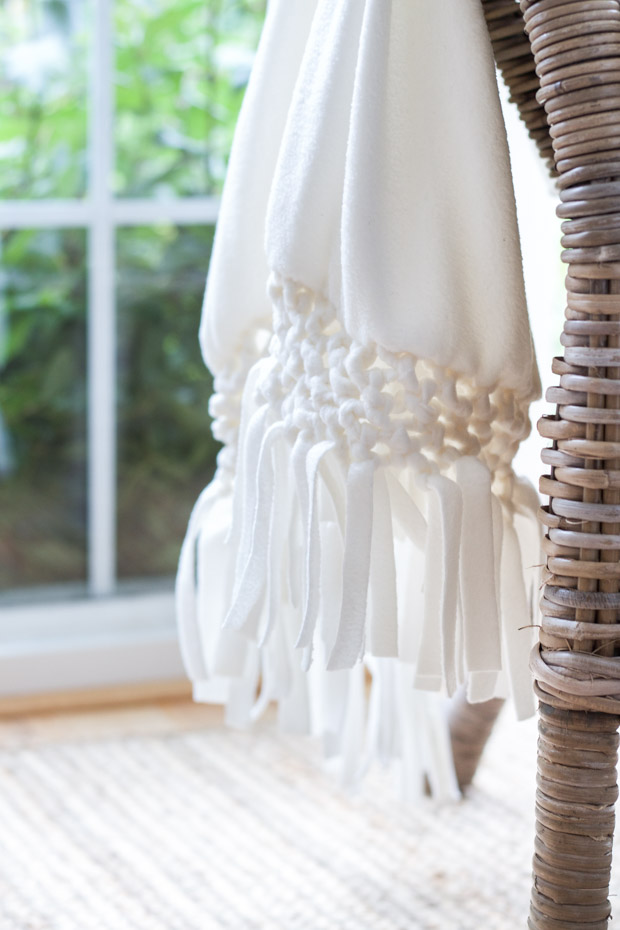
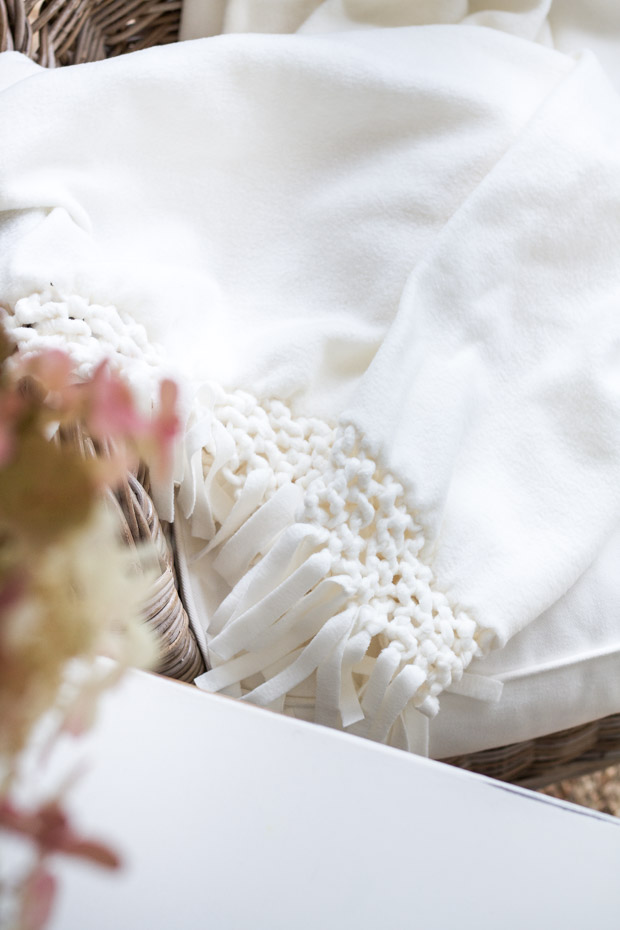
- Once you have cut all the lines across the edge of the blanket you will start knotting. Knot the first two pieces together and then take the previously knotted end closest to the unknotted tassel and knot into each other. Continue going across the entire length. *I found it especially helpful to stay consistent and knot the same direction throughout the entire process. Meaning, to knot left over right every single time. This made the knots look more uniform. Your first row of knots will be the tight to the edge.
- For the second row on, you will be knotting in pairs instead of one into another. For example, as the picture shows, take the two pieces on the right and knot them. Then move over to the next two untied pieces and tie them together. You will do this all the way across again.
- When you have completed your second row and are ready for the third, you will skip the outside tassel as you want to join/knot the two knots in the upper row together (you can tie it in on the next row when it will work better).
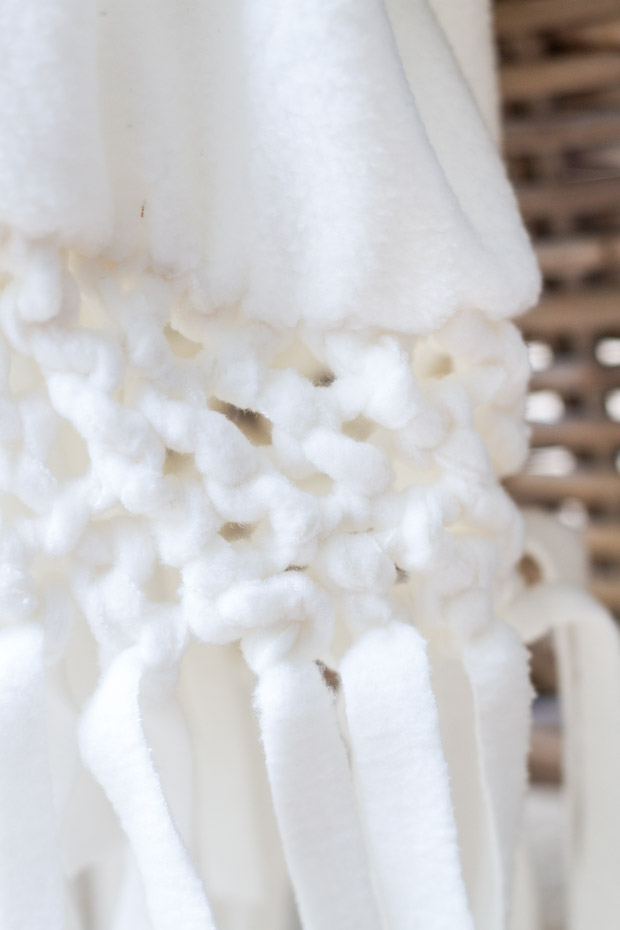
- You will want to follow the steps for rows two and on from here on out. Until you have made around 6 rows (give or take). I gently pulled the knots to loosen it all a bit as I went. At first it will look tight and as you pull it will give a bit.
- Do not worry if you make a misstep here or there as this blanket is forgiving and it will not show. For example, if you have an extra odd tassel, just tie it in when necessary.
- Once you have finished knotting you will trim your all your pieces even. I kept mine around 5 inches. You could leave them longer if desired.
There you have it! This very simple material was easily turned into something handcrafted and textural.
What I really value about projects like this is how you can take something very ordinary like paper, wood or fleece and make something beautiful and unexpected.
It would also be a wonderful gift to make someone as an update for the traditional quilts or afghans that so many family and friends treasure to keep throughout the years.
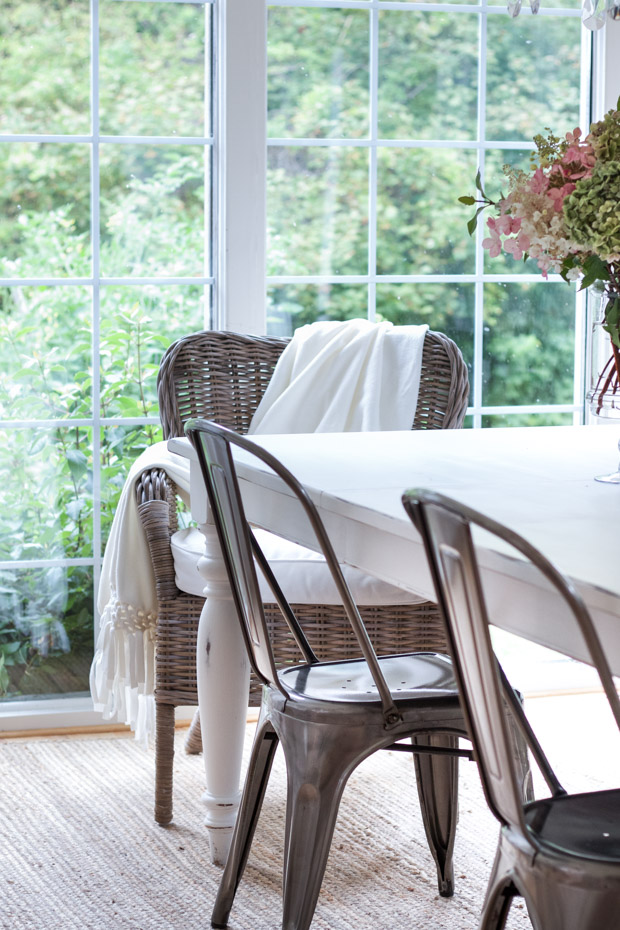
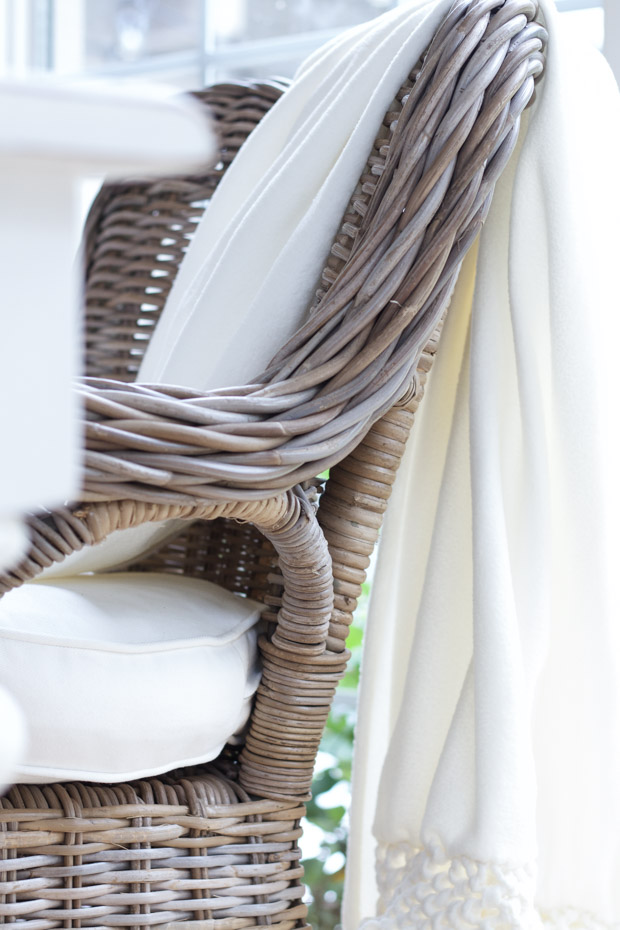
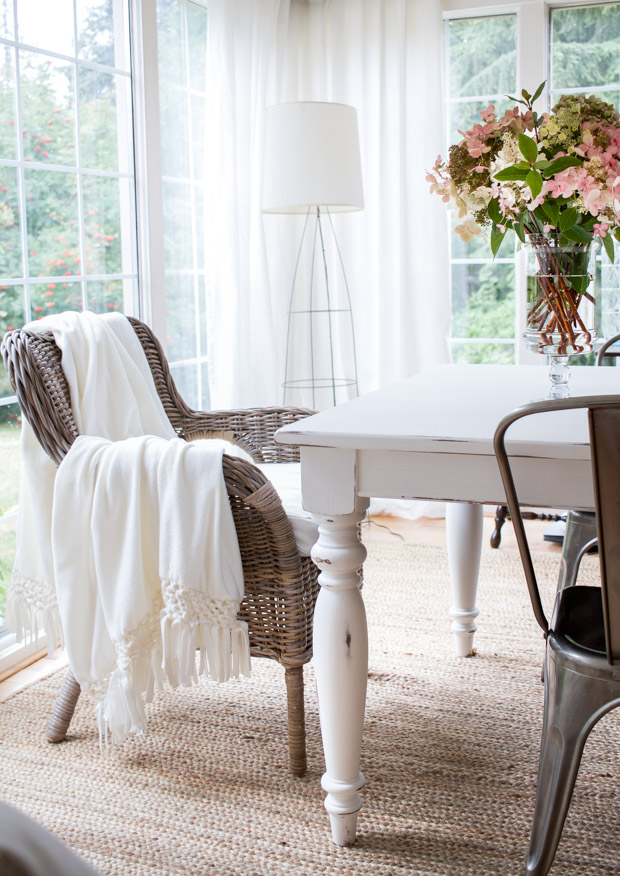
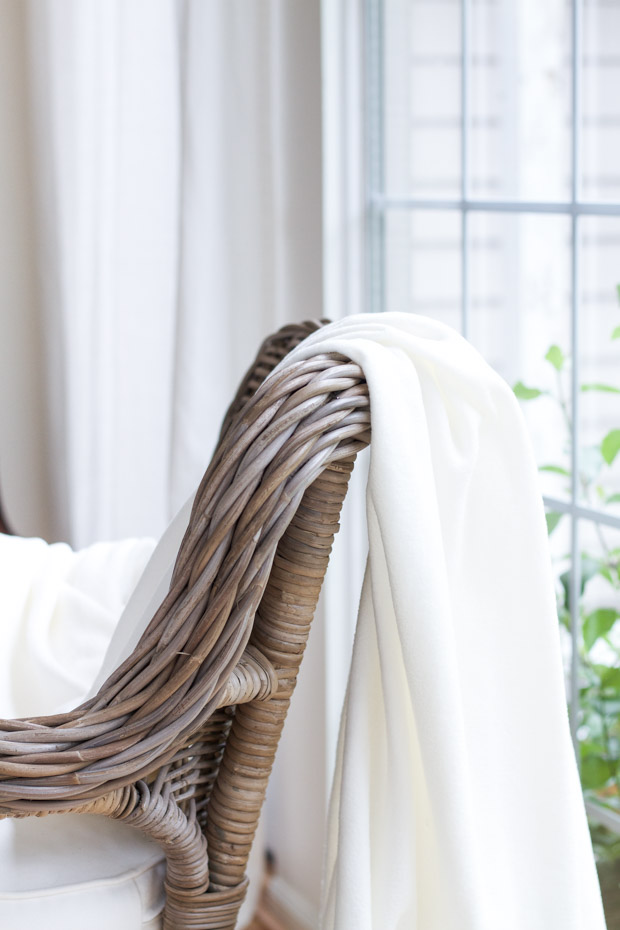
And even though it is not quite blanket weather yet, a cream or white version fits in perfect for this time of year. The softness of fleece and boho chic details make it a welcome addition to any style/season of decor.
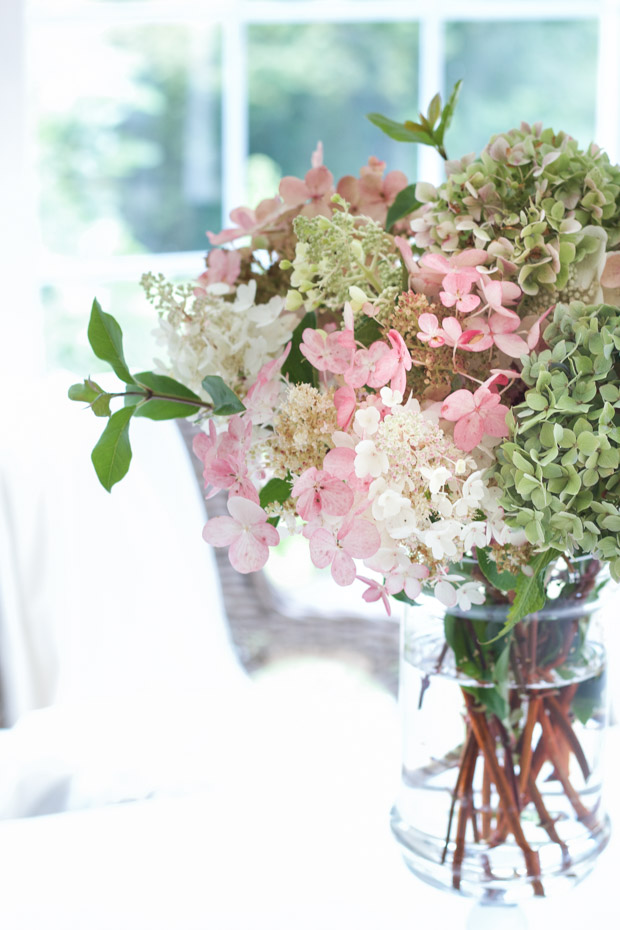
Especially as the flowers begin to mute their colors and fall tiptoes its way back into our days…
I hope this inspires you to have fun creating with the simplest of things and maybe curl up with a new blanket and a good book ;)…
Thank you so much for having me Lucy and have a wonderful week ahead friends!

Thanks for developed this game euchre games such a one of the most famous game in the world.