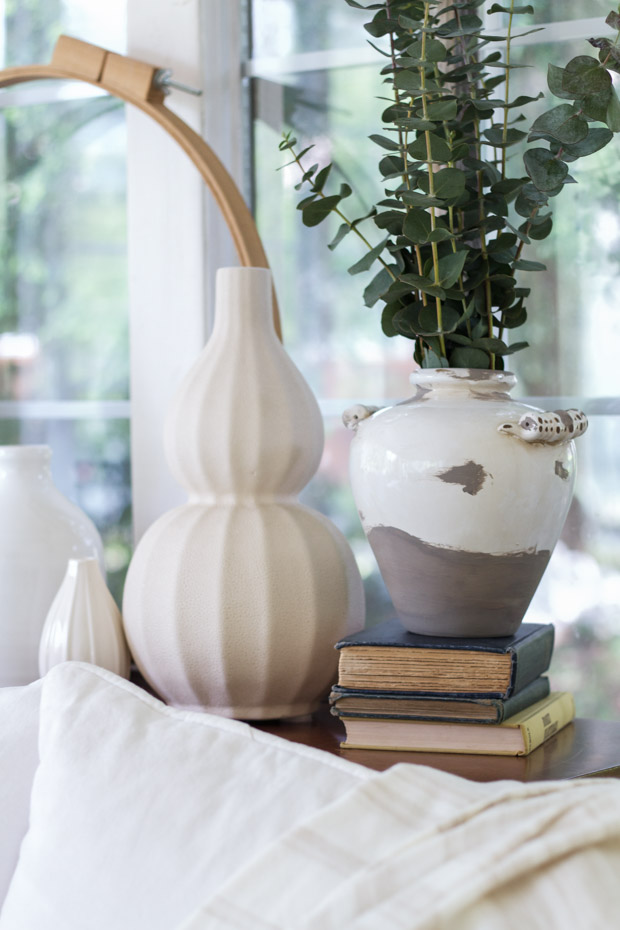
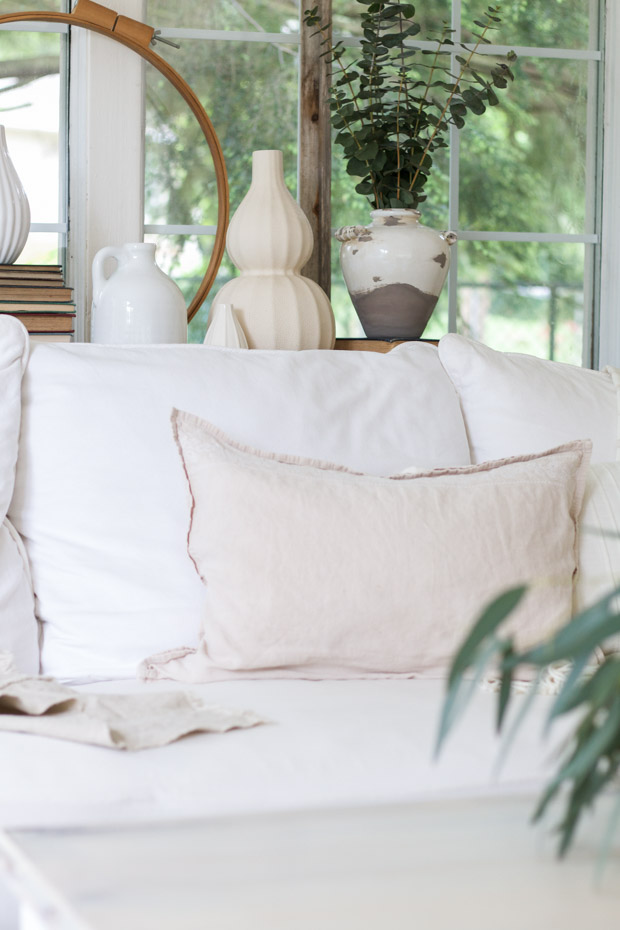
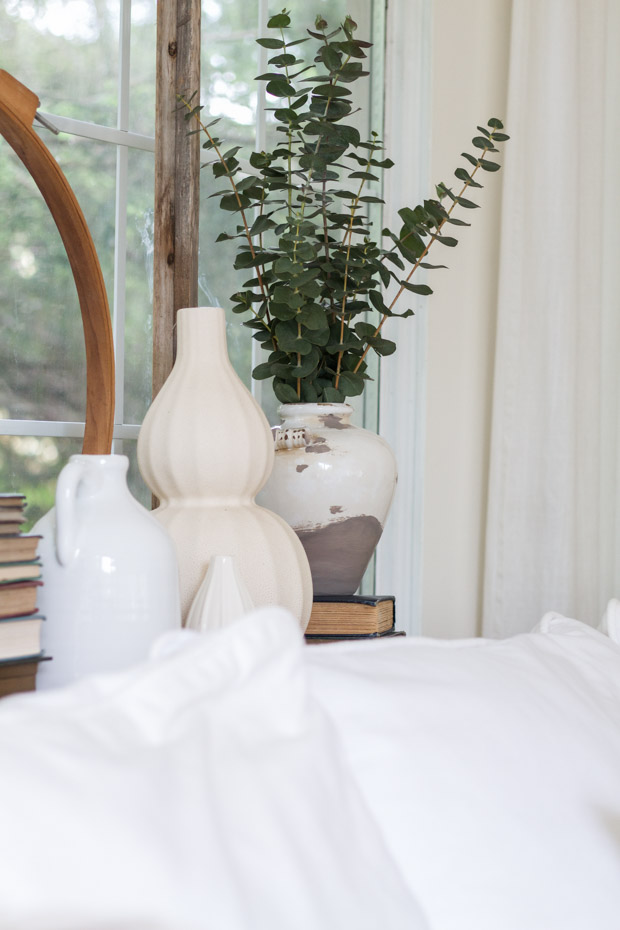
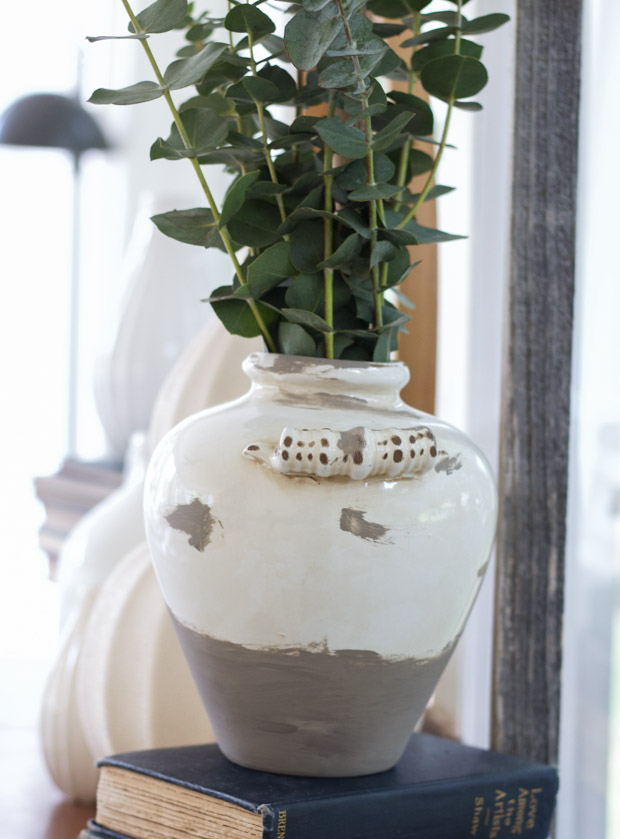
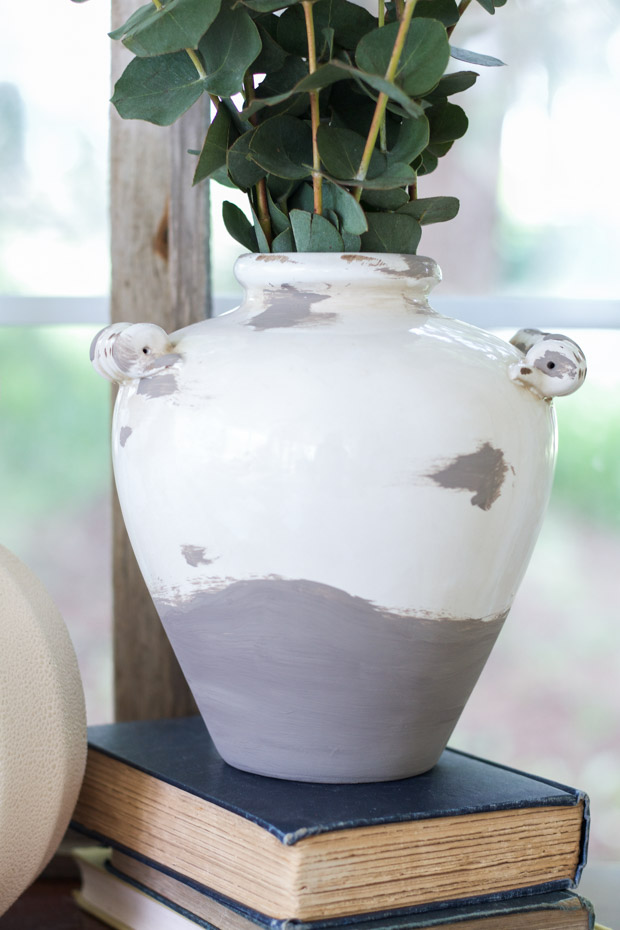
Hello Craftberry Bush friends! It’s Annie from Zevy Joy and I have been looking forward to sharing with you here again today! I have a quick and easy DIY that adds aged character to a thrifted or new porcelain/ceramic vase.
You may have noticed that many of my projects are influenced by some of the beautiful things you can purchase at the larger decor stores out there. Today’s project is no exception as it was inspired by Pottery Barn. I remember seeing these aged vases a while back and knew they would be a perfect fit in our home.
As the story goes, I wanted the vase very much but have never been able to justify the purchase…until today!
You may also have noticed that my DIY stories often include thrift stores as this has become one of the BEST ways I have found to furnish and decorate our home.
While on my weekly visit to our local thrift store, I happened upon these two cream pottery vases. Without a second thought I knew what I could make with them and I was thrilled!
If you have been antiquing or thrift shopping, you may be familiar with that feeling of excitement that happens when you stumble upon a treasure. Unlike retail store purchases, thrift store purchases are unique because most of the time you will not find the same item at another store.
I quickly put both vases in my cart and headed to pay. I left the store spending less than ten dollars – what a steal!
(Even though you may not be able to find these exact vases, I see this type of item regularly while second hand shopping or even at some of the discounted decor stores. It can be a vase or a pot, any shape or size and the options really are limitless).
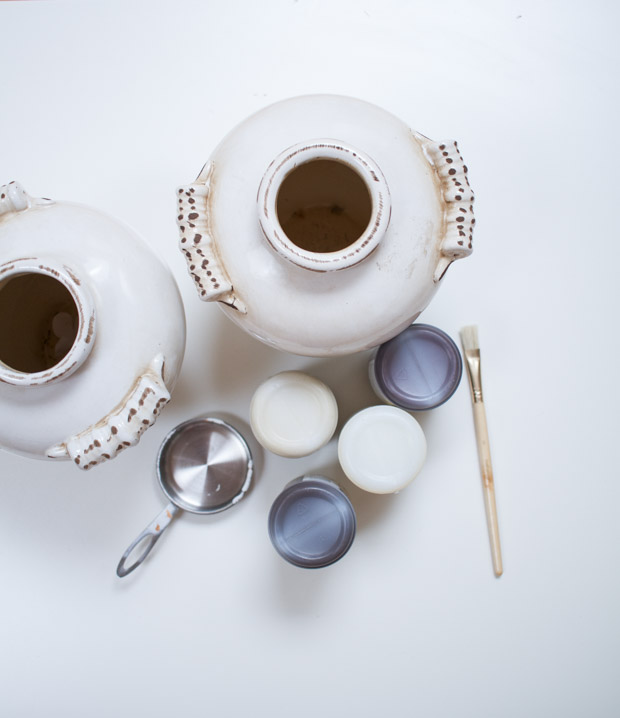
Here is what you will need to make your own…
- A ceramic or porcelain vase/pot. I did find after some trial and error that white or cream vases/pots worked the best.
- Chalk paint (I used Oatmeal and blended it with Java from Folk Art). By blending the two colors I was able to get that aged color tone I was hoping for.
- Paintbrush(s)
Here is how you can age your pot or vase too!
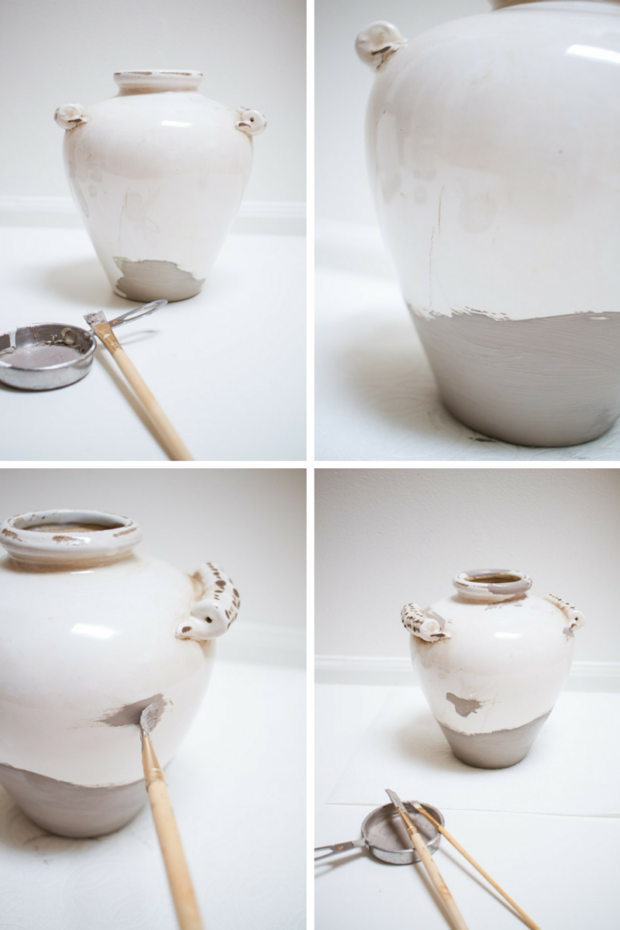
- Mix your colors (if you need to fine tune the shade) or prepare your brownish/gray paint.
- Begin painting the base of the piece from the bottom up. You can also turn it upside down to make this step easy for drying.
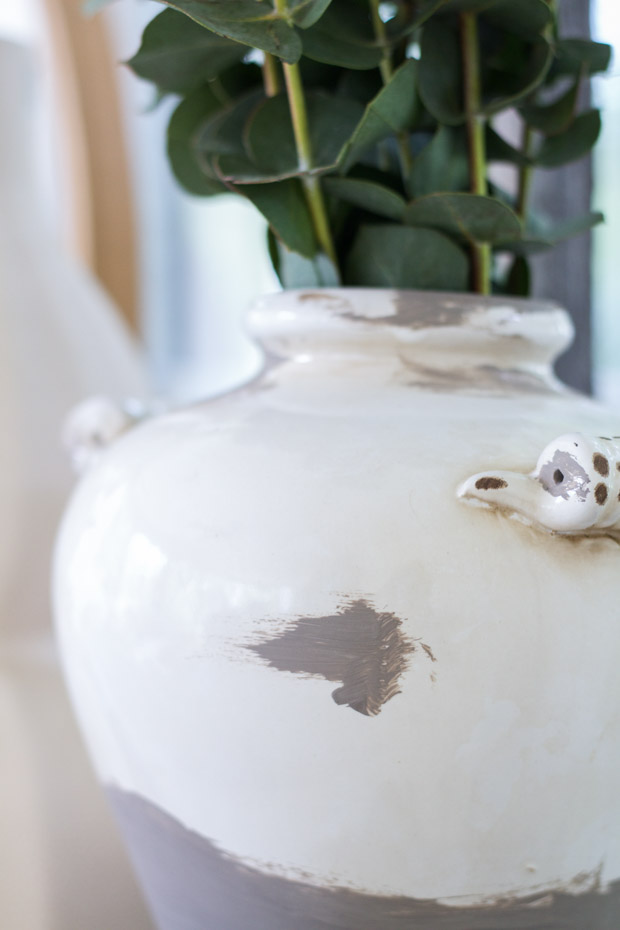
- Continue to go all around the base and move upward. Keep your brushstrokes going horizontal and as fluid as possible. Do not worry about the edges being perfect. In fact, they shouldn’t be! You want this to look worn and weathered, so streaks and uneven brushstrokes towards the edges is a good thing.
- Now add random smaller brushstrokes throughout the entire piece. The rim, the center, etc… Applying harder pressure horizontally and easing up as you run the brush (as pictured above) as this provides the illusion of scratches and age.
- Don’t forget to work on the entire vase/pot. Treat those distressed paint marks as if the ceramic/paint is chipping. Put the distressing in places that make sense. Similar to how you would refinish furniture, places that stick out or are handled on a regular basis (like handles) should appear weathered and worn.
- Please note – this piece is not sealed so it should not get wet. I tried out some wax at the end for a sealer and it didn’t look as dry or aged. If using real flowers, just be careful when you are adding and removing the water.
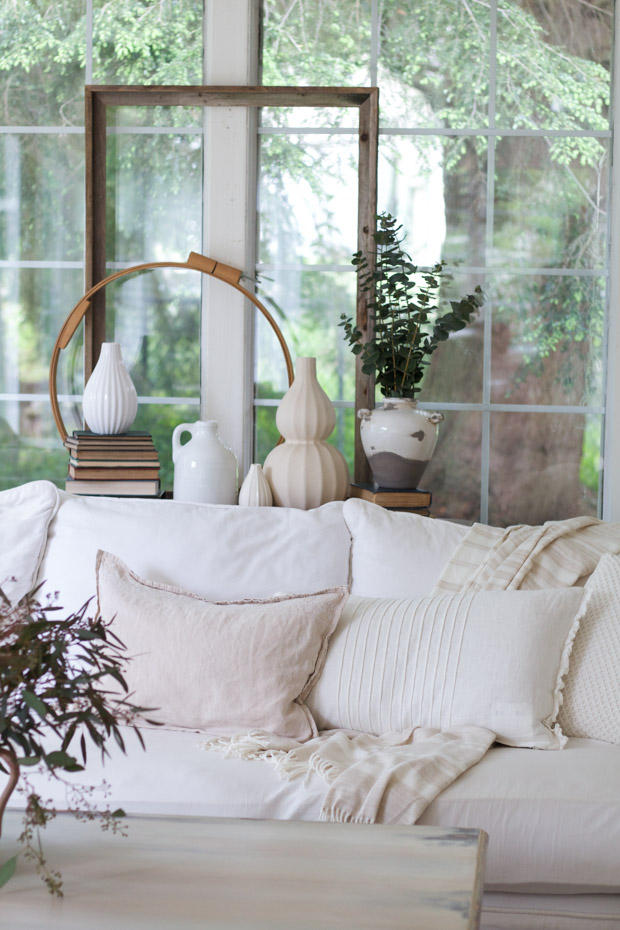
And that’s it!!! I loved how quickly this project came together.
If you follow me over at Zevy Joy you may remember hearing me say that home decor projects often help remind me of important life lessons. This aged little vase was no different…
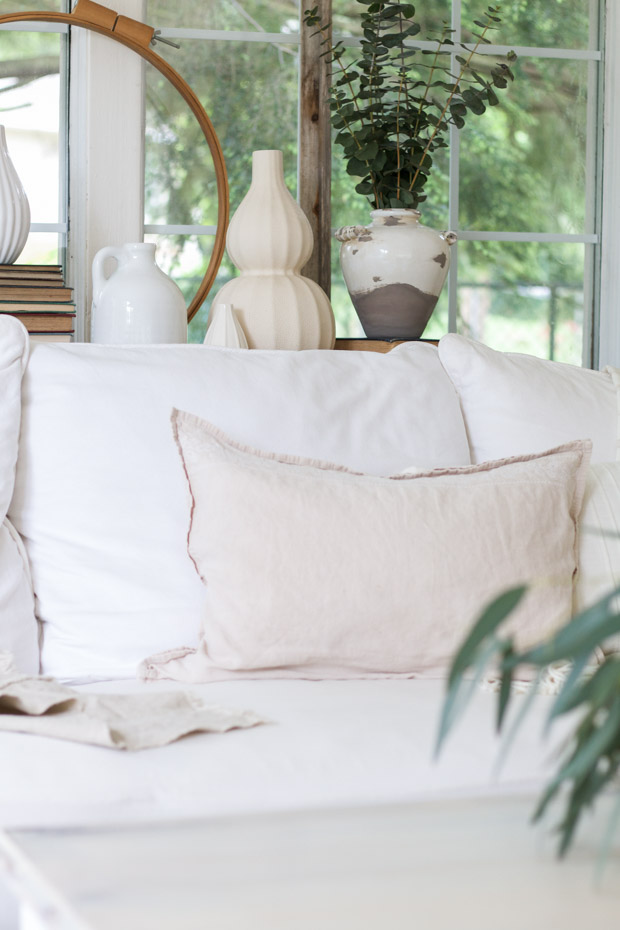
I tend to have a personality that struggles with perfectionism and I can even be hard on myself at times that something I create or do isn’t good enough. I really enjoyed the reminder I had while sitting through this DIY… I was encouraged to know that it is okay to let imperfection shine and in this case it was necessary. The exercise of letting go artistically and having fun while creating something pretty was rewarding. In the end, we had something special for our home that cost a fraction of an inspired original.
I hope this project encourages you today one way or another; whether it is to go enjoy crafting and appreciate your talents, or to simply know that your best is good enough. It is always my pleasure and an honor to share with you. Thank you Lucy for the invitation!

Wow, this turned out so great! I love the technique and will definitely be trying this out! Thanks for sharing!
Tania
Love this idea and will be looking for some white vases now. I might try this with different colors as well. I’ve been trying to lighten up my decor from the deeper rich colors I’ve used for a couple of decades! It’s easier to do this with just two of us living here now.
Podlix Fume Mini Flavors is a cutting-edge line of electronic vaporizers designed for users seeking a sleek and user-friendly vaping experience. Crafted with precision and style, these devices offer a perfect blend of form and function. With a focus on simplicity, Podlix Fume Mini Flavors feature easy-to-use controls, ensuring both novices and seasoned vapers can enjoy a hassle-free experience.