Hello Craftberry Bush readers! It’s Alicia from A Burst of Beautiful and I am so happy to be back again today sharing another project with you.
Winter is slowly starting to fade away and we are beginning to embrace a few hopeful signs that spring is on its way. There is just something about welcoming back longer days, listening to birds happily chirp outside of your window and feeling the temperature slowly creep up that makes you feel a little more joyful.
As soon as I notice this shift outdoors, I begin to mimic it in our home as well as I start to layer in a few key pieces that remind me of spring. I’m drawn to anything organic and natural, like fresh flowers and greenery, and I love adding in a few cheery pops of color (pillows are my favorite way to do this!). It is a simple pick-me-up to get our family through the last lingering cold weeks of winter.
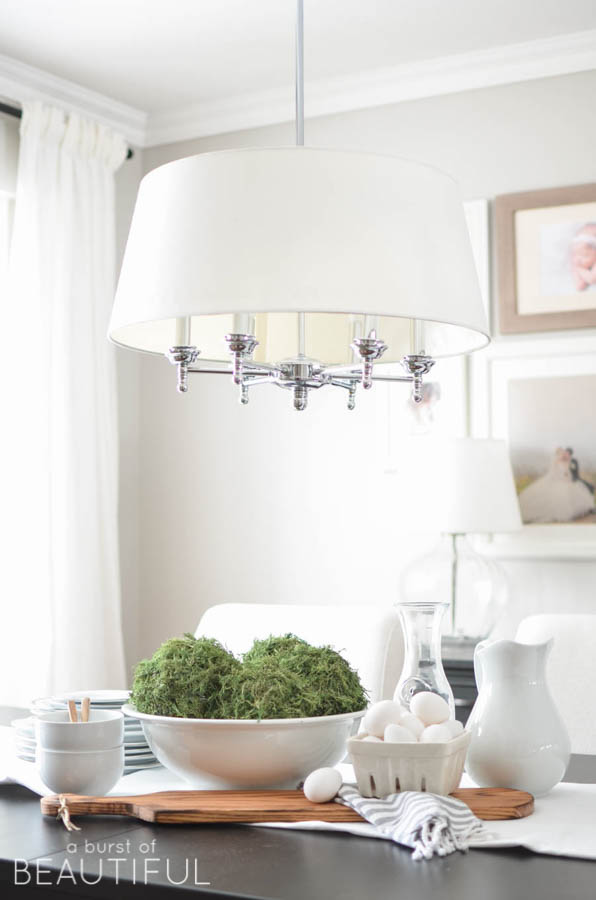
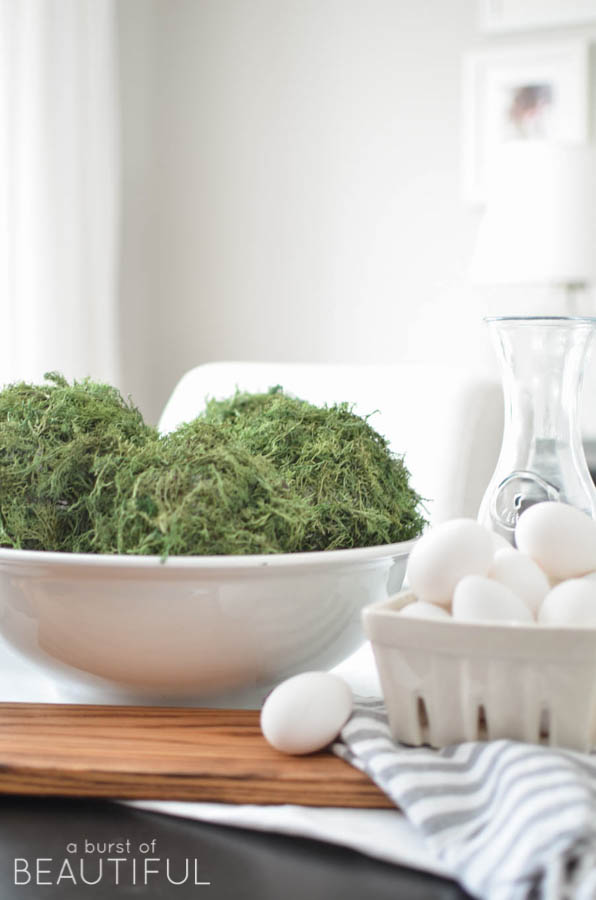
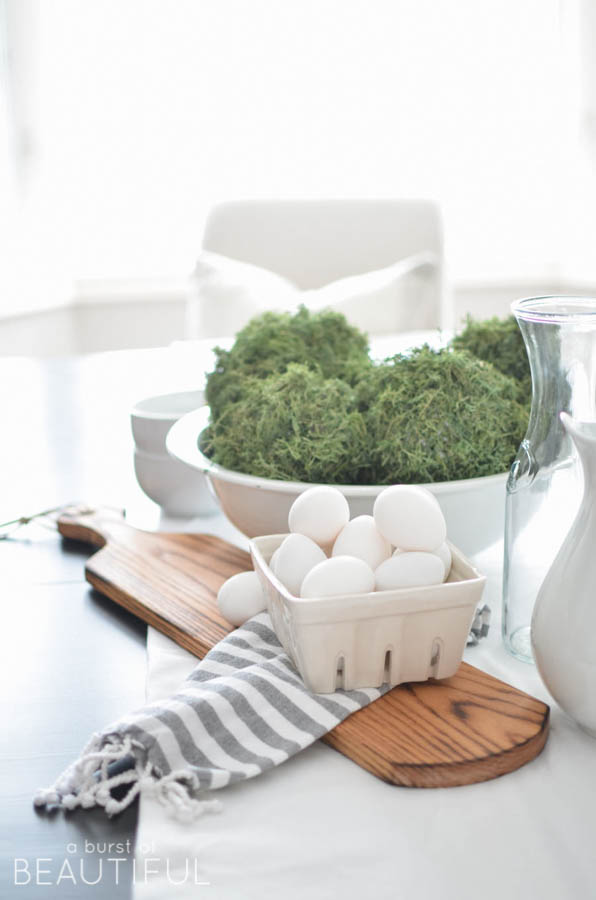
I recently found this beautiful Ironstone bowl at my parents home and it now proudly sits on our dining room table. For a few weeks, it sat empty while I debated what to fill it with.
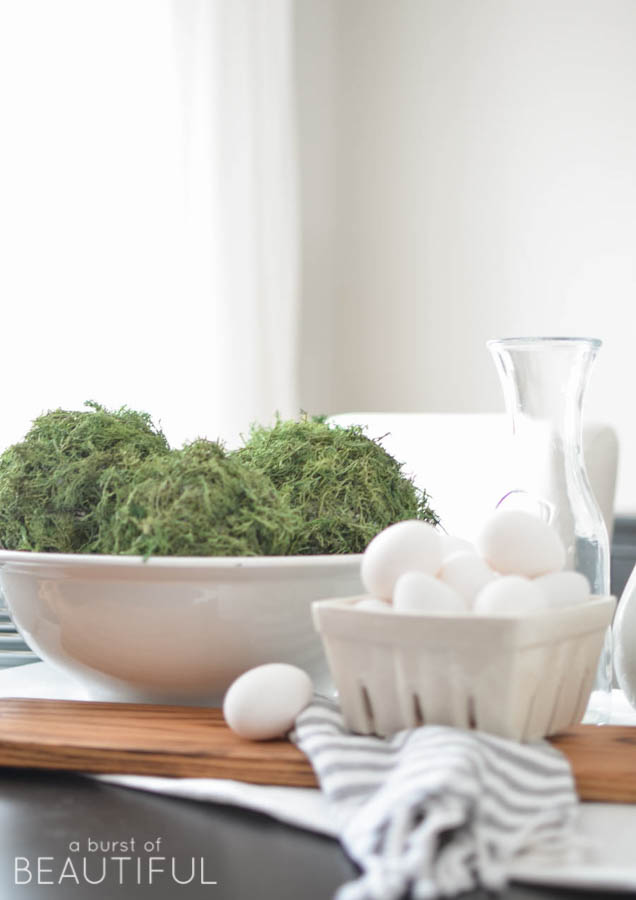
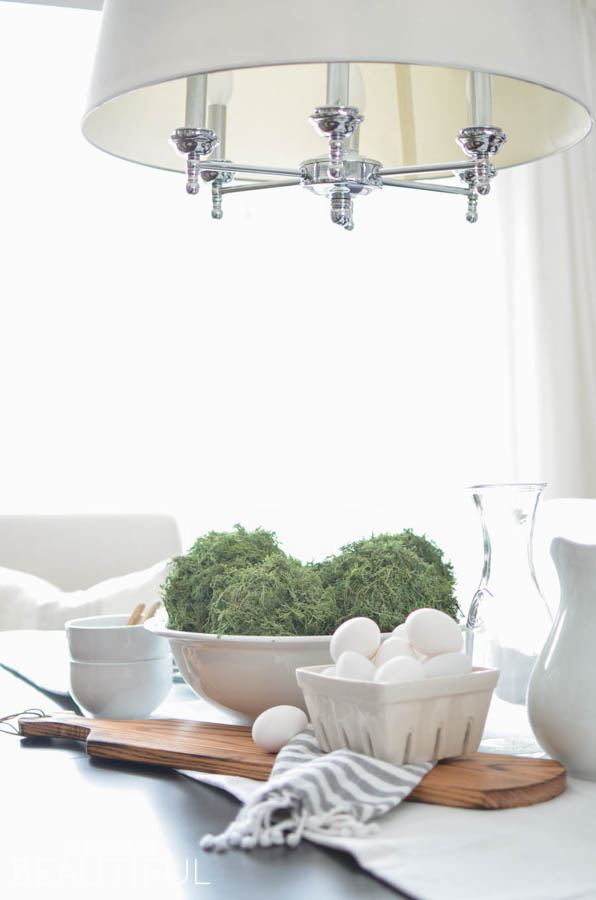
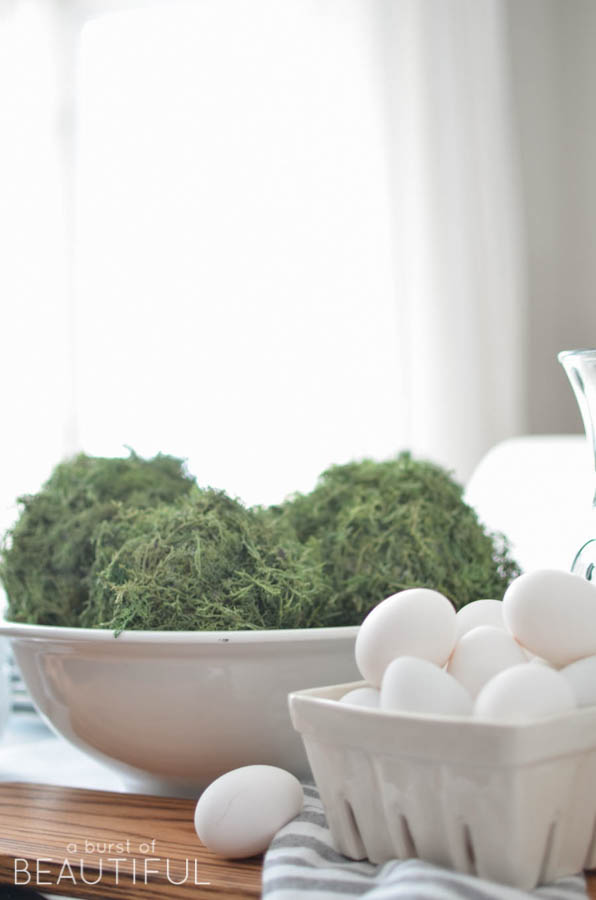
As it’s quite large, I needed to find something that would make a bit of an impact and not be overwhelmed by the size of it. I also wanted something that would feel fresh and interesting and that’s when I decided to make these beautifully organic moss balls. I knew they would make the perfect filler.
It was a simple and inexpensive DIY project and I just love the beautiful texture they add to our space, not to mention the vibrant pop of green. It makes our dining room feel fresh and happy.
DIY Moss Balls
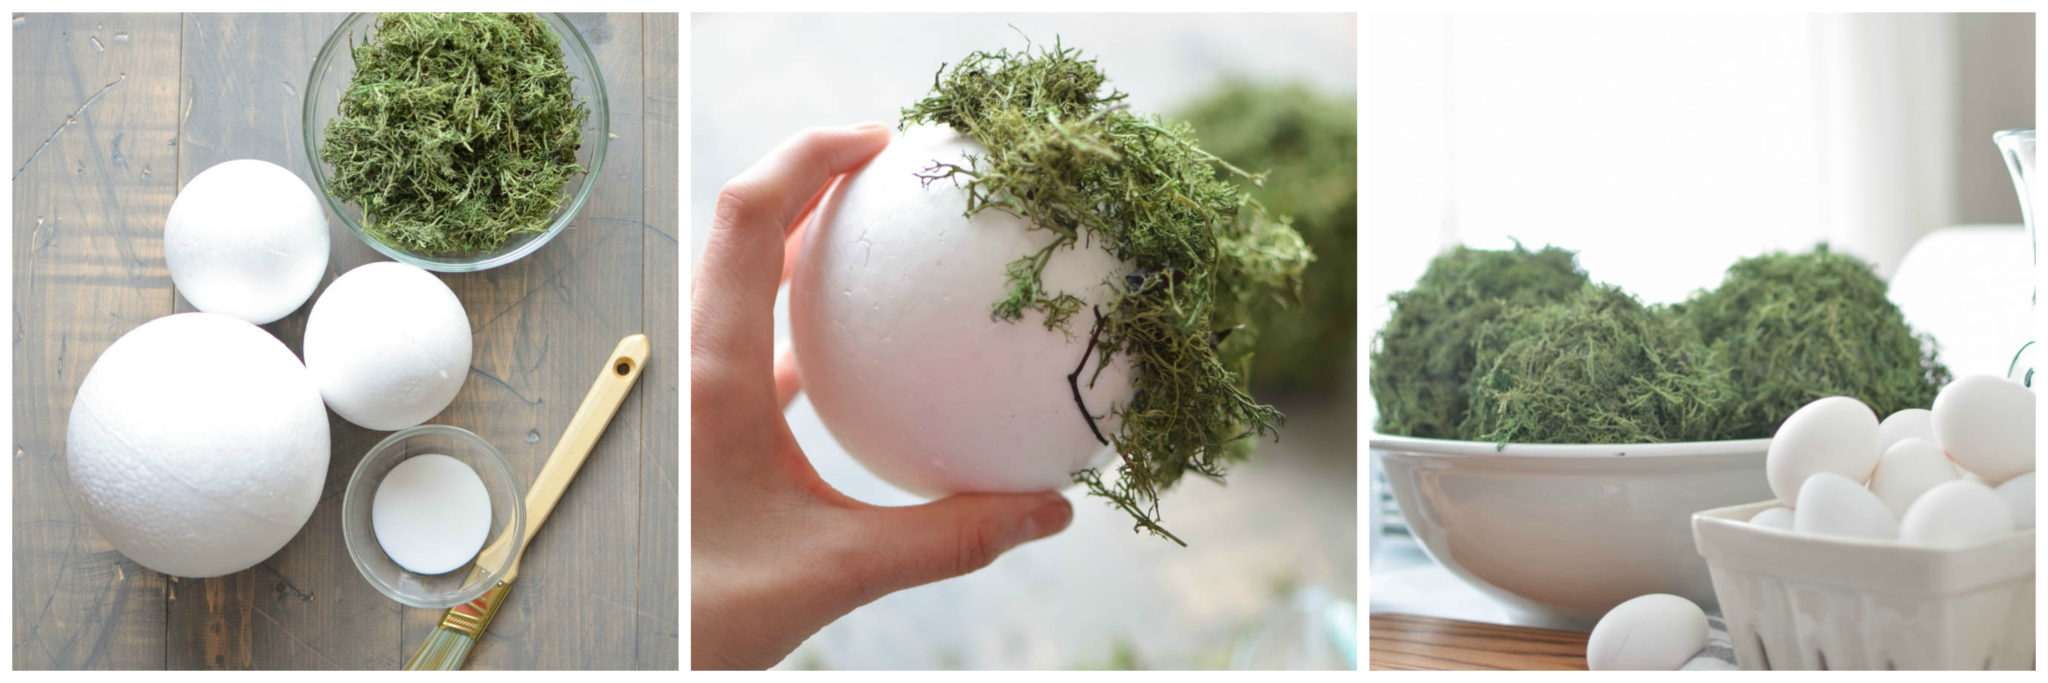
Supplies
- Styrofoam balls (variety of sizes)
- Moss
- Foam adhesive
- Small paint brush
Instructions
- Begin by painting 1/3 of the styrofoam ball with foam adhesive.
- Press a handful of moss onto the ball and pat into place.
- Continue with Steps 1 and 2 until the entire ball is covered with moss.
- Pat the moss onto the ball to ensure it is sticking to the adhesive and forming a nice shape (almost like you are patting together a snowball).
- Set aside to dry.
You may want to paint the styrofoam balls brown or green before adding the moss as this will help fill in any sections where the moss doesn’t fully cover the Styrofoam.
Don’t you just love how simple this project is? It only took me about 30 minutes to make 5 of these beautifully natural-looking moss balls and they’re not just for spring either…they will look beautiful all year round and compliment any of your seasonal decor.
Lucy, thank you once for having me. I wish you all a happy week!
Alicia xo



Will the adhesive kill the moss?
Love the idea Thanks for sharing
http://soldenochedecocrochet.blogspot.com.ar/
This is absolutely adorable! Definitely making this for spring decorations!
http://kierstenchalhoub.blogspot.com
Great idea!! Thank you for the how too’s
I love moss balls 🙂 I plan on making more for Spring….The “mossier/spriggier the better I say~ These are pretty 🙂
I love the look of these. Did you use live moss or the dried/craft moss? We have an abundant supply of it growing around here. Thanks.
Lucy and Alicia, beautiful work. I made those same moss balls several months ago and I still love how they look ~ just a pop of green can brighten any space. And they were so easy ~ as long as you don’t get moss stuck to your fingers!