Hello again friends. I’m privileged to share another fun project challenge with my Michaels Makers friends; I hope you’ll love the variety of projects we’re bringing you.
We all have stressors during the holidays and this month, the Michaels Makers were asked to come up with creative and fun holiday hacks and tips to help relieve some of that stress and make holiday entertaining and prepping fun! Some of us will share DIY gifts, some last minute ideas and some, including myself, will be sharing easy ways to update your old ornaments.
I’ve broken them down into super easy, easy and medium. So without further adieu…
SUPER EASY: Pompom ornament
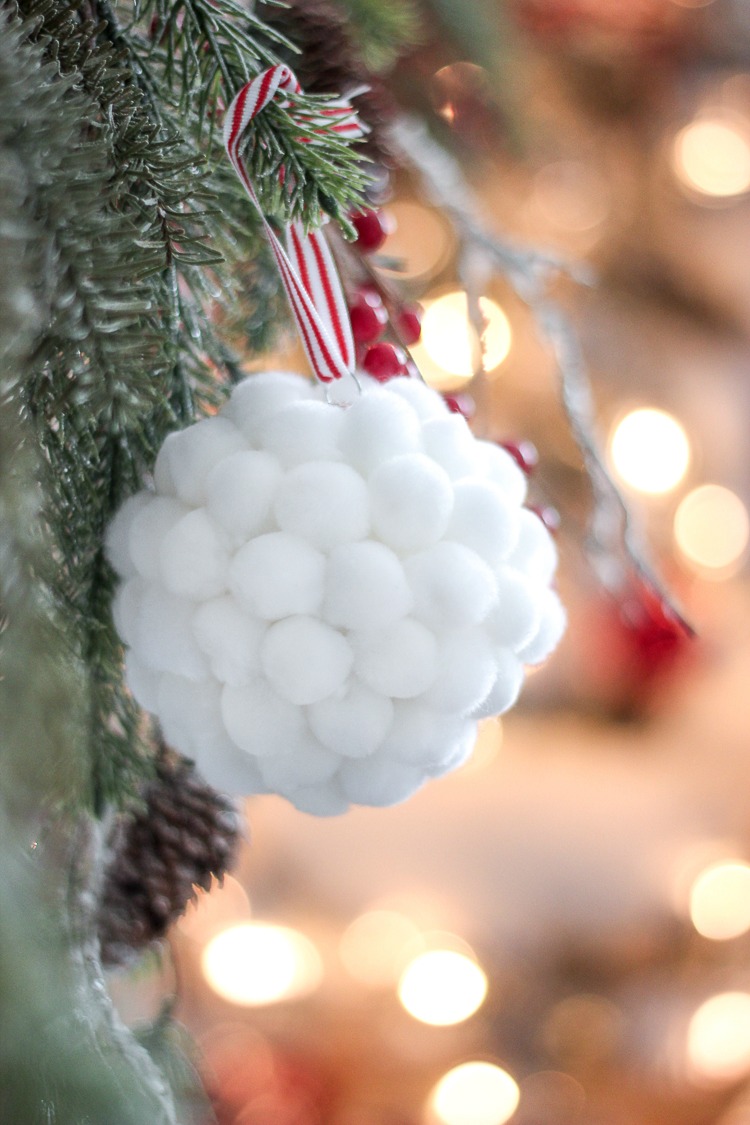
This one is not only super easy, but I think it looks adorable. It reminds me of little marshmallows all placed together.
You will need:
Small white pompoms
Hot glue
Ribbon
Old ornament
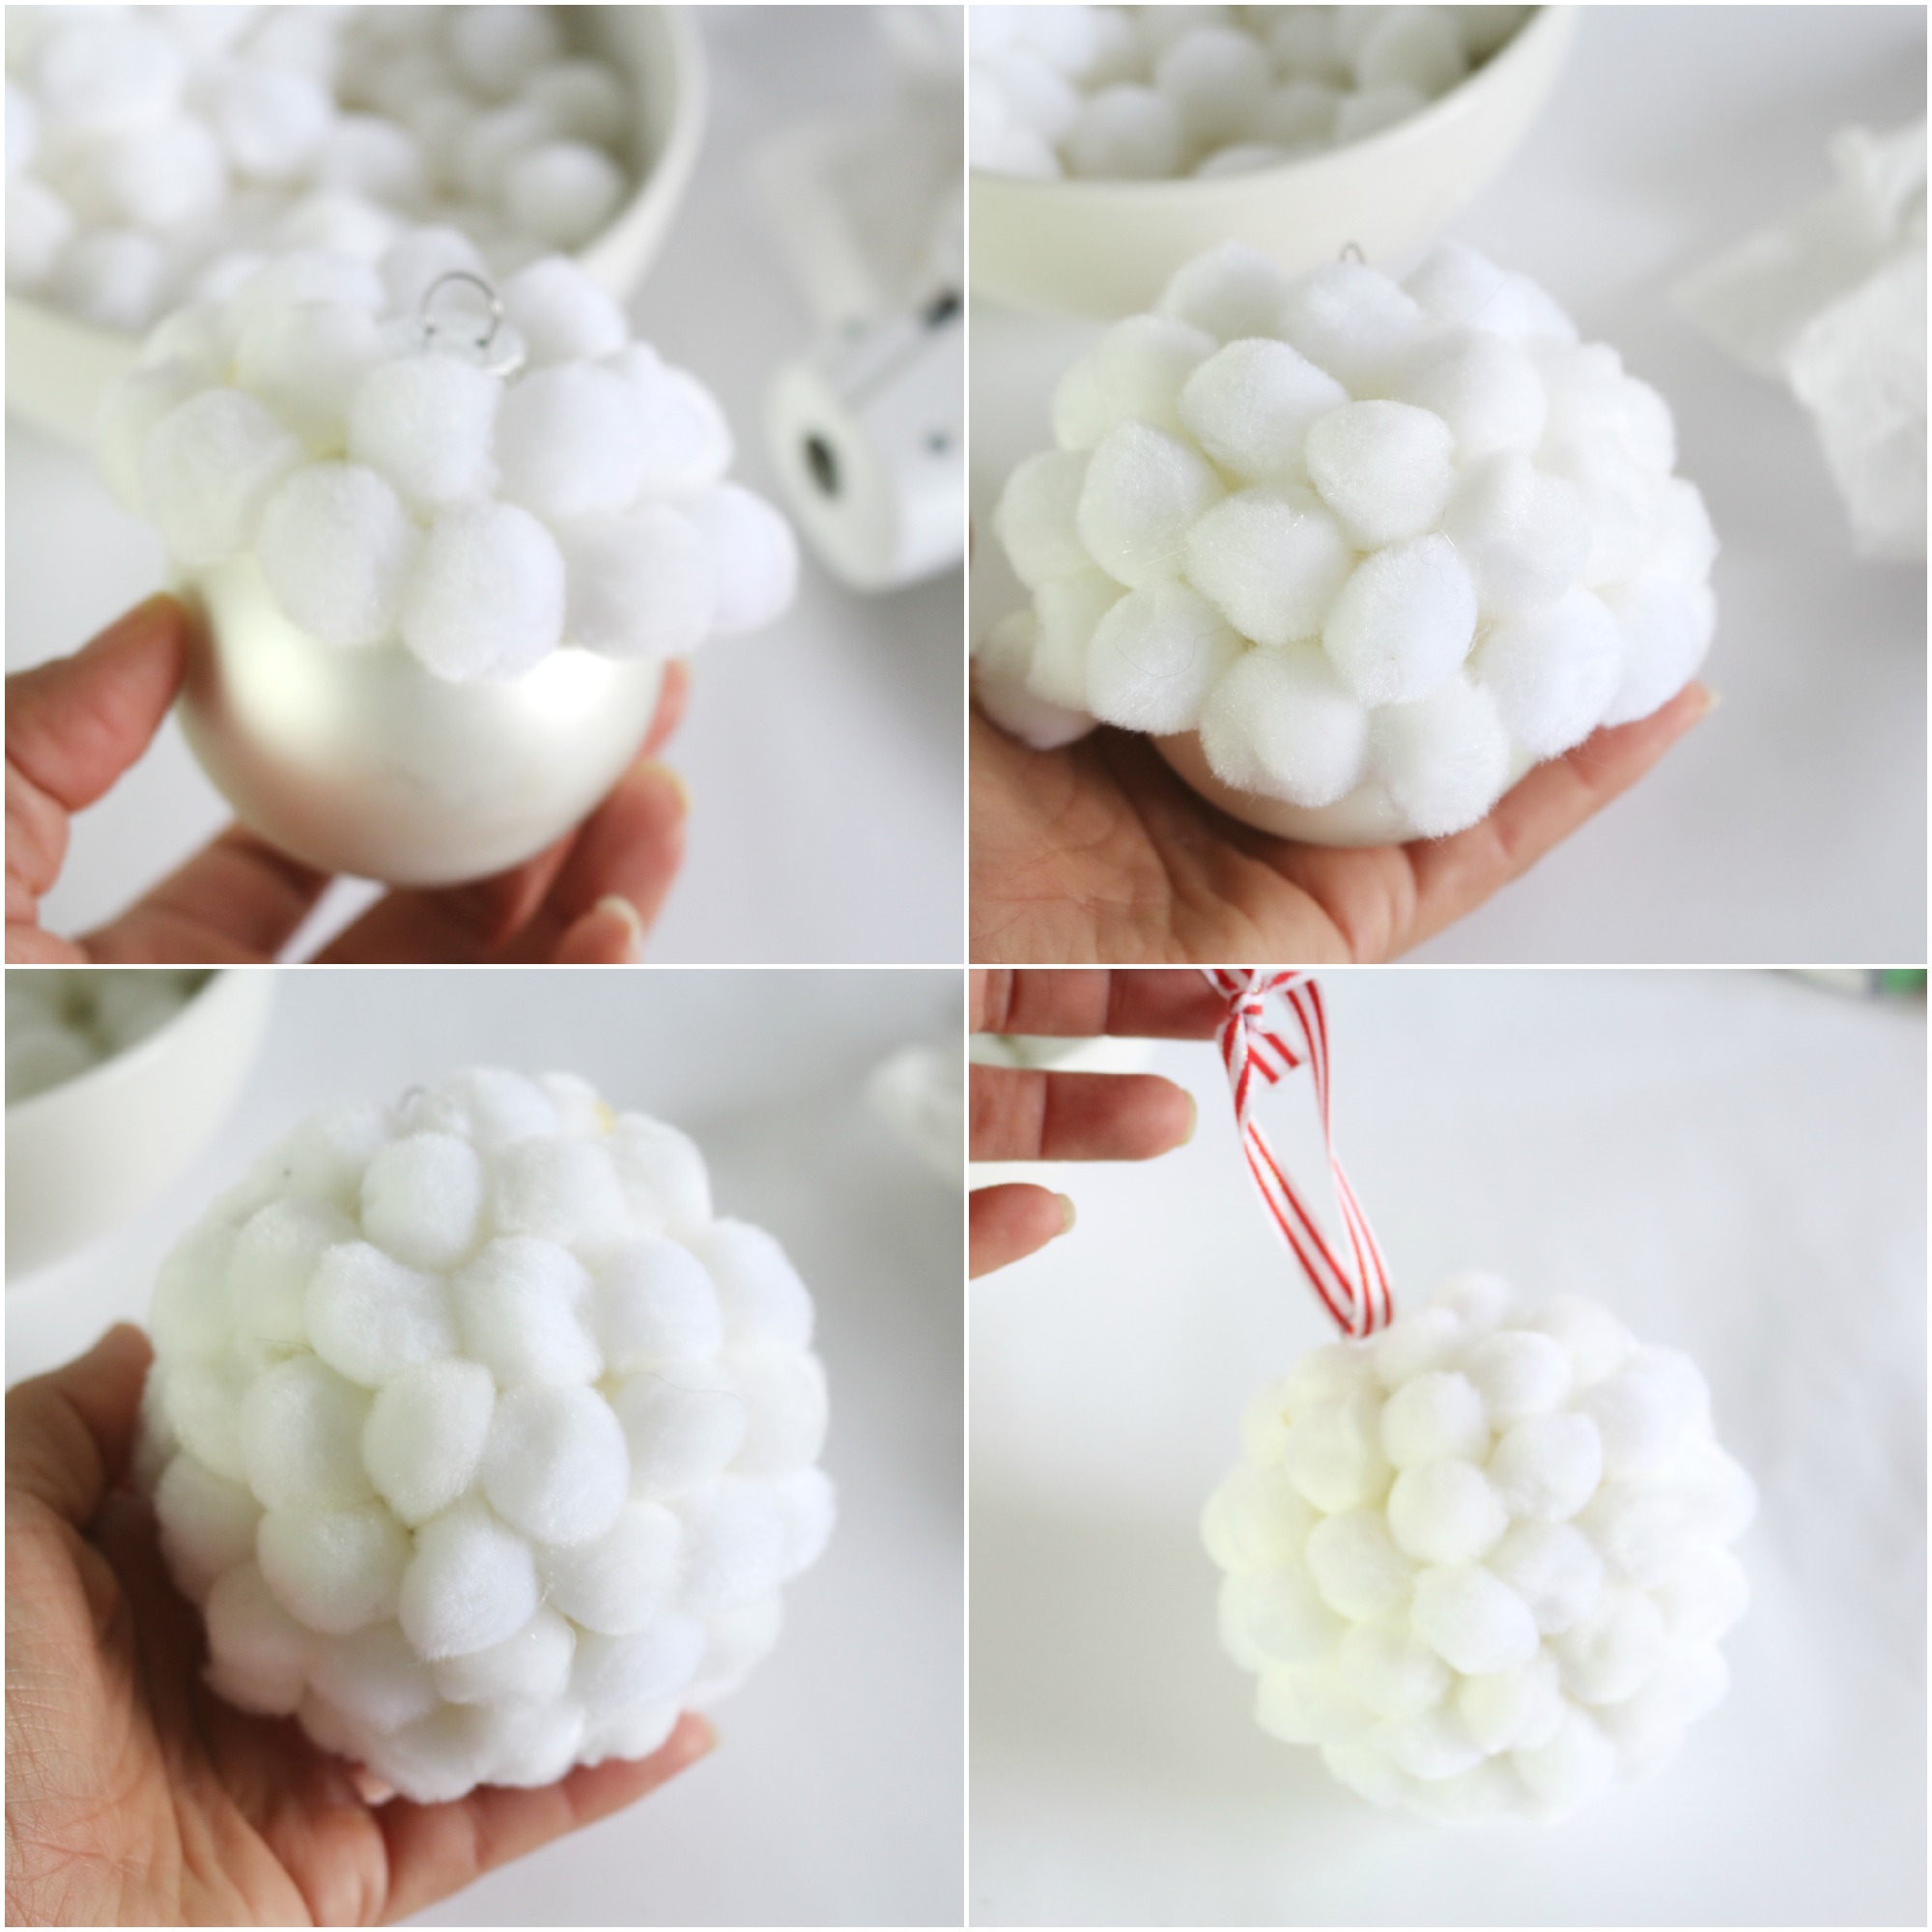
Simply take one of your old ornaments and using hot glue, adhere the pompoms all around. Tie a ribbon and you’re done!
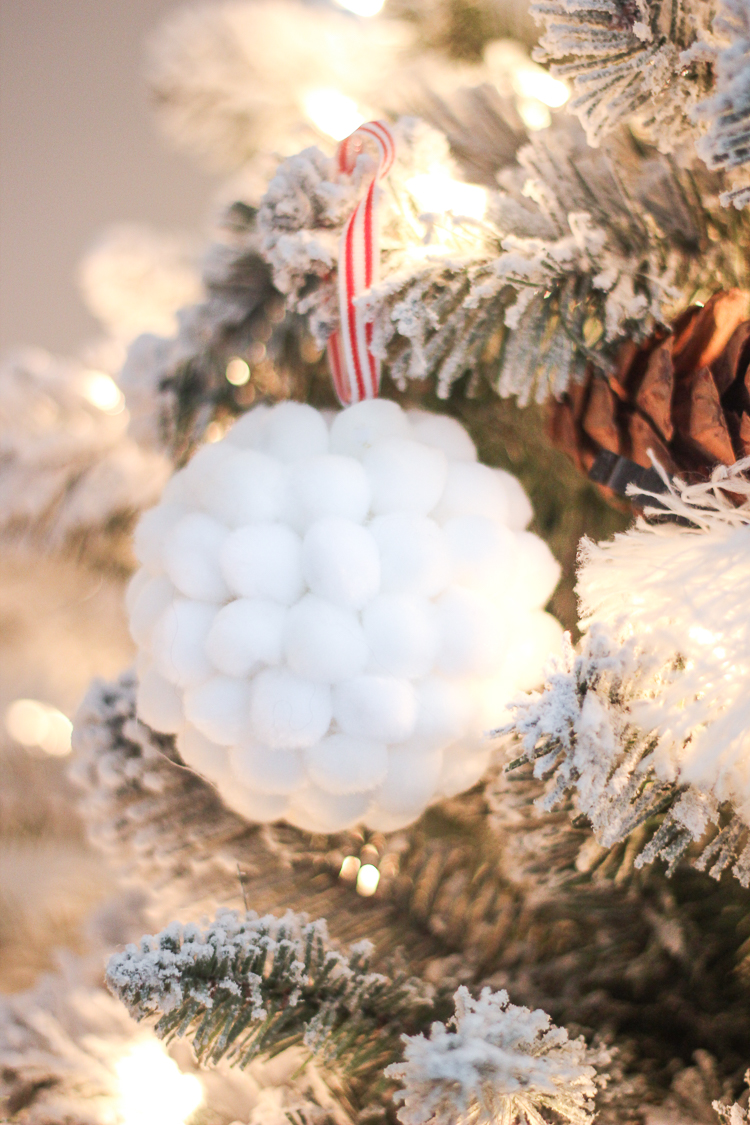
These would also look so adorable in a bowl, like little snowballs…:)
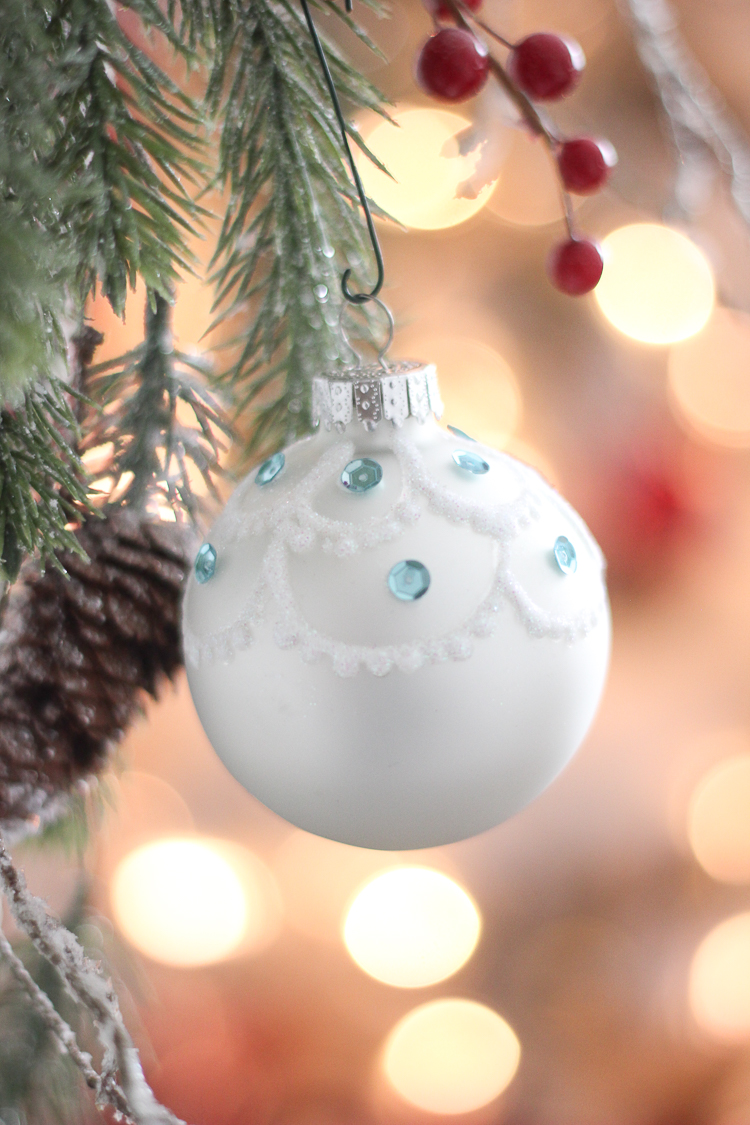
EASY: Puff paint and glitter ornament
Up next is this pretty little ornament, which resembles pretty sparkly lace.
You will need:
Puff Paint or Glue
Glitter
Sequins
Old ornament
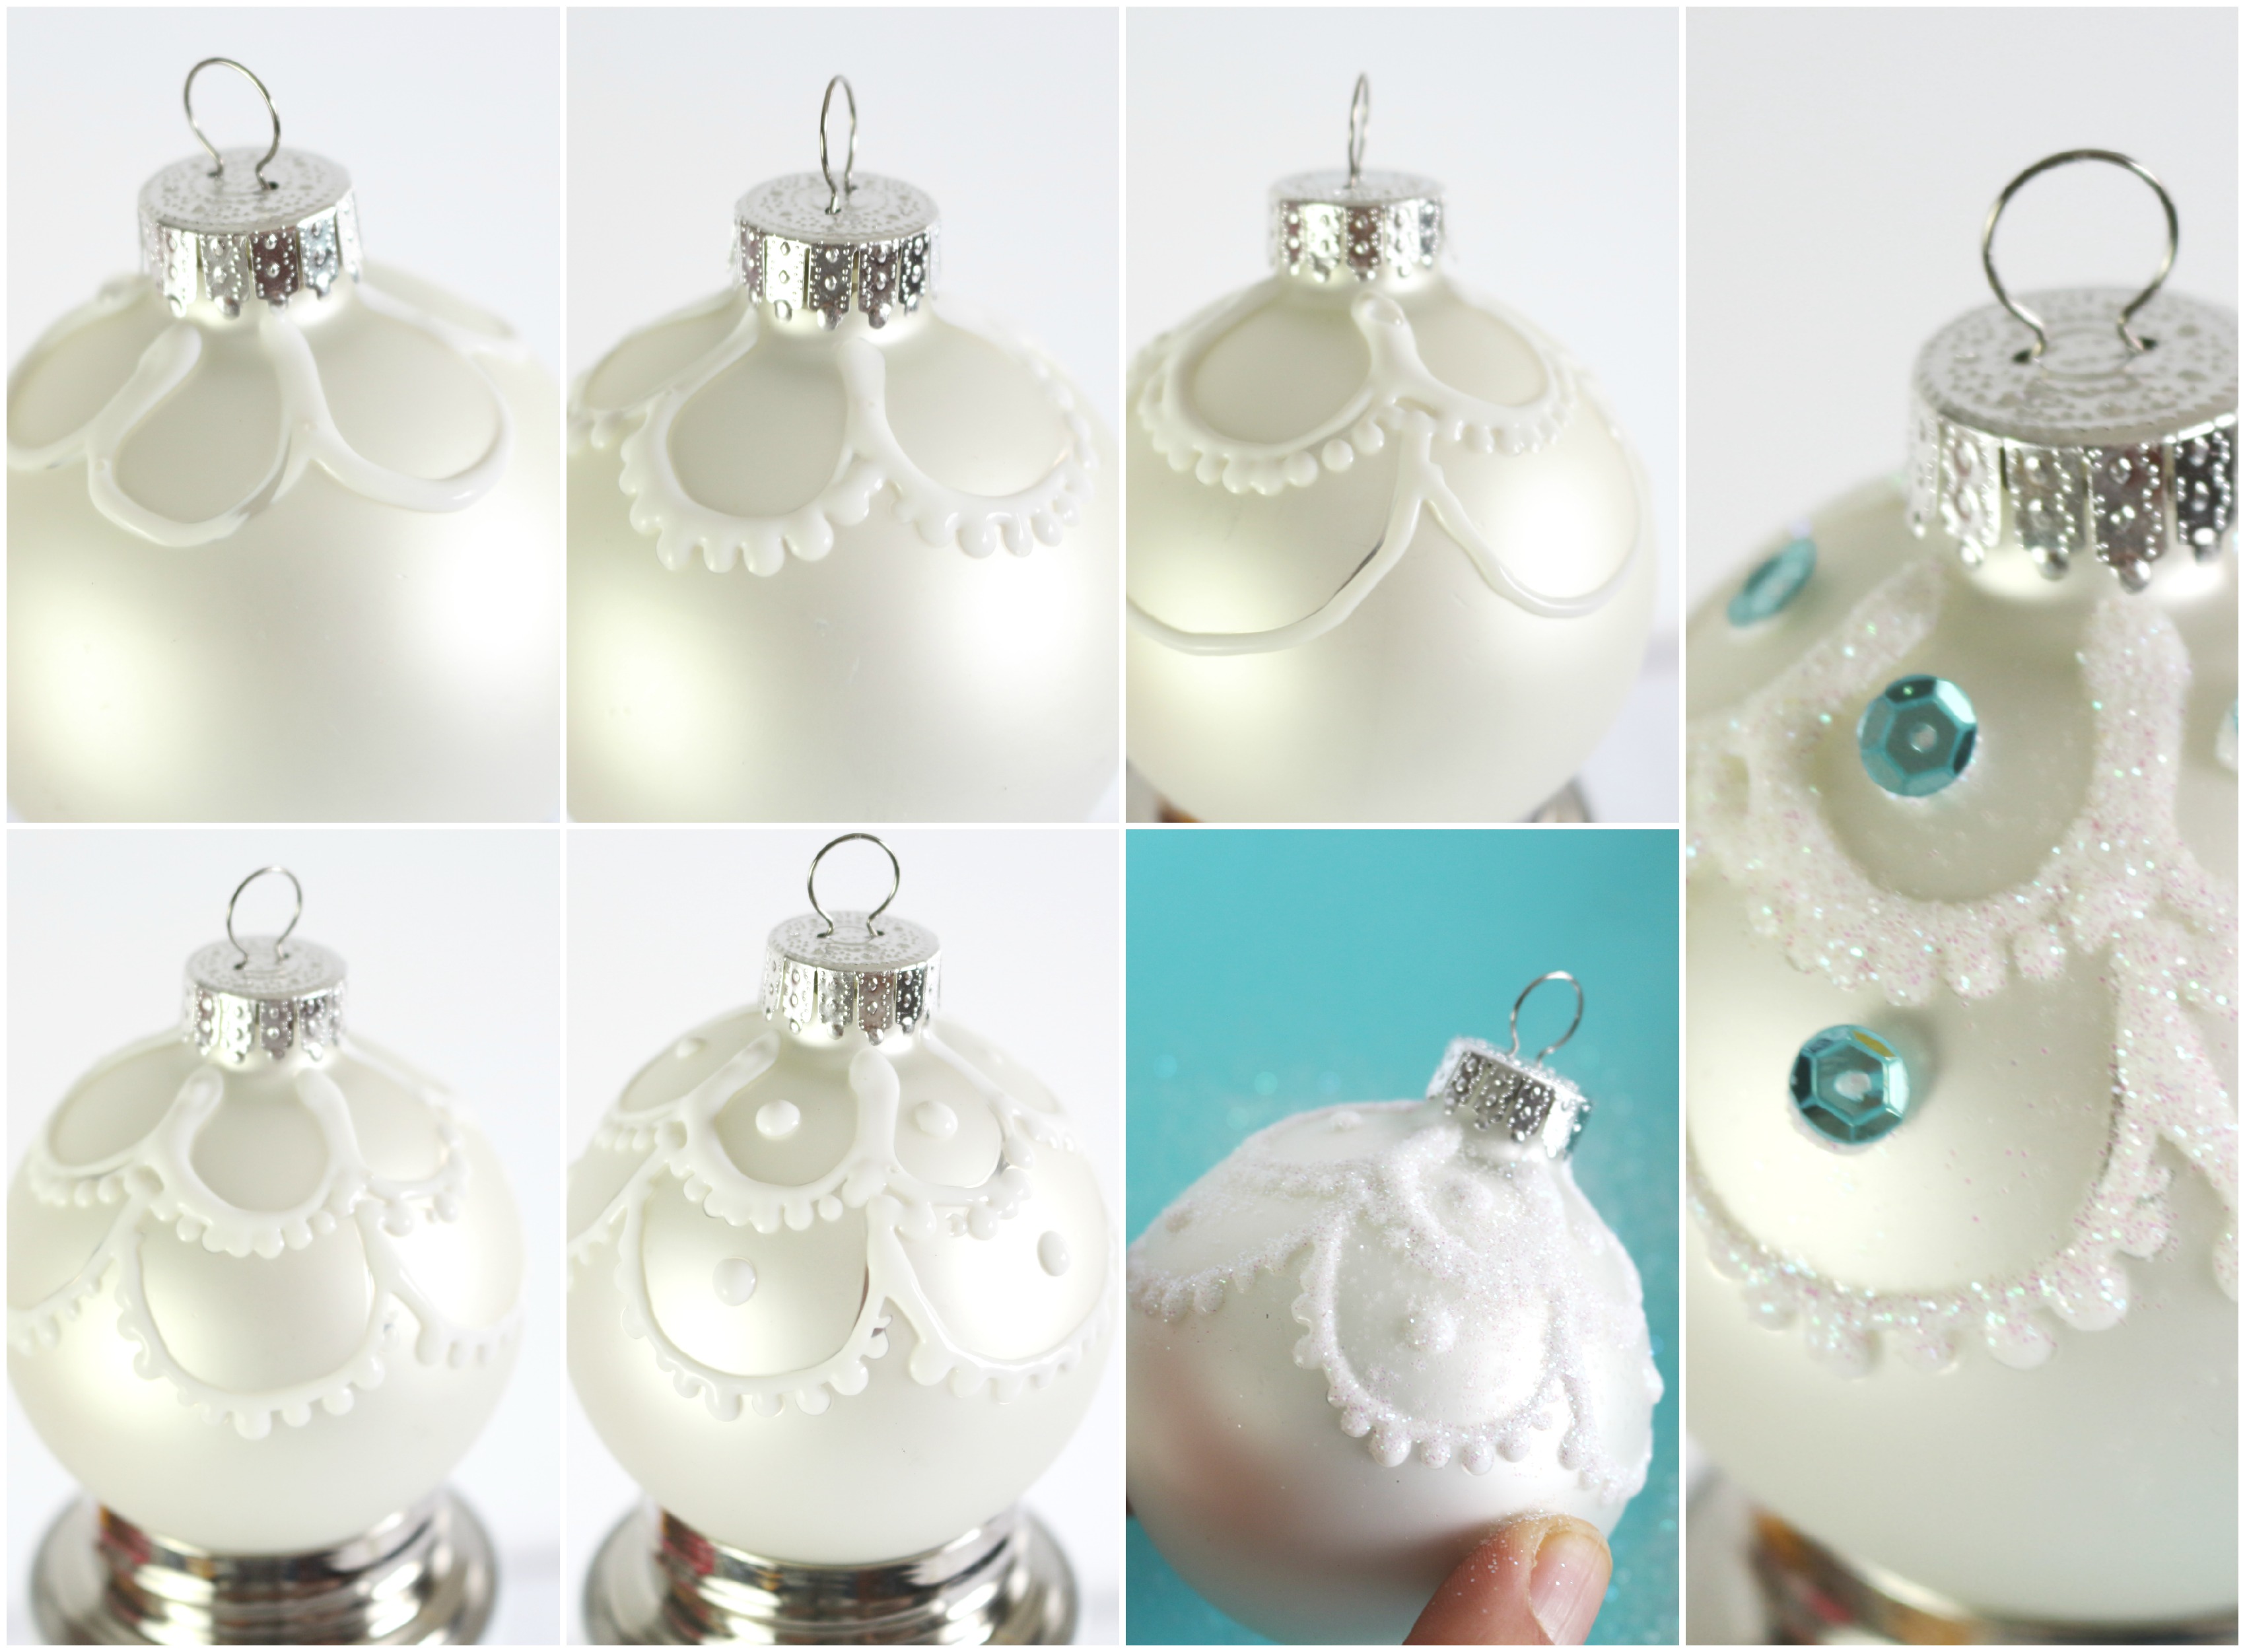
– Start by drawing small loops around the top of bulb. Dab little dots at the edge of each loop.
– Draw a second line of loops overlapping the first set of loops. Dab little dots at the edge of second set of loops.
– Dab larger dots in the center of each loop and while glue or paint is still wet, cover with glitter. Shake off excess.
– If desired, glue sequence onto larger dots. Allow to completely dry.
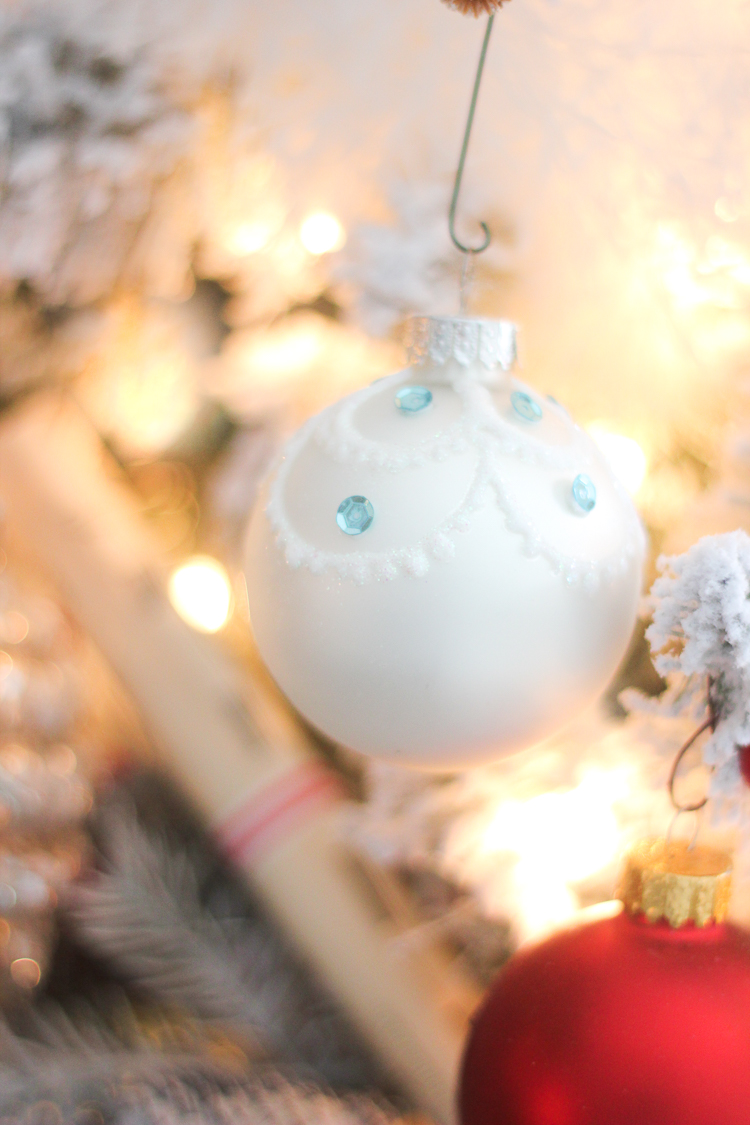
These can be coordinated to match your decor and you can make them as complicated or as simple as you wish.
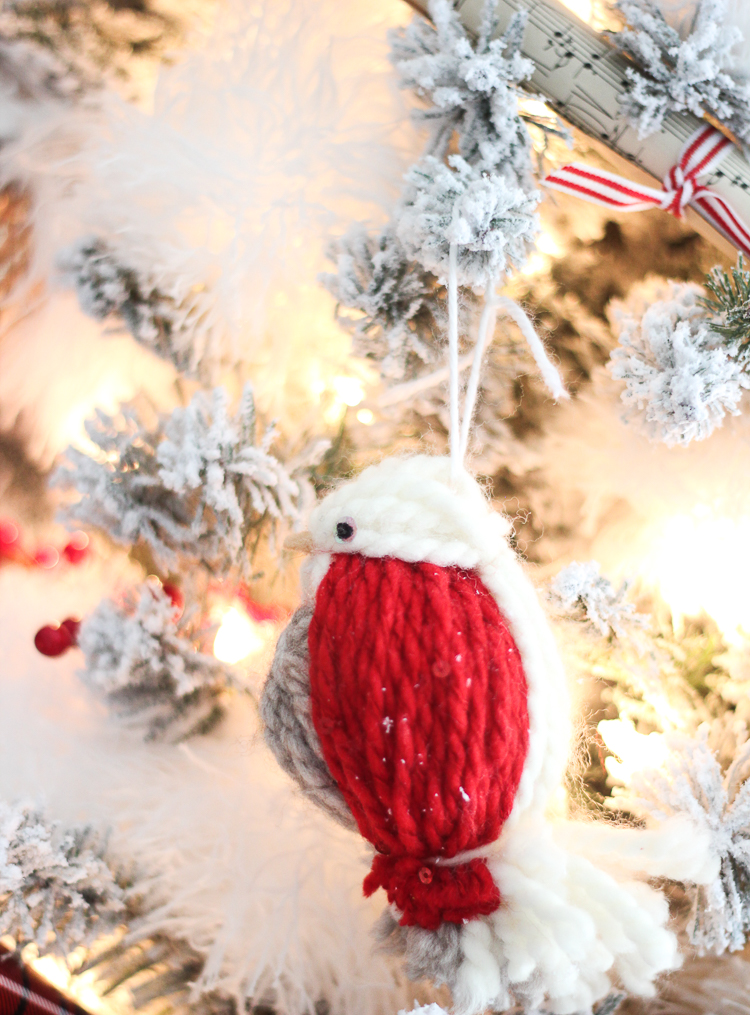
MEDIUM: Yarn bird ornament
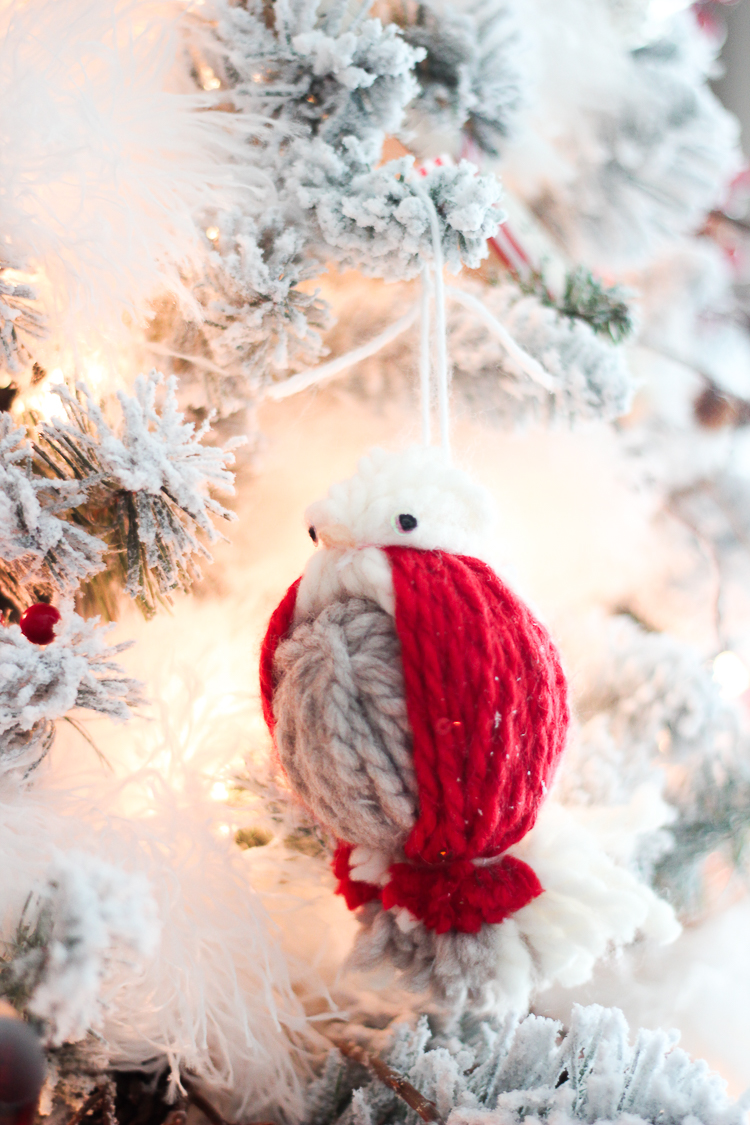
Up next is probably my favorite. Although this sweet bird may look a little complicated to make, it is actually fairly easy. I first saw this on Pinterest on a Russian website, but they use paper balls in the center to make them. I wanted to see if I could cover an ornament instead.
I would recommend using a plastic ornament that you can sand and scuff a little so that the yarn has something to grip to. I found that the yarn was a little slippery on the glass ornament so I had to use a lot of glue.
You will need:
Three different colors of yarn
Felt
Two pieces of cardboard or cardstock
Old ornament
Glue
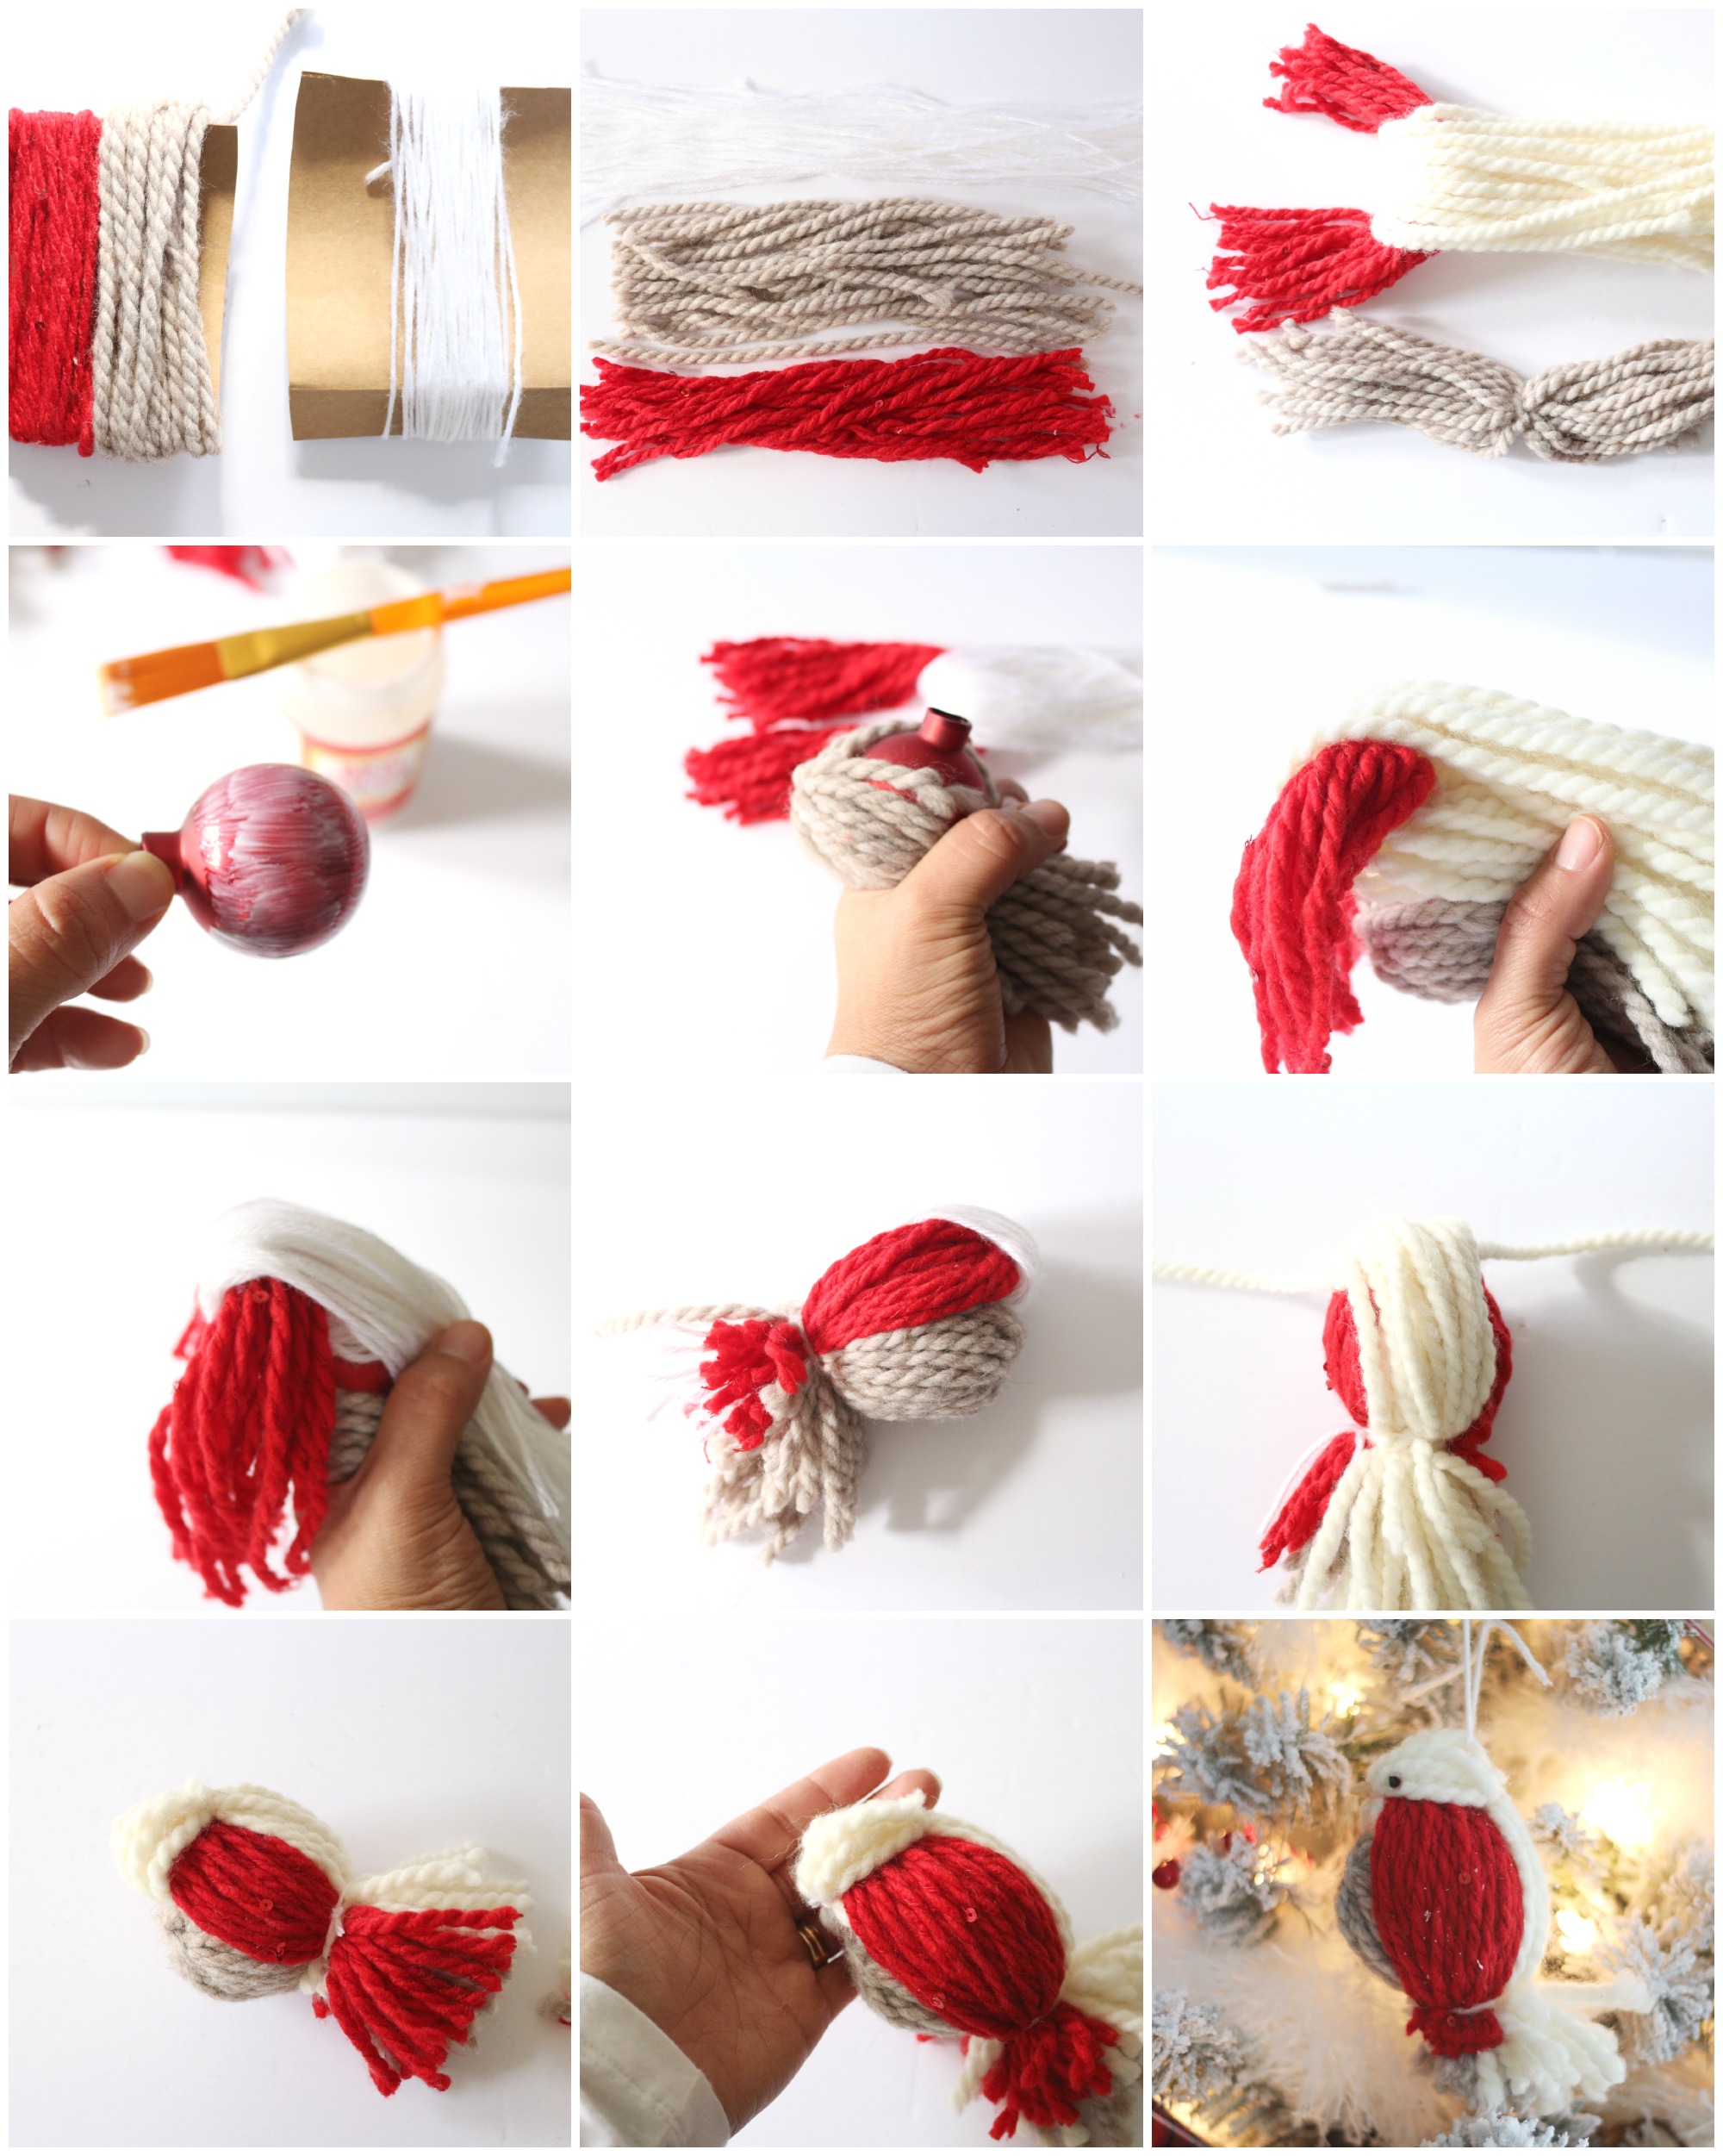
– Cut two pieces of cardboard; one approx 5″ long and 4″ wide and the second 4″ long and 3″ wide.
– Wrap one of the colored yarn around the 5″ cardstock paper lengthwise (this will be the top color of the bird; in this case the white)
– I used chunky yarn so I wrapped it approximately 10-12 times.
– Wrap two other colors around the 4″ cardstock side by side as shown.
– Hold the yarns on the cardstock and cut any one side.
– Take the longest group of yarn (white) and place it on a flat surface horizontally. Take the red group of yarns and place it on the longer group of yarns vertically, right in the middle and fold the white yarn in half, wrapping the red yarn.
– Take the brown yarn and tie a piece of yarn around the middle.
– Remove hook from ornament and apply a generous amount of all over ornament.
– Wrap brown yarn around ornament as shown (this will be the chest)
– Take the white and red yarn and place on top of brown yarn.
– Grab all of the yarns in your hand and tightly tie at the bottom.
– Separate and shape the wings (the red yarn) at either side.
– Thread a piece of white yarn at the top of the head and make a knot (this will shape the head).
– Trim the yarn so it’s all even.
– Thread another piece of yarn or string at the top of the head to make a loop.
– Make a little triangle with orange felt for a beak and hot glue in place.
– You can use beads for its eyes or black felt.

It sounds complicated, but once you get the hang of it, it’s a lot of fun to see the little birdies come together.

Cute little guy, right? I’m looking forward to making more with our daughter this weekend.
I truly love the idea of taking something old and giving it a new life and I especially love the idea of making homemade ornaments that will bring back memories in years to come.
I would like to remind you that Michaels has tons of holiday project ideas and instructions on Michaels.com, including gift wrapping, home décor, last minute gift ideas, hostess gifts and more.
Check out the other four holiday hack topics and the unique ideas all of the Makers came up with on Michaels’ blog, The Glue String.
Thanks so much for stopping by. I hope to see you again tomorrow for Part 2 of my Christmas home tour.

Such great ideas!!!! Thank you!!!
xx, Kirsten
Ok the yarn bird is blowing my mind. How the heck did you come up with that?! It is so dang cute.
Your ideas are so amazing I have no idea where you come up with all of this stuff. LOVE them all but that bird is out of this world. How clever!
Love the bird idea! I have already shared it.
The little bird is soooo cute!! I love this! I know I will be making a few of these for my tree! Pinned!
Your Ideas are amazing. I have no idea where you come from with all this stuff. Love them all but that bird is out of this world. How smart Well, the yarn bird is blowing my mind. How did you come up with this hack ?! It’s very dang cute.
I love the big flower with the big bow ribbons on your Christmas tree. Can you teach /show me how to make the big flower on the big bows too.
Wow, cool post.