Hello Craftberry Bush friends! I can’t believe we are past October and into November. Around our household, we are getting ready to celebrate Thanksgiving, which means roast turkey, cranberries, yams, pie and everything yummy. Most importantly, I feel it is a time of thanks. A time to be grateful for those you love, cherish, and make memories with.
Speaking of those that you love, if you didn’t already know, I have small children at home who love to craft. One day while walking through the aisles of our local craft store, I happened upon a pumpkin (with a pick attached) and instantly had an idea. Next, I walked a few aisles over and spotted some feathered picks. I then put the two together in my visual brain and had an adorable turkey!
This craft is both simple and fun! My daughter was able to help me with most of it and we had a great time making the “chicken”, as she kept calling it.
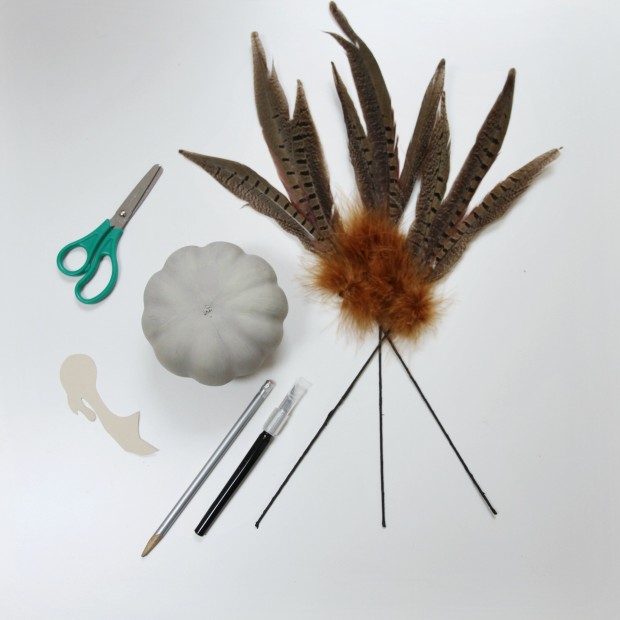
Here are the materials you will need for this feathered friend…
- Craft (carvable or foam) pumpkin. Pick and/or stem removed. I was able to easily pull the stem out of mine. As an extra step, I chalk painted mine a different color to match my decor and this step is completely optional (not pictured).
- Turkey silhouette cut from thick craft paper (an image to print and use as an outline is available here). I have included a couple options – one sized for a smaller turkey around 6 inches in diameter or less and another for anything 6+ inches.
- 3 sets of feather picks (available at most craft stores).
- Pencil
- Scissors
- Razor – Caution: this step needs to be done before hand and NOT with the assistance of children.
Here are the easy steps you can follow to make this pumpkin turkey…
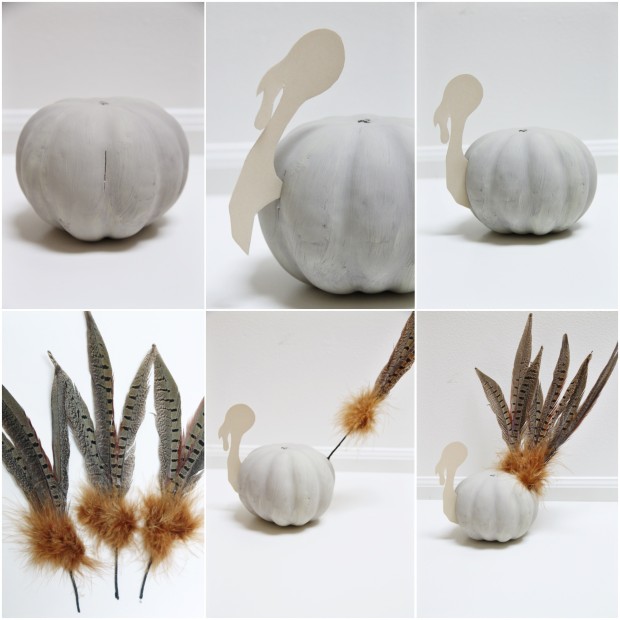
- Important – before allowing children to help, start by cutting an 1.5″ slit into the center of the pumpkin. This will allow the turkey silhouette to be inserted into place.
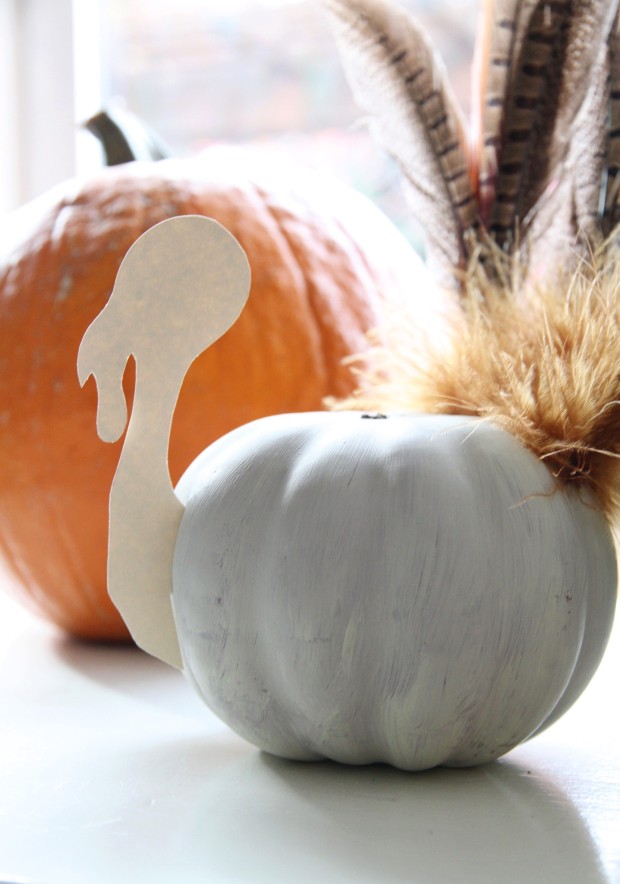
- Take your cutout turkey silhouette and gently push the pointed tip into the slit of the pumpkin.
- Press it all the way until flush against the pumpkin.
- Cut or bend and break off the stems of your feather picks so that only a couple of inches remain.
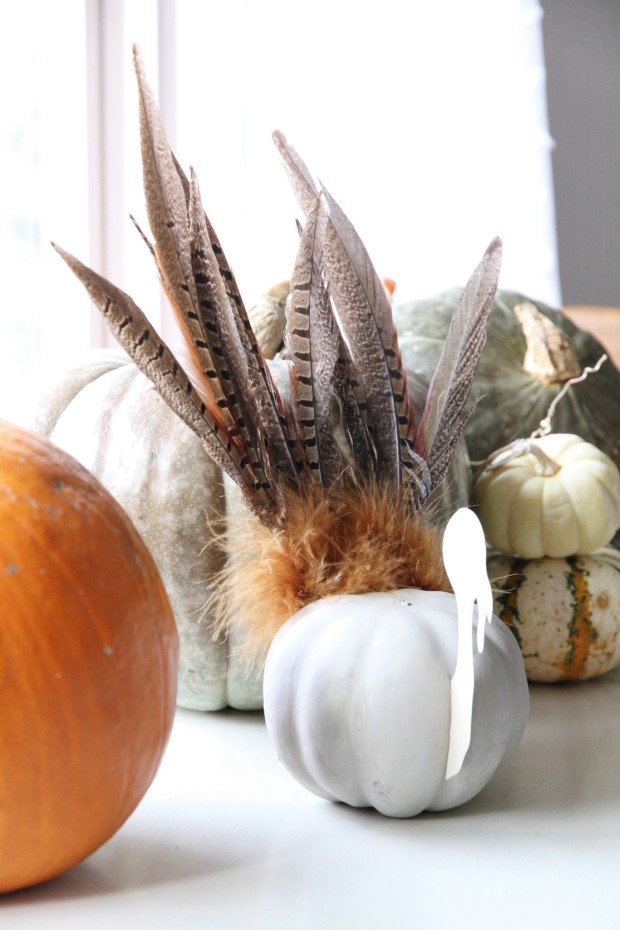
- Insert the feather picks into the back of the pumpkin to create turkey feathers.
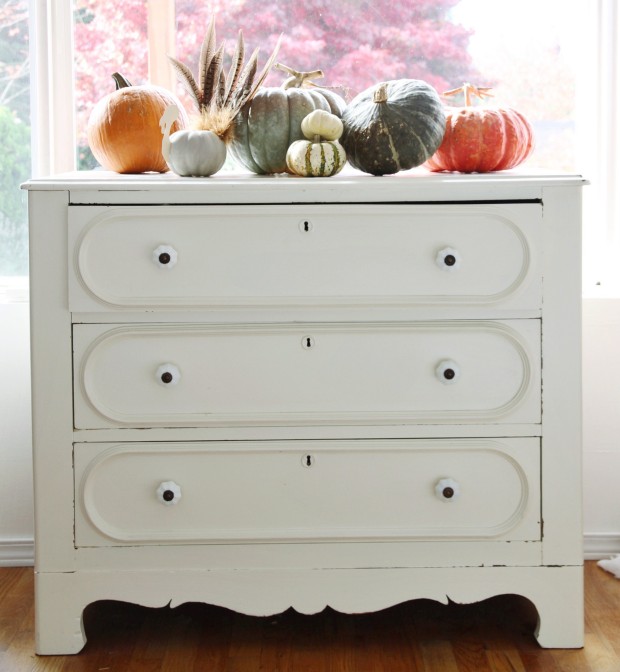
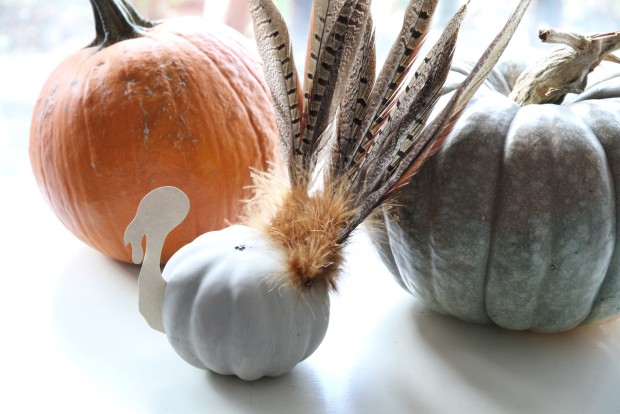
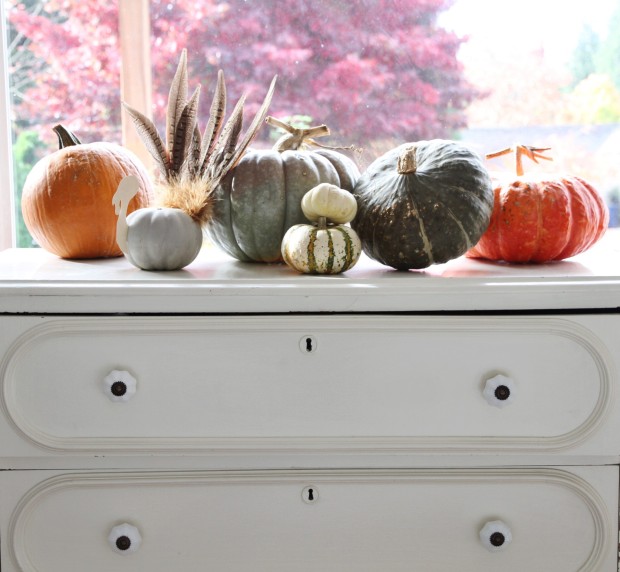
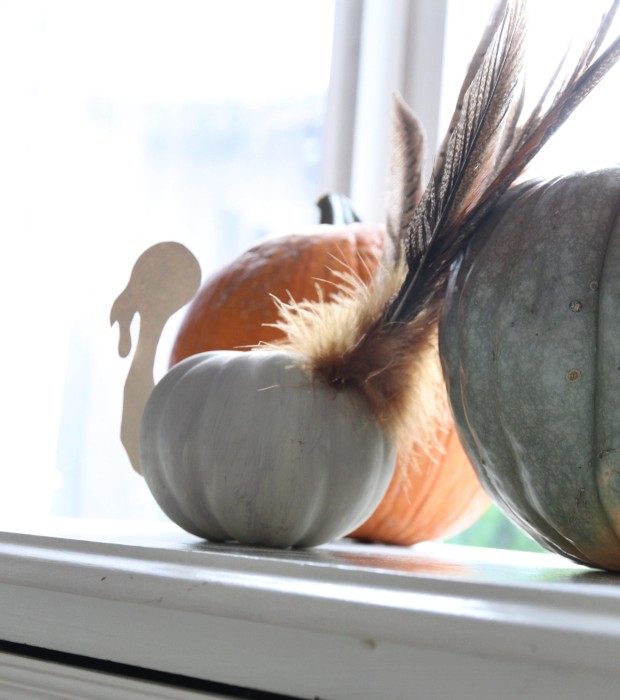
And there you have it! A pumpkin turkey that can be made as a fun children’s craft or a festive decoration. I think these would also be lovely set up for a tablescape in varying sizes and colors. Like most of my projects, I enjoy making things that can easily be changed up to fit different styles of home decor and that can be adapted through the seasons (e.g. pumpkins displayed in October re-purposed into November turkeys).
I hope you enjoy this tutorial and that your November is off to a lovely start! May this season of thanksgiving bring you much joy in the weeks ahead. Thanks so much Lucy for having me today!

Adorable! Love this!
Jennifer thank you so much! I am happy to hear you think so!
This is really cute! Love it!
Thank you very much Gail, I appreciate it!
Adorable! I’ve never seen this done before, thanks for sharing!
Carmen I am so glad to hear you think so! Thanks so much and have a great rest of your week ~