Hello again! It’s Jamie from anderson + grant and I’m back today to share another easy DIY with you.
Have you been seeing the Dutch tulip crates for sale at shops like Joanna Gaine’s Magnolia Market and Painted Fox Treasures? I noticed them being used on different blogs for decorating, but it wasn’t until I saw them for sale that I actually learned what they were.
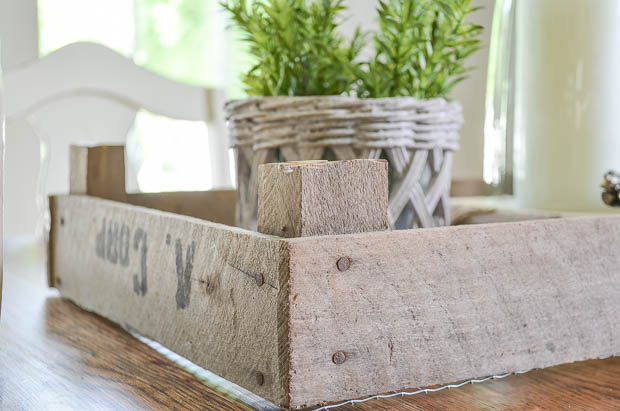
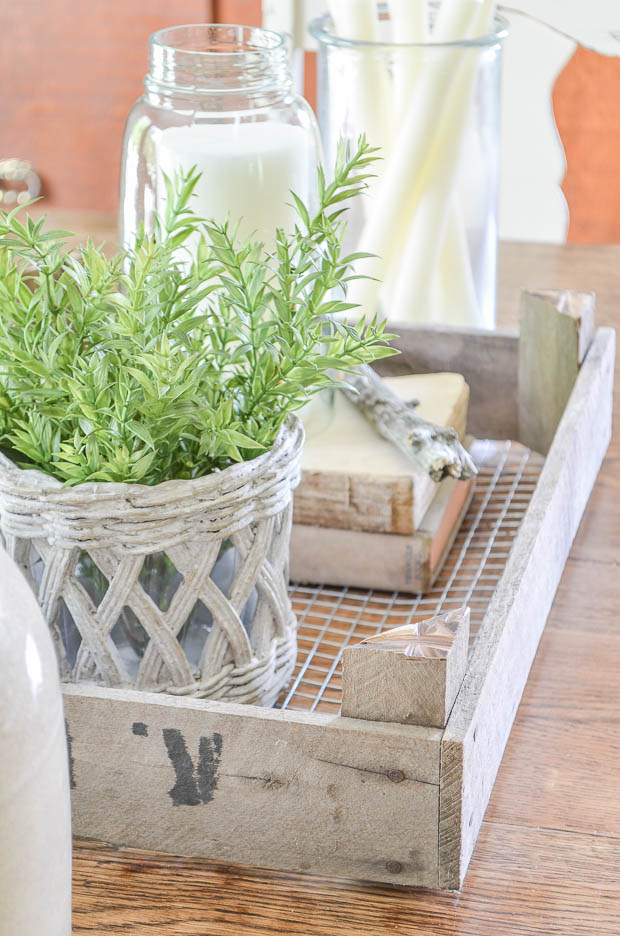
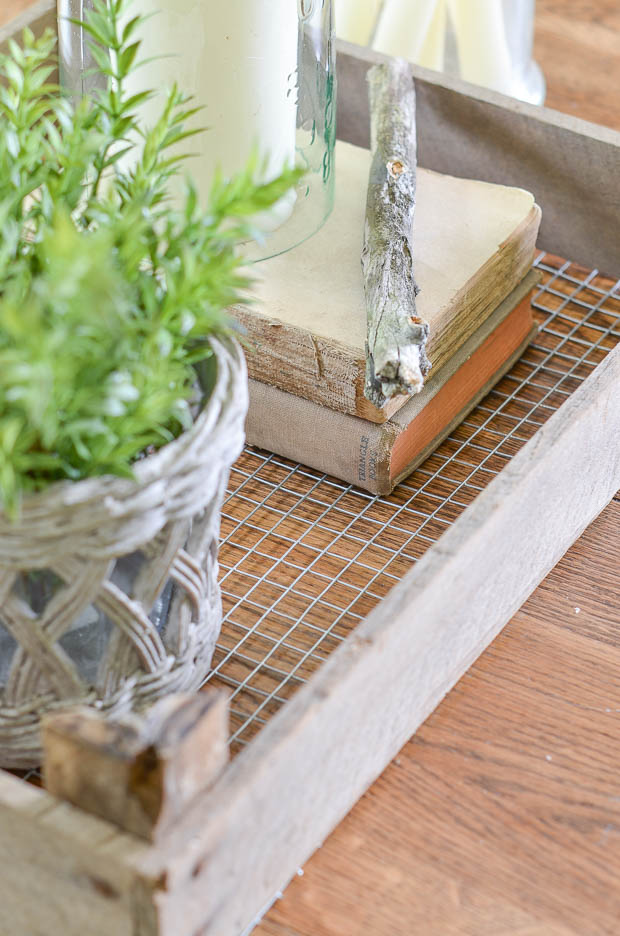
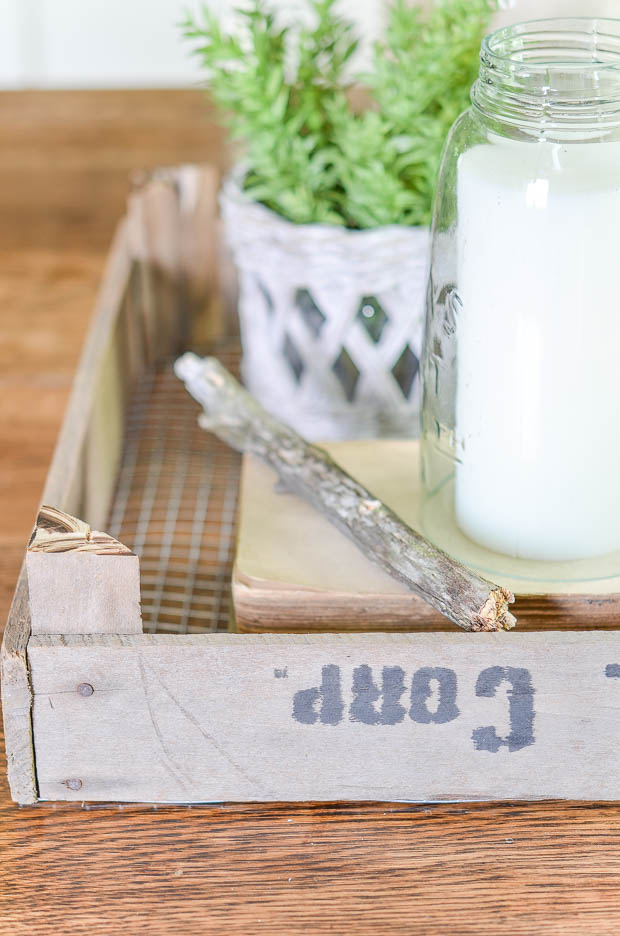
Theses “trays” were originally used to force tulip bulbs to grow. The metal mesh base would allow air to circulate around the bulbs so that the tops would not rot. They were able to be stacked on top of one another using the wood blocks in the corners. And the outside was stenciled with the grower’s name.
Recently, I was asked if I wanted an old wood crate that had no bottom. As a person who can never turn down something old since it probably can be used for a project, I accepted the freebie. If nothing else, the wood could be taken apart and used for a rustic sign.
But then it dawned on me that this useless wood crate without a bottom could become not one but two of my own version of a Dutch tulip crate. It even had stenciled words on some of the wood.
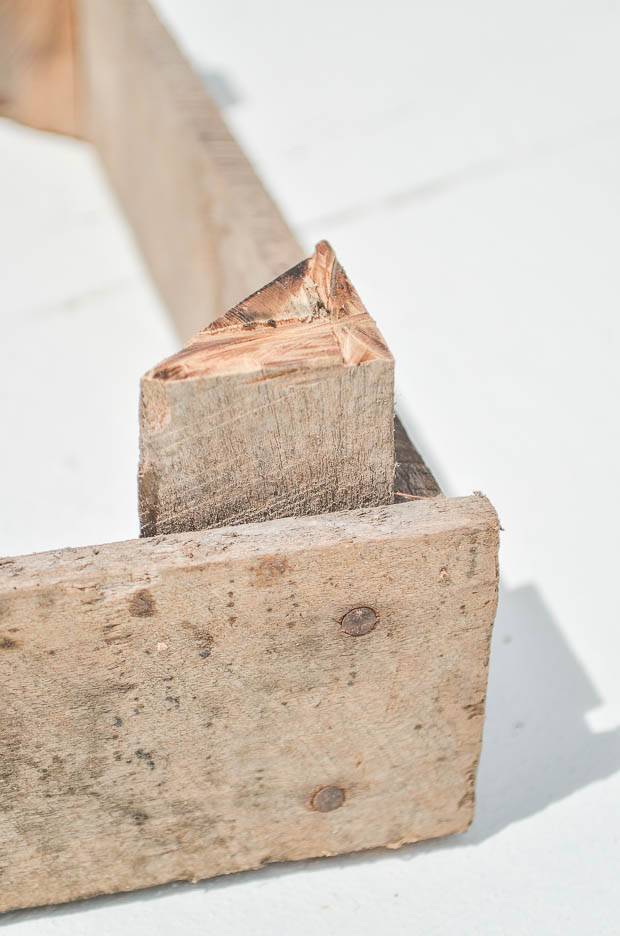
I began by cutting the crate apart into three sections just underneath the board above. (One section had a broken board which is why I couldn’t create three from the crate.) By cutting here, I was left with the sections in the corners that would stick up above the crate.
Then I cut hardware cloth (available at the hardware store or online) into a rectangle the size of my crate. I used 19 gauge hardware cloth with 1/2 inch wire mesh.
The hardware cloth was stapled onto the underside of the crate. You don’t need to staple over each wire of the hardware cloth, but don’t leave large spaces in between.
Mine could have used more staples, but the wood is old and a little brittle, so I opted for just making sure it was secure to the bottom of the crate. You’ll see in some of the picture it isn’t attached completely, but I’m okay with that since it is something I’m keeping for myself.
The only difference between my tulip crate and the real thing is that I’m missing planks of wood underneath the crate. As soon as I can find some aged wood that will match the finish of the crate, I’ll be adding them. Until then I’ve got the look I was going for.
I’m not telling anyone to go out and destroy a perfectly good vintage crate to make this project. This one was not going to serve it’s original purpose anymore and maybe you’ll be “lucky” enough to find something like this. But new wood crates are available at any craft store and there are numerous tutorials out there for aging new wood. Those can be cut apart and used to create your own version of this DIY.
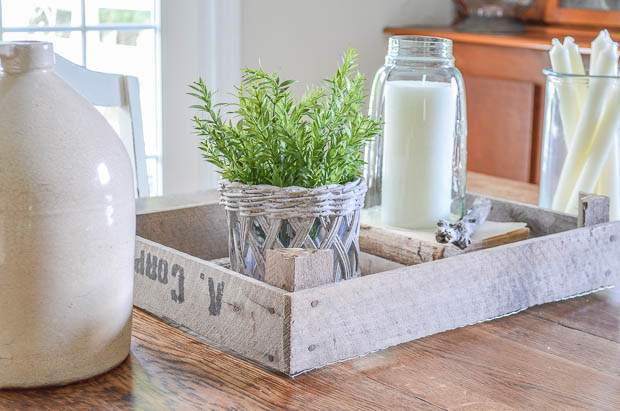
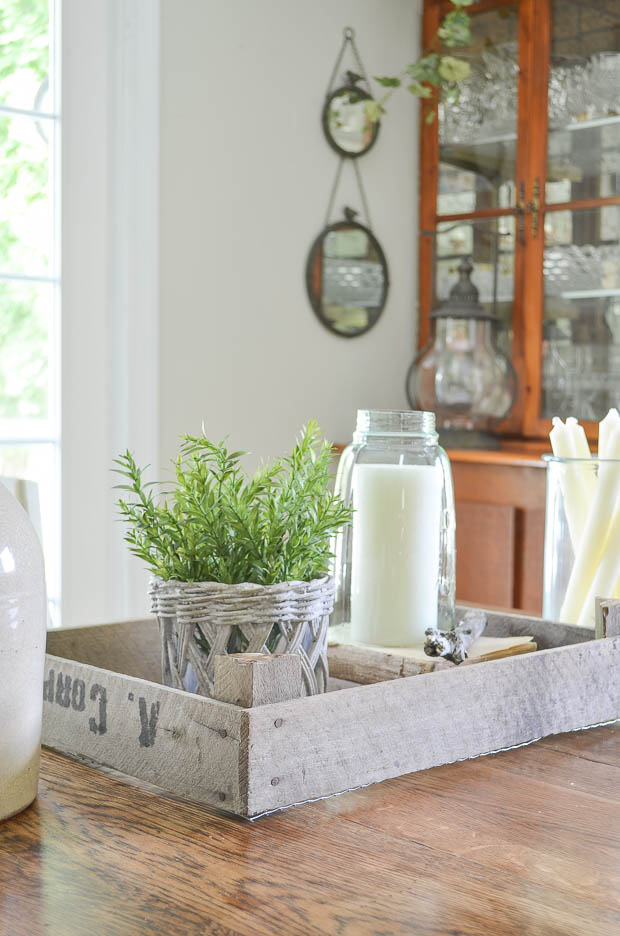
Whether you buy a vintage version or make your own, Dutch tulip crates are a great way to add a rustic touch to your home. They can also be a bit of a conversation piece if you tell you guests about their original use. Use them as a tray as I’m showing here or create a unique way to store or organize objects around the house.
Thanks so much for letting me share with you today. I’d love to know what you think of my project using an old crate! What would you display in yours?







Hi Lucy! Love your website and blog! I am loving that canning jar “bell jar,” with the white candle in it. Did you make it? (cut the bottom off the jar) If so, would you share how you did that? Thank you!
Hi Cindy! I’m one of Lucy’s contributors and this is my project. The jar isn’t handmade, but if someone could figure out how to make it I think they’d have a winning product to sell! It is actually something that I’ll have available in my online shop….just as soon as I can get some things listed 🙂 Thanks so much for your question!
Jamie
Thank you for sharing this wonderful project! I do see these everywhere and it’s nice to know that you can create your own. I was wondering what type of tool you used to cut down the wood crate? I really enjoy your posts and learn a lot from them. Have a great day!
Thanks so much for your comment, Christina! I used a Dremel handheld Saw-Max to cut the crate apart. It has just a small blade and can get right up close to the bottom of the wood on the crate. It is a really useful tool to have if you do minor DIY projects that involve cutting wood.
What a great idea, and I love the finished project. While looking at the original box, I wondered if you could mend the broken board with something that would look like an old mend – strip of leather (getting it wet to take away the new look), a old mending plate, or it would be interesting to see what you might find.
Thanks for the sweet comment, Kay! That sounds like a really interesting way to fix a broken board! Unfortunately, when I was trying to get the crate apart I had to break the two halves off so there wasn’t much left to salvage. I was only able to save one of the pieces that wasn’t used in these two crates. Your idea is one that I’m definitely going to have to remember, though! Thanks for sharing!
Love the tulip crate, but how do you keep the hardware cloth from scratching the table?
That’s a good question, Katherine. When snipping the hardware cloth off of the roll, you need to first make sure that you cut right next to the wire so that there aren’t any bare pieces sticking out. There should be a clean edge the whole way around. It also helps to roll the hardware cloth in the opposite direction of how it was on the roll so that it lies flat. And adding the pieces of wood to the bottom like a traditional tulip crate will eliminate the worry of the hardware cloth touching the table at all. I just haven’t found any aged wood that would match up to the crate wood…..and it was time for my post to be due 🙂 If you search for tulip crates online you’ll see the way the wood should be attached to the bottom. Thanks for your question!
That is just too cool! Your crate looks great. Thanks for sharing.
Have a great day!
Thanks so much Pamela! Have a great Thursday!
Jamie – I love this project! I have seen these before too and wanted one many times; but now I will know just how to make my own. Your tutorials are always so smart and beautiful; giving life to old or broken treasures. Lovely!!
You’re comments always brighten my day, Annie! It is so great to hear that you like what I create since I’m always in awe of your work and styling as well! I can’t believe that I had never been to your blog before we starting sharing here.
As always Jamie @Anderson and Grant, you are amazing! Love this project. I have a ton of old crates in the garage that are just waiting patiently for a transformation/purpose. Thank you for sharing your creativity!
Thank you so much for taking the time to leave me some love Michelle! I know you can do something fabulous with the crates you have. You always amaze me with the projects you create 🙂 Have a great day!
Jamie, this is fantastic! I too, have been looking at the crates over at Magnolia Market and have placed one in my cart more than once before changing my mind over the price tag. Love that you were able to DIY one. Yours turned out beautiful. 🙂
There are so many things that go into my online carts that never make it to the checkout 🙂 Internet shopping can be a little dangerous! It really makes me happy to hear that you like my DIY version of something that we’ve both though about purchasing. Thanks for taking the time to comment here, Tonya.