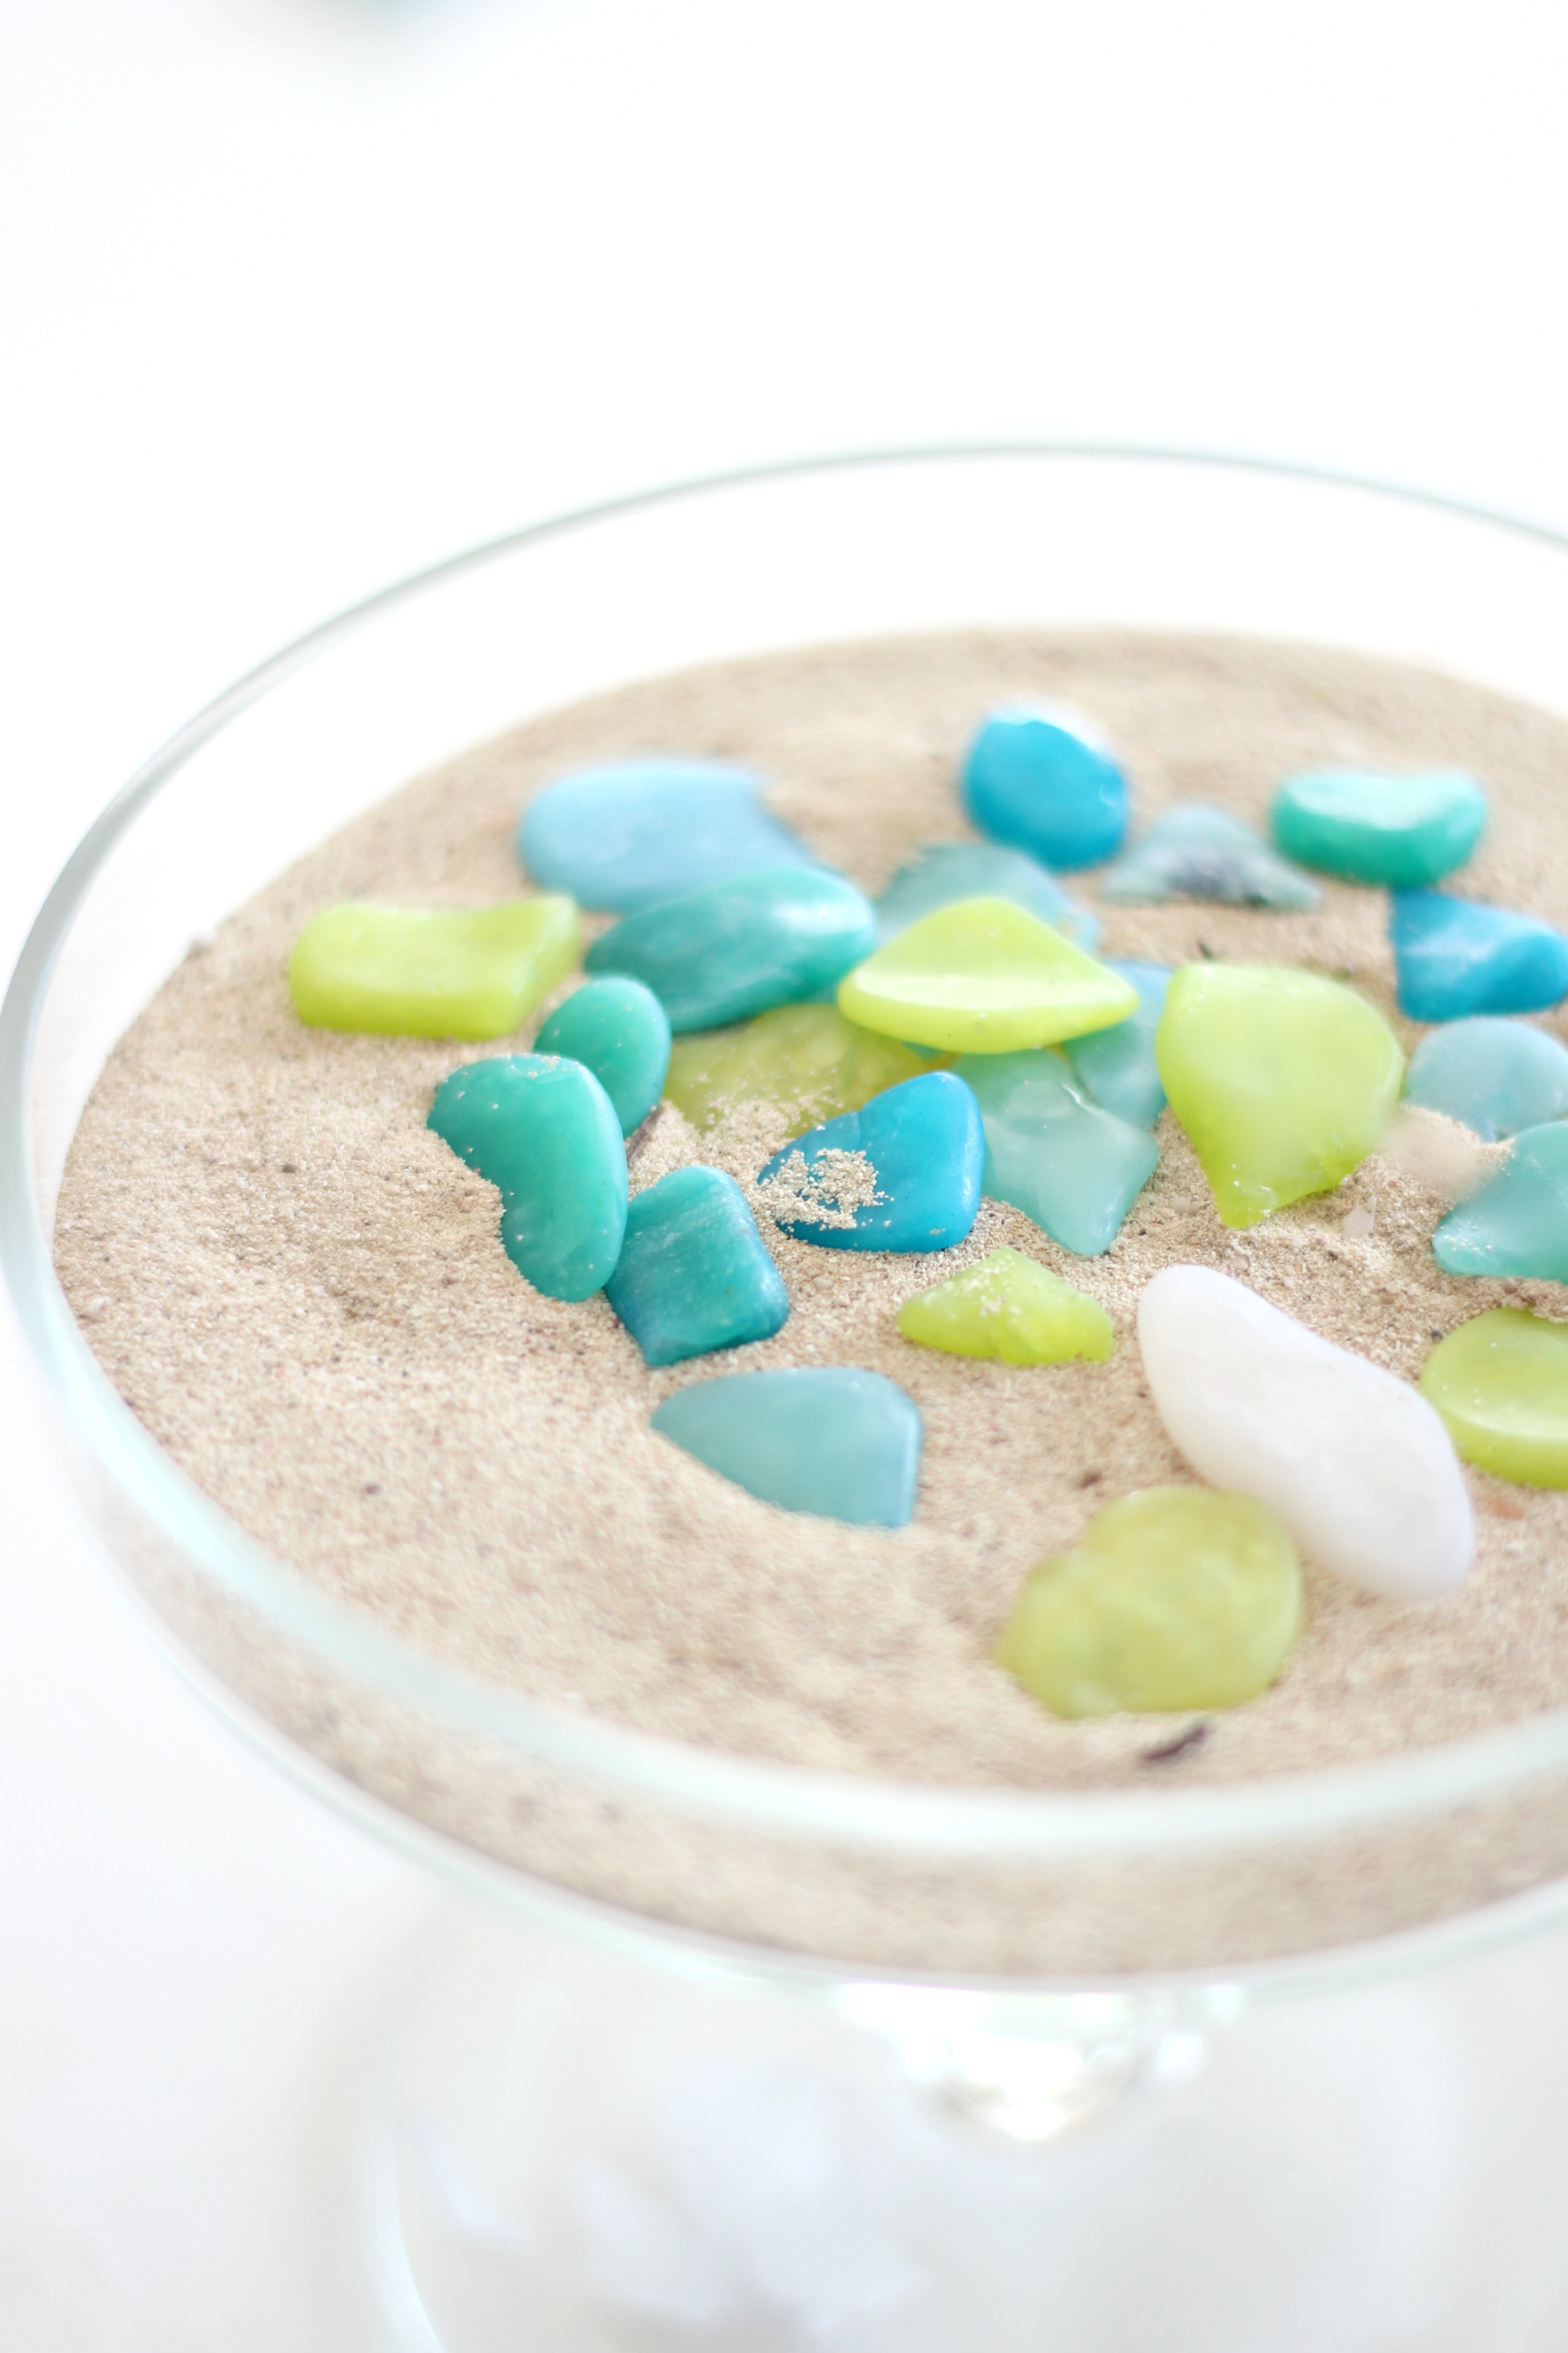
It’s Tuesday evening and as I sit here, I can hear the soft murmur of the television playing to itself. It tries to compete for my attention, distracting me with its flashy lights and sudden interesting noises. I look for the mute button on the remote and shut the noise off. It’s quiet now and alas I’m able to concentrate as my fingers obediently press each key making my thoughts appear on the screen. When I’m writing is probably the only time I need complete silence. I’m the oldest of 5 children and as you can imagine, our house was noisy when growing up. But the good kind of noisy…the type of noise you miss when it’s silent; the one that is filled with laughter and stories and music (there was always music). So I enjoy the busyness of our children, their singing, whistling and overall childhood noises. Notice I said, OUR children. I’m not too sure I’m that patient when it’s someone else’s child.
Don’t get me wrong, I also enjoy quiet mornings. Mornings when I can paint or create before the house awakes and the silence of the day is fresh and palpable. It was during a quiet morning a couple of weeks ago that I made my first batch of sea glass using polymer clay.
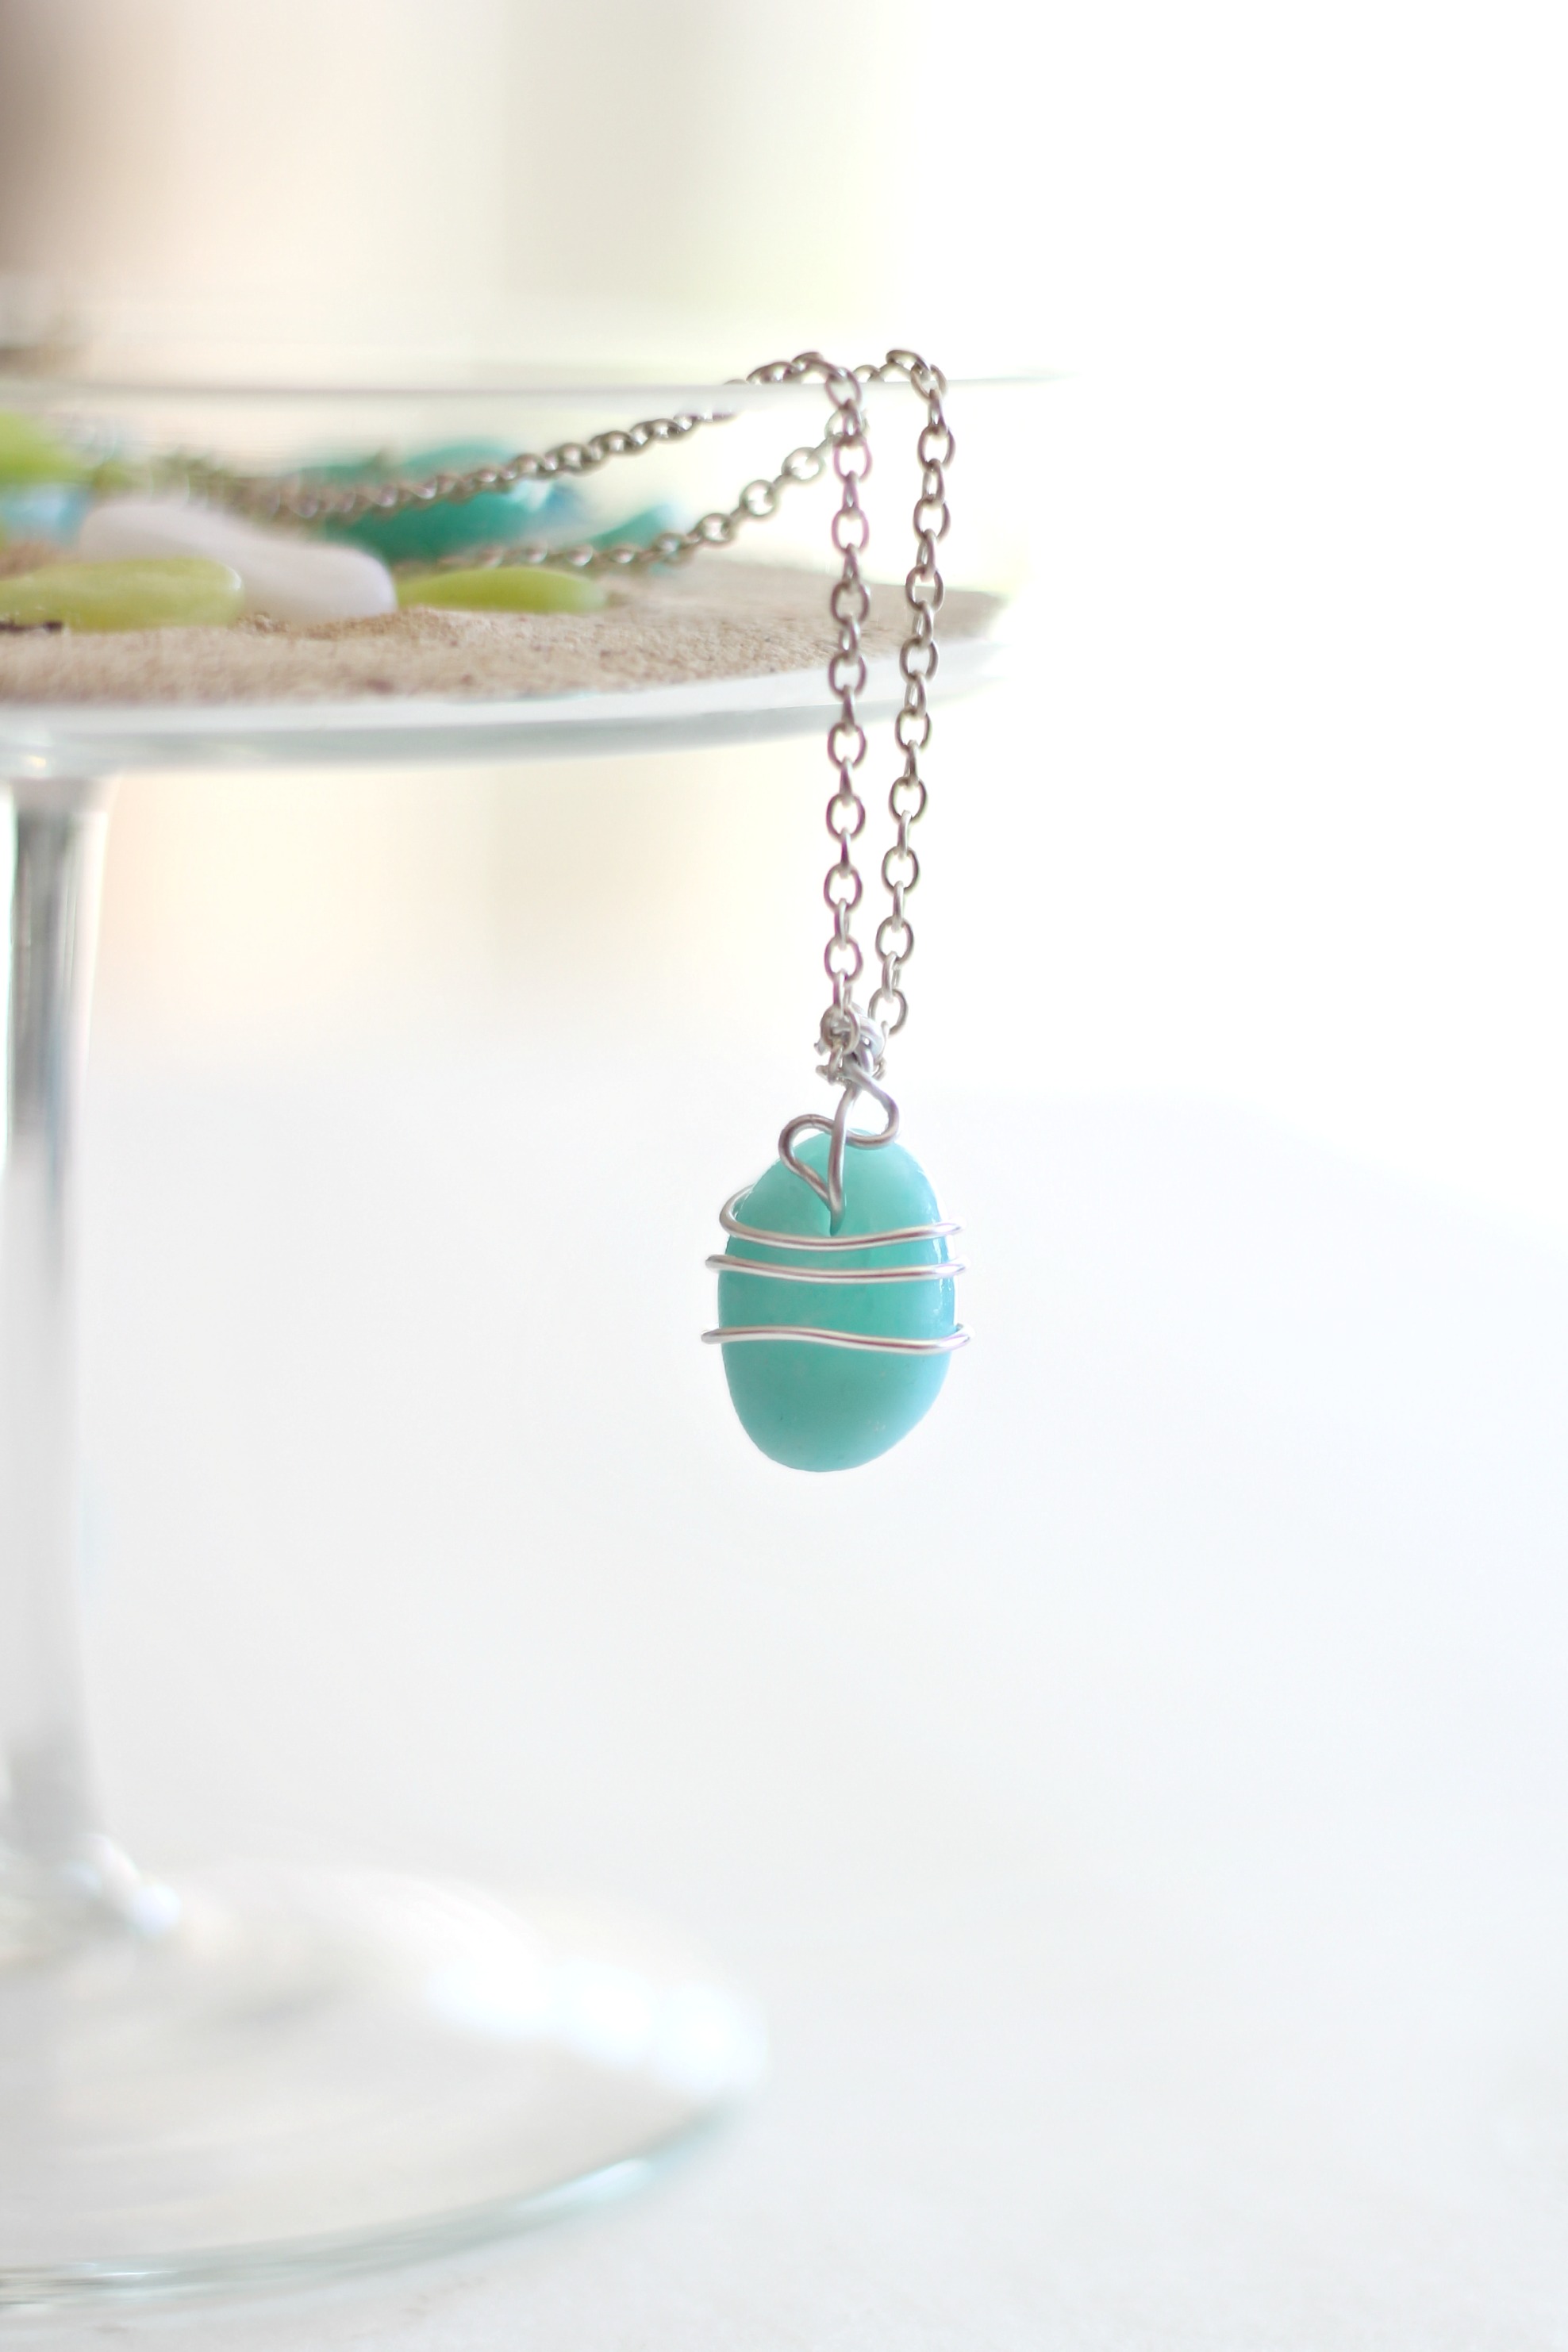
The first batch was not as successful as I would have liked and so I tried to do a little research. There are not many tutorials out there and the ones I found wanted to charge me for the ‘secret recipe’, so I decided to do some trial and error of my own. This is what I found…
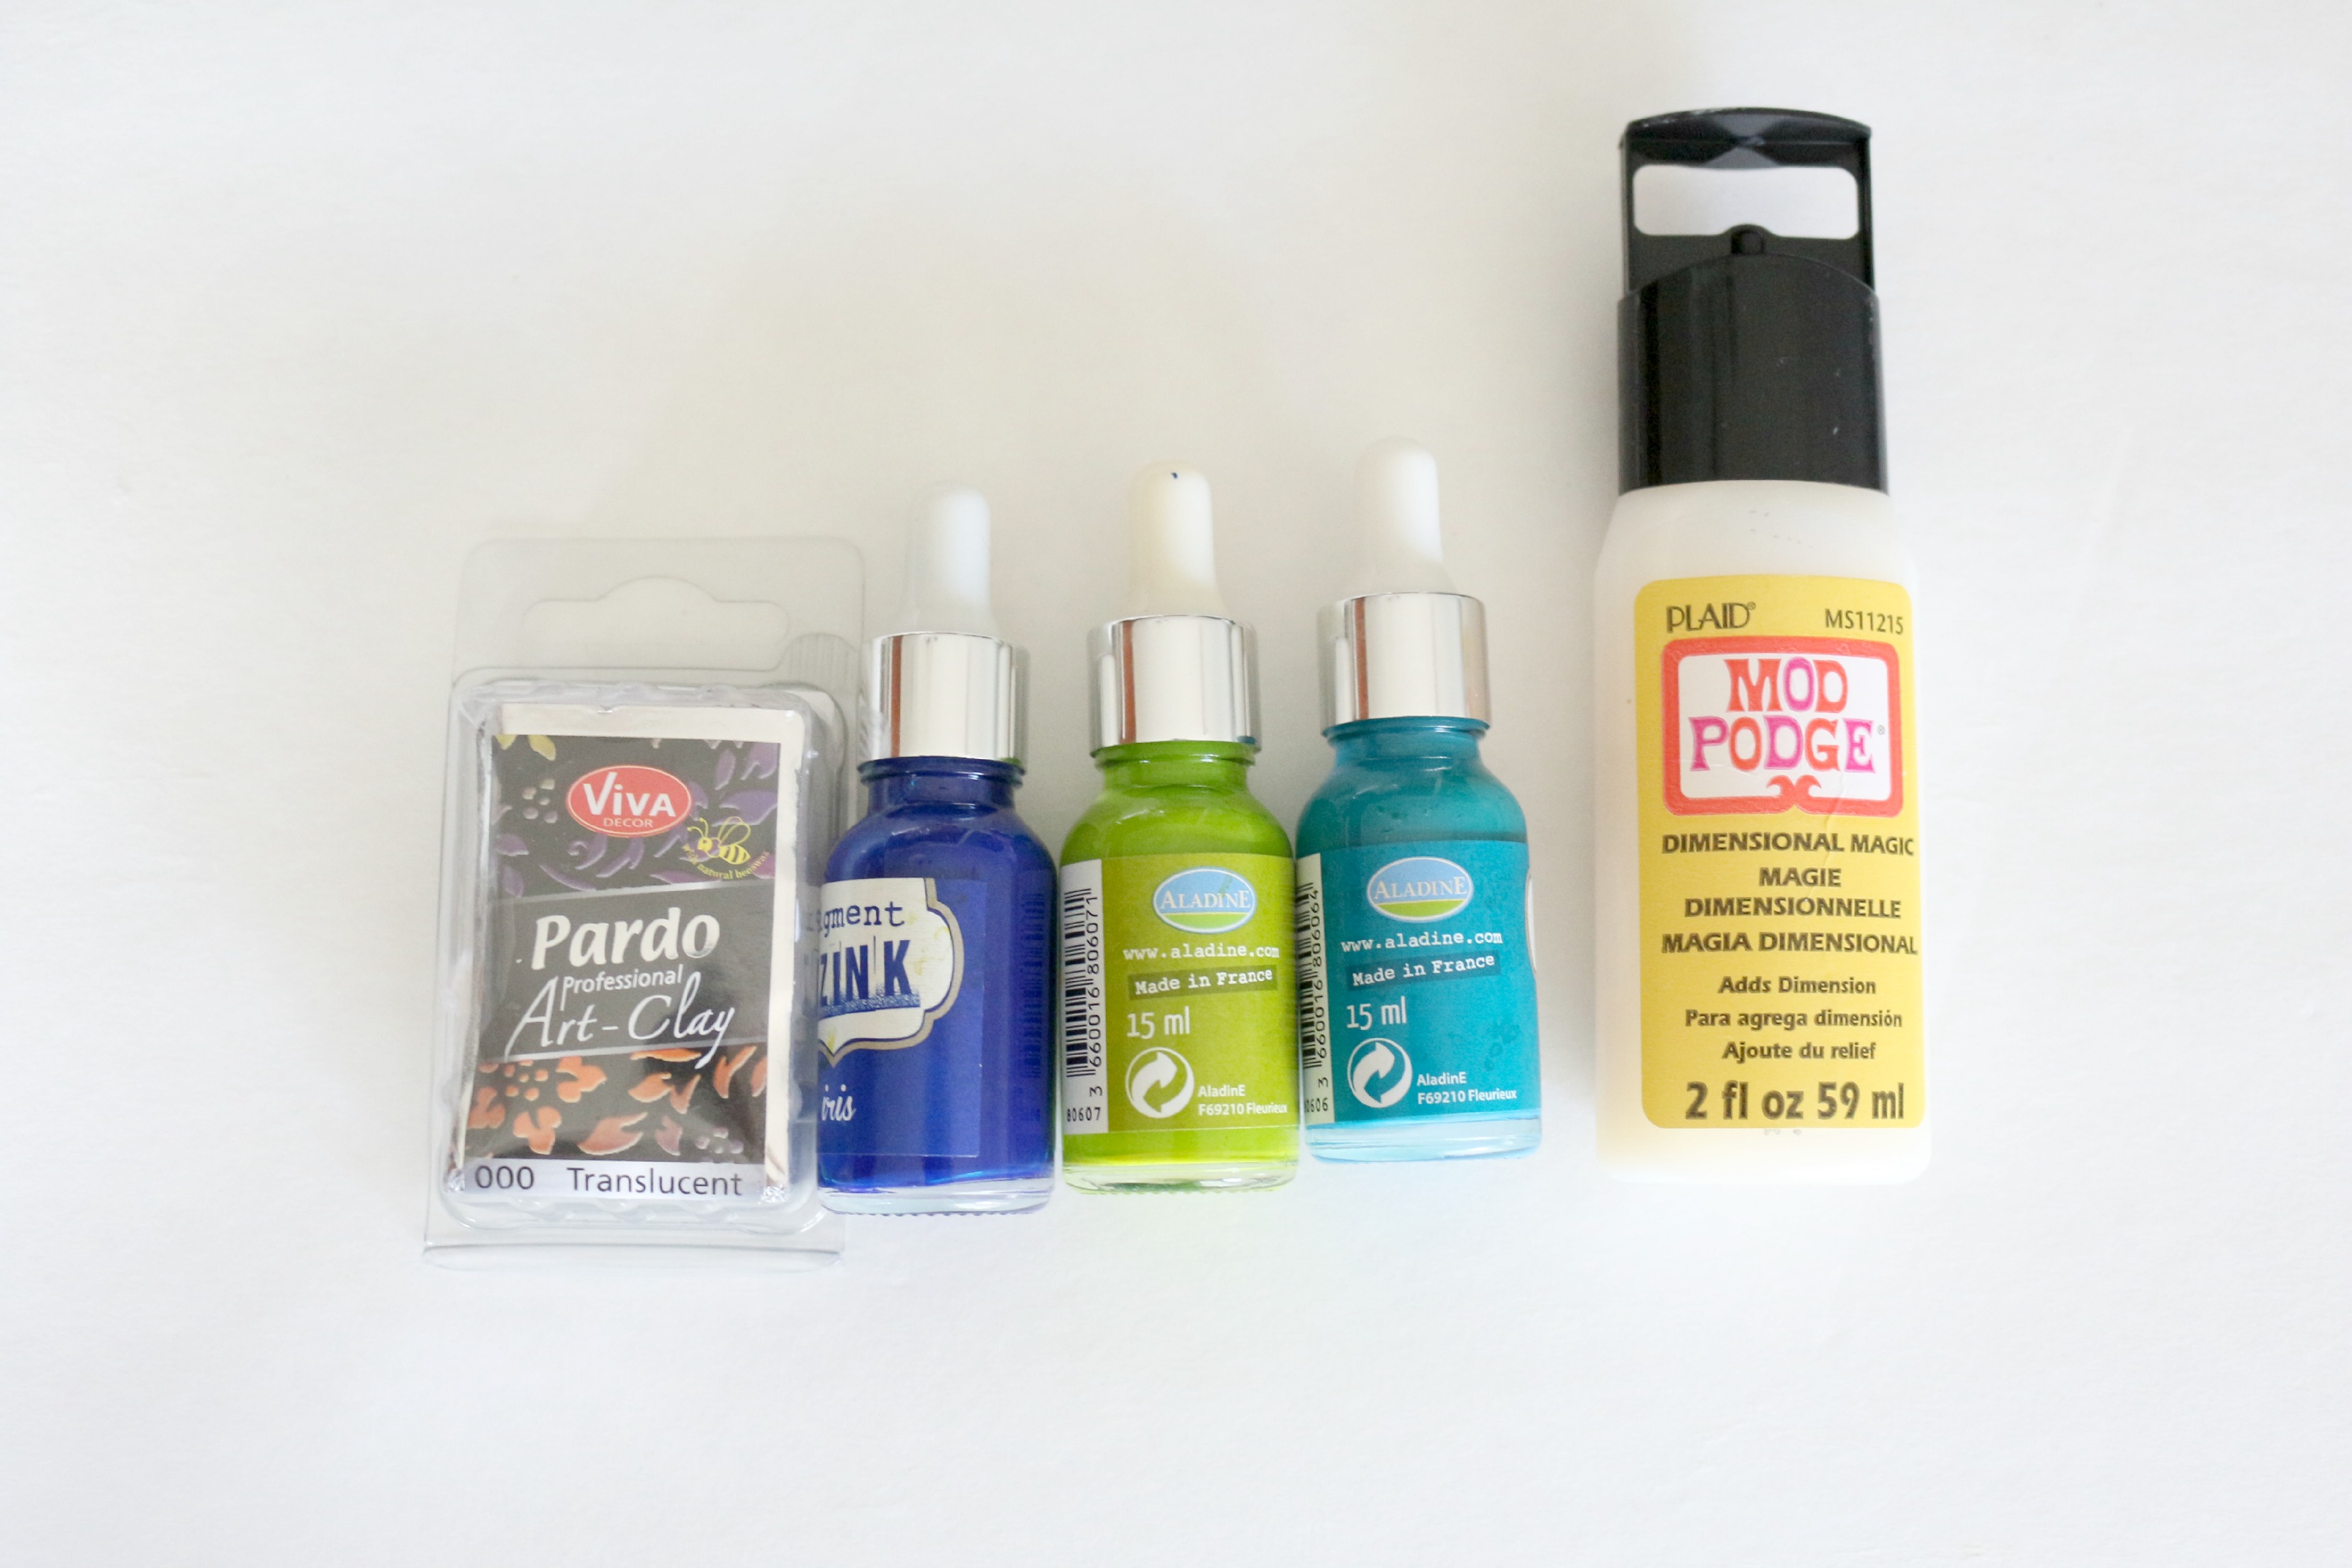 Materials required:
Blue alcohol ink
Turquoise alcohol ink
Green alcohol ink
Pardo Translucent Polymer clay
Optional – Plaid Mod Podge Dimensional Magic Glue
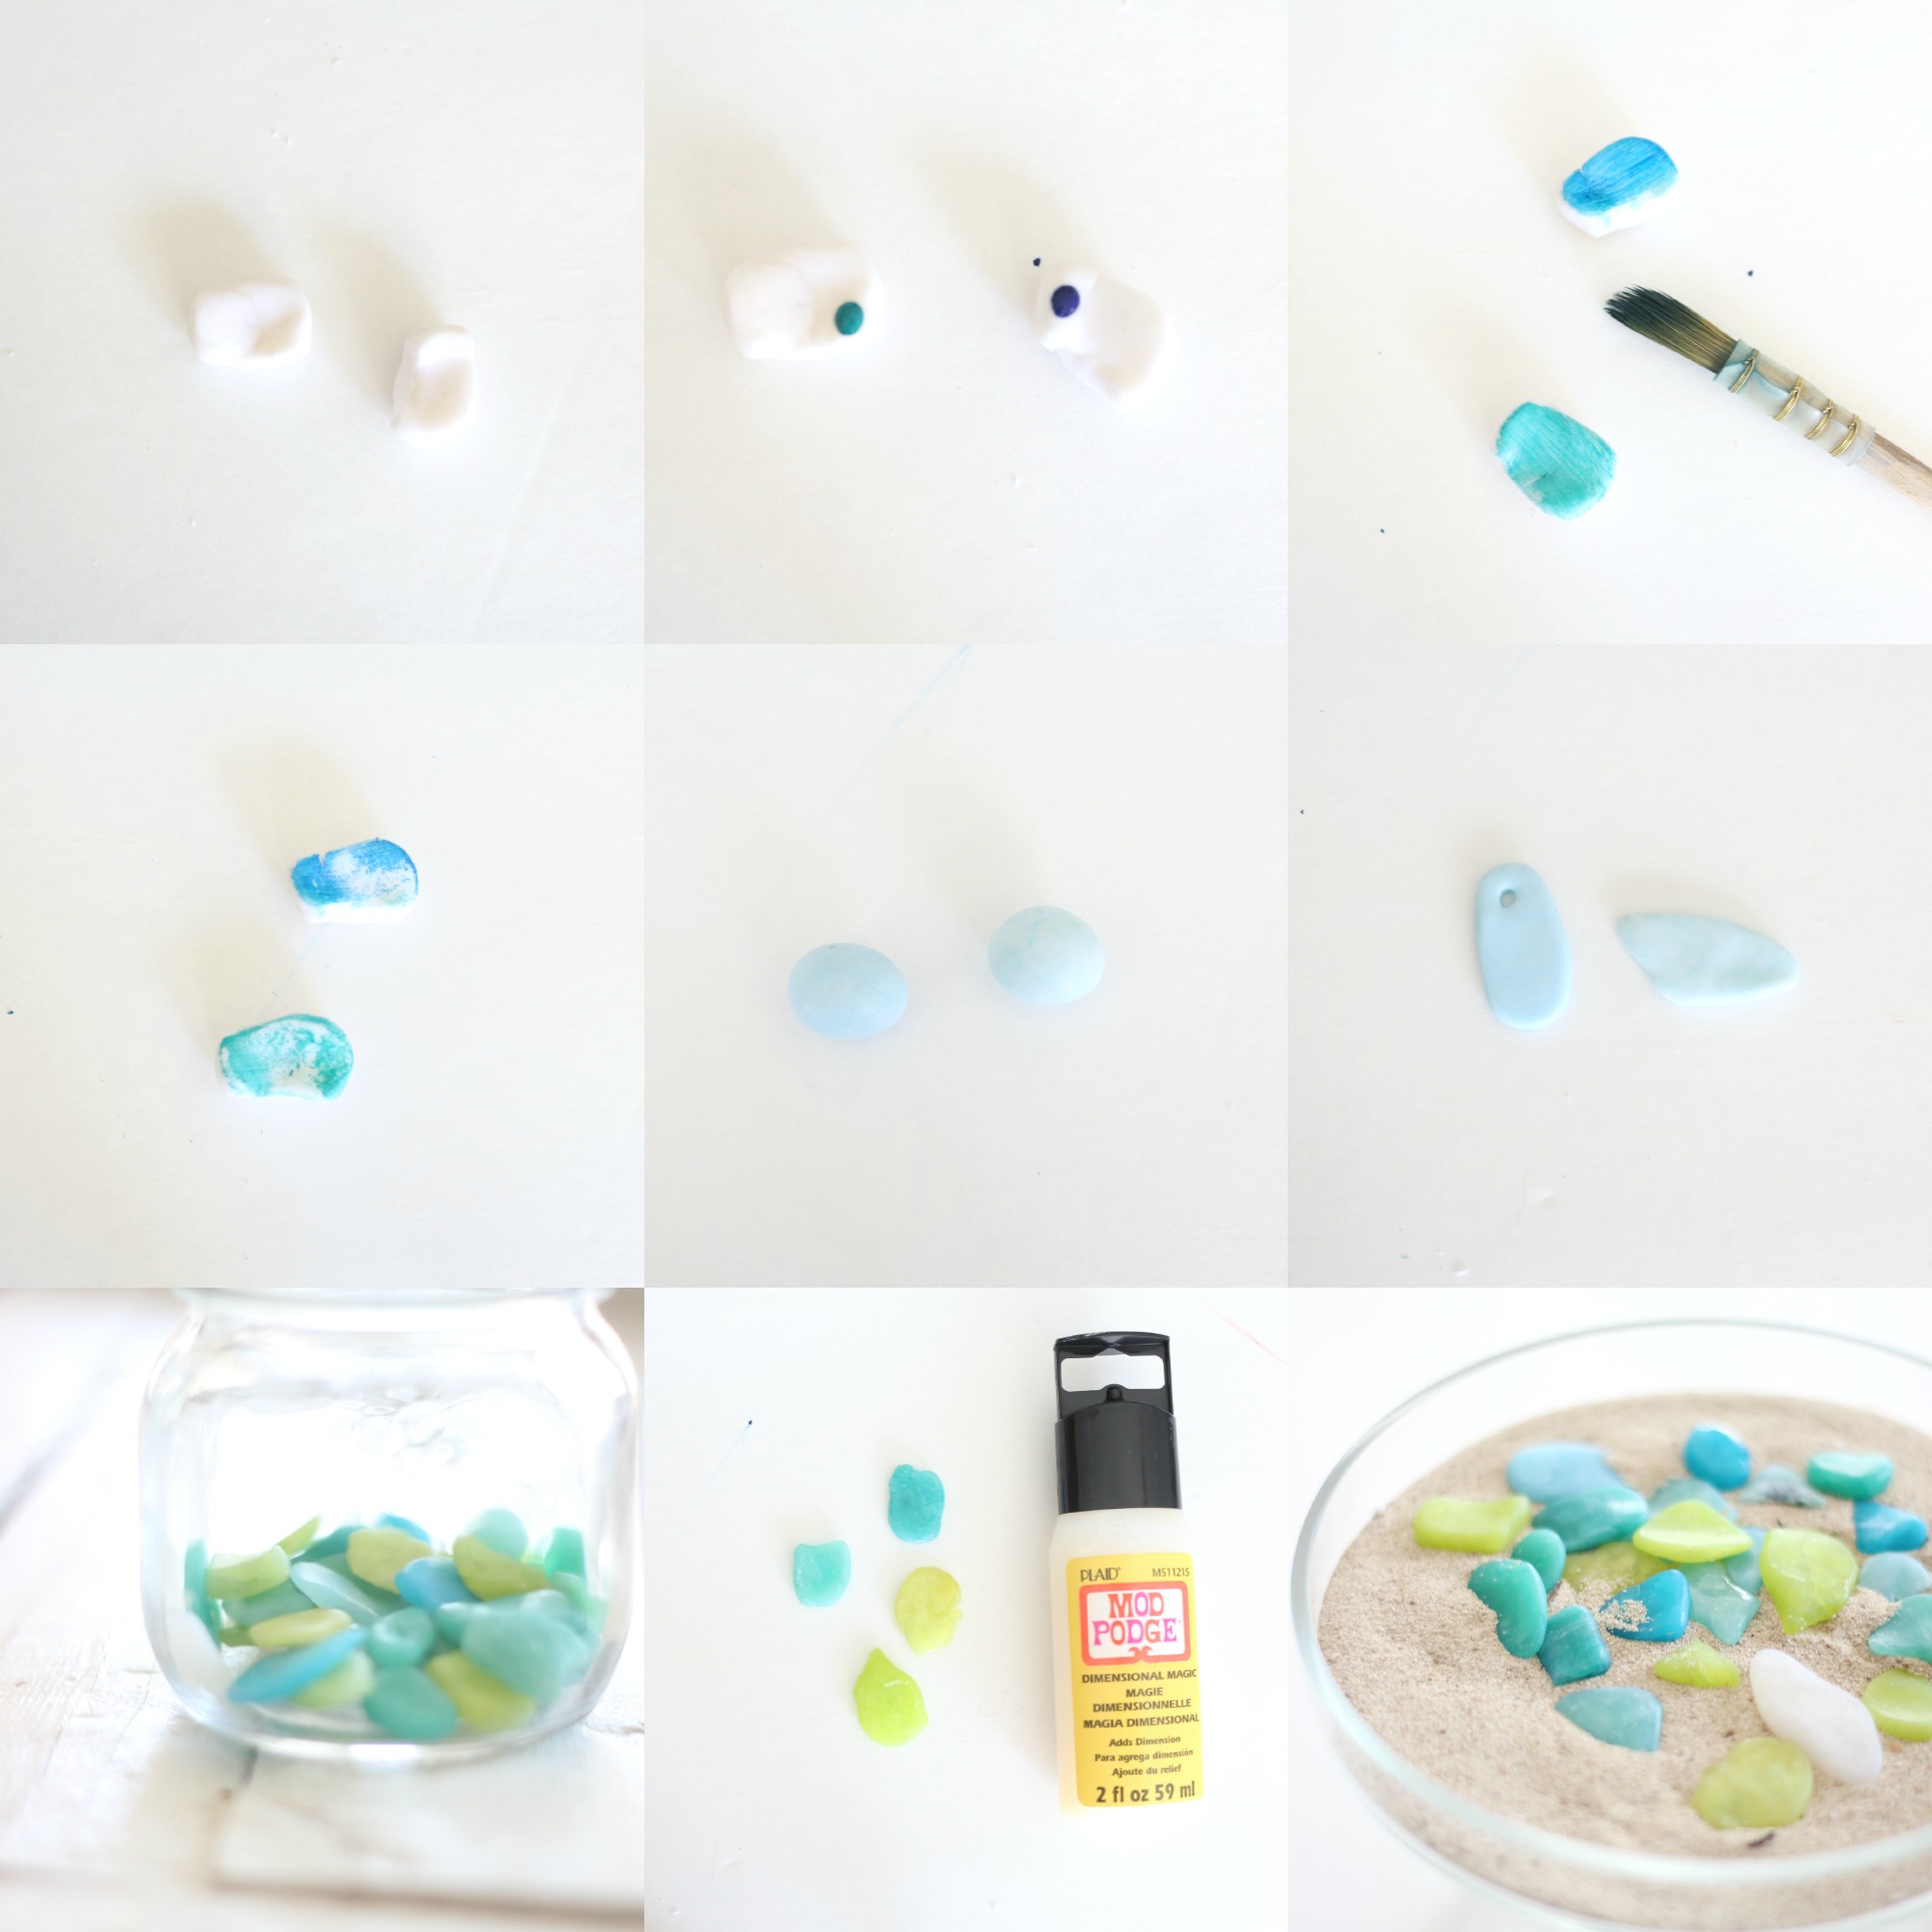
Directions
1. Knead translucent clay well.
2. Apply a very small amount of desired ink color. NOTE: it’s really important that the clay not be saturated with the ink.
3. Spread ink with brush over clay.
4. Wipe lightly with paper towel if needed; allow ink to dry completely.
5. Knead ink stained clay very well.
6. Form irregular pieces in the shape of broken glass.
If desired, poke a small hole with toothpick in order to make a bead.
7. Bake according to package directions; monitor and do not over-bake.
Optional – to add sheen, coat with ModPodge dimensional magic and allow to dry.
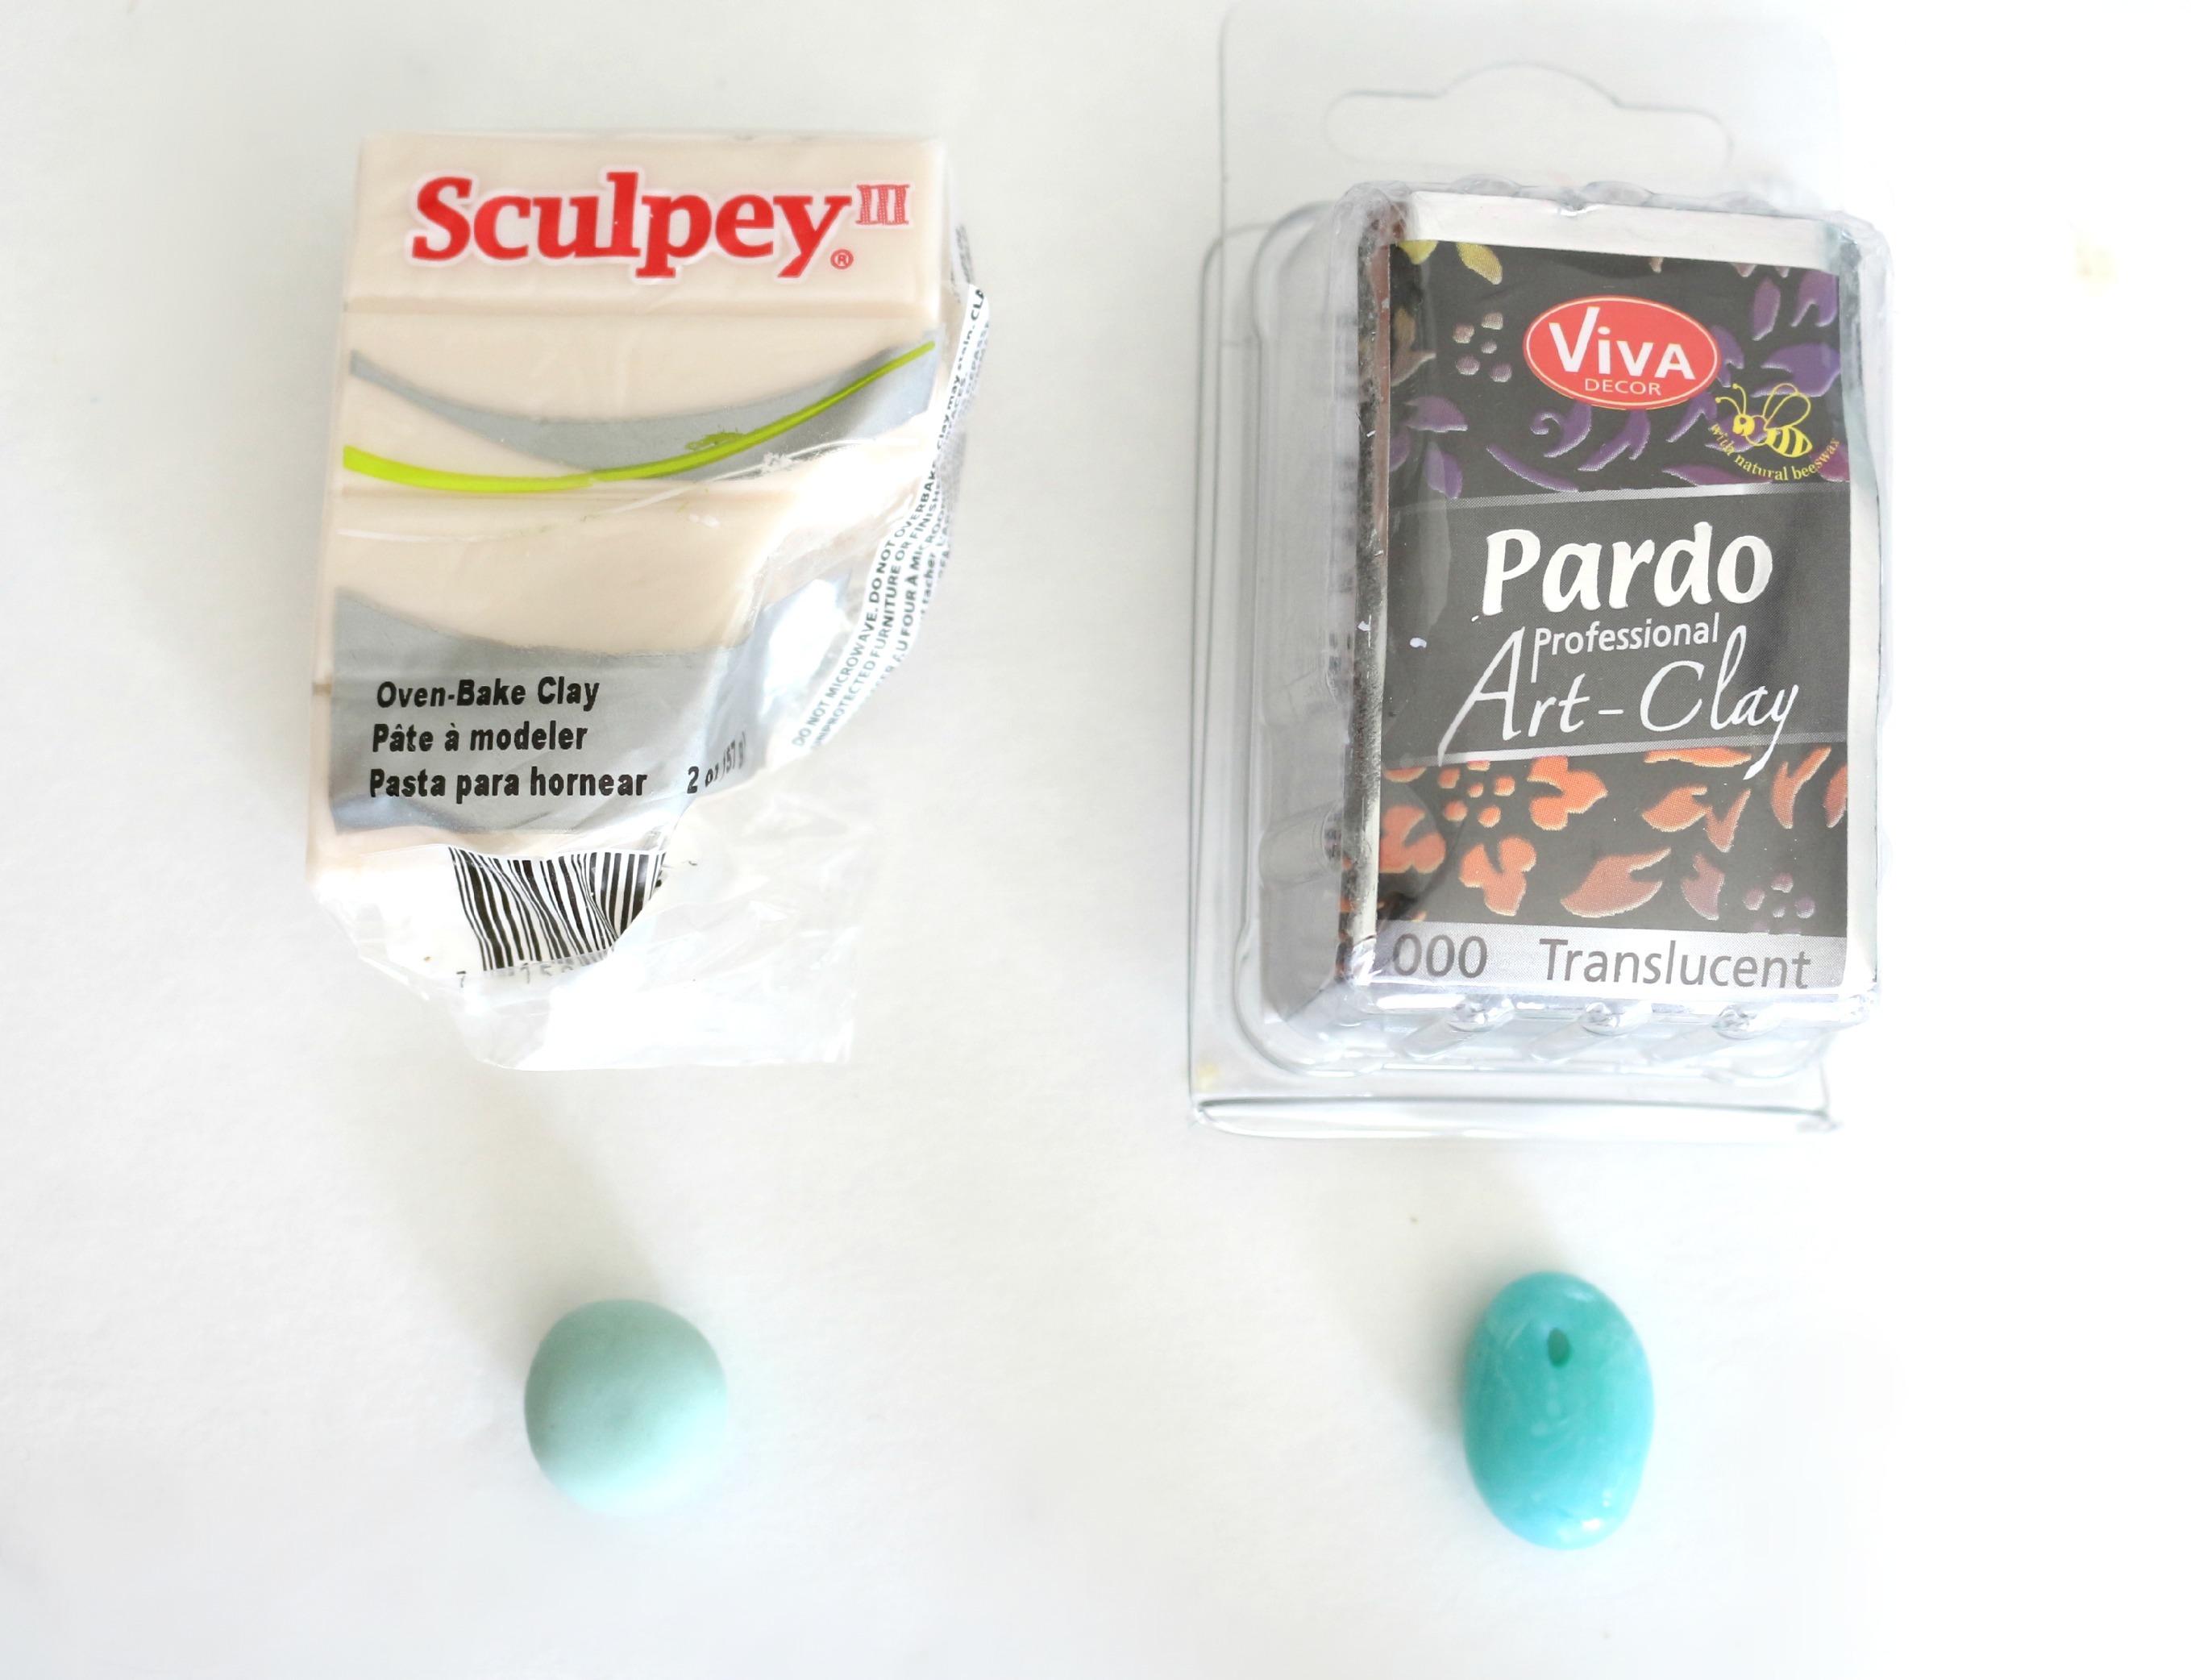
You might find this video useful to see the process, however, I think the trick to realistic looking sea glass is the brand of clay and the amount of ink you stain the clay with. I did various tests and as you can see, the Sculpey is more opaque than the Pardo Translucent. Even though I used the same ink color and amount, they vary drastically. I also tried the translucent FIMO clay and again, the beads were more opaque than translucent.
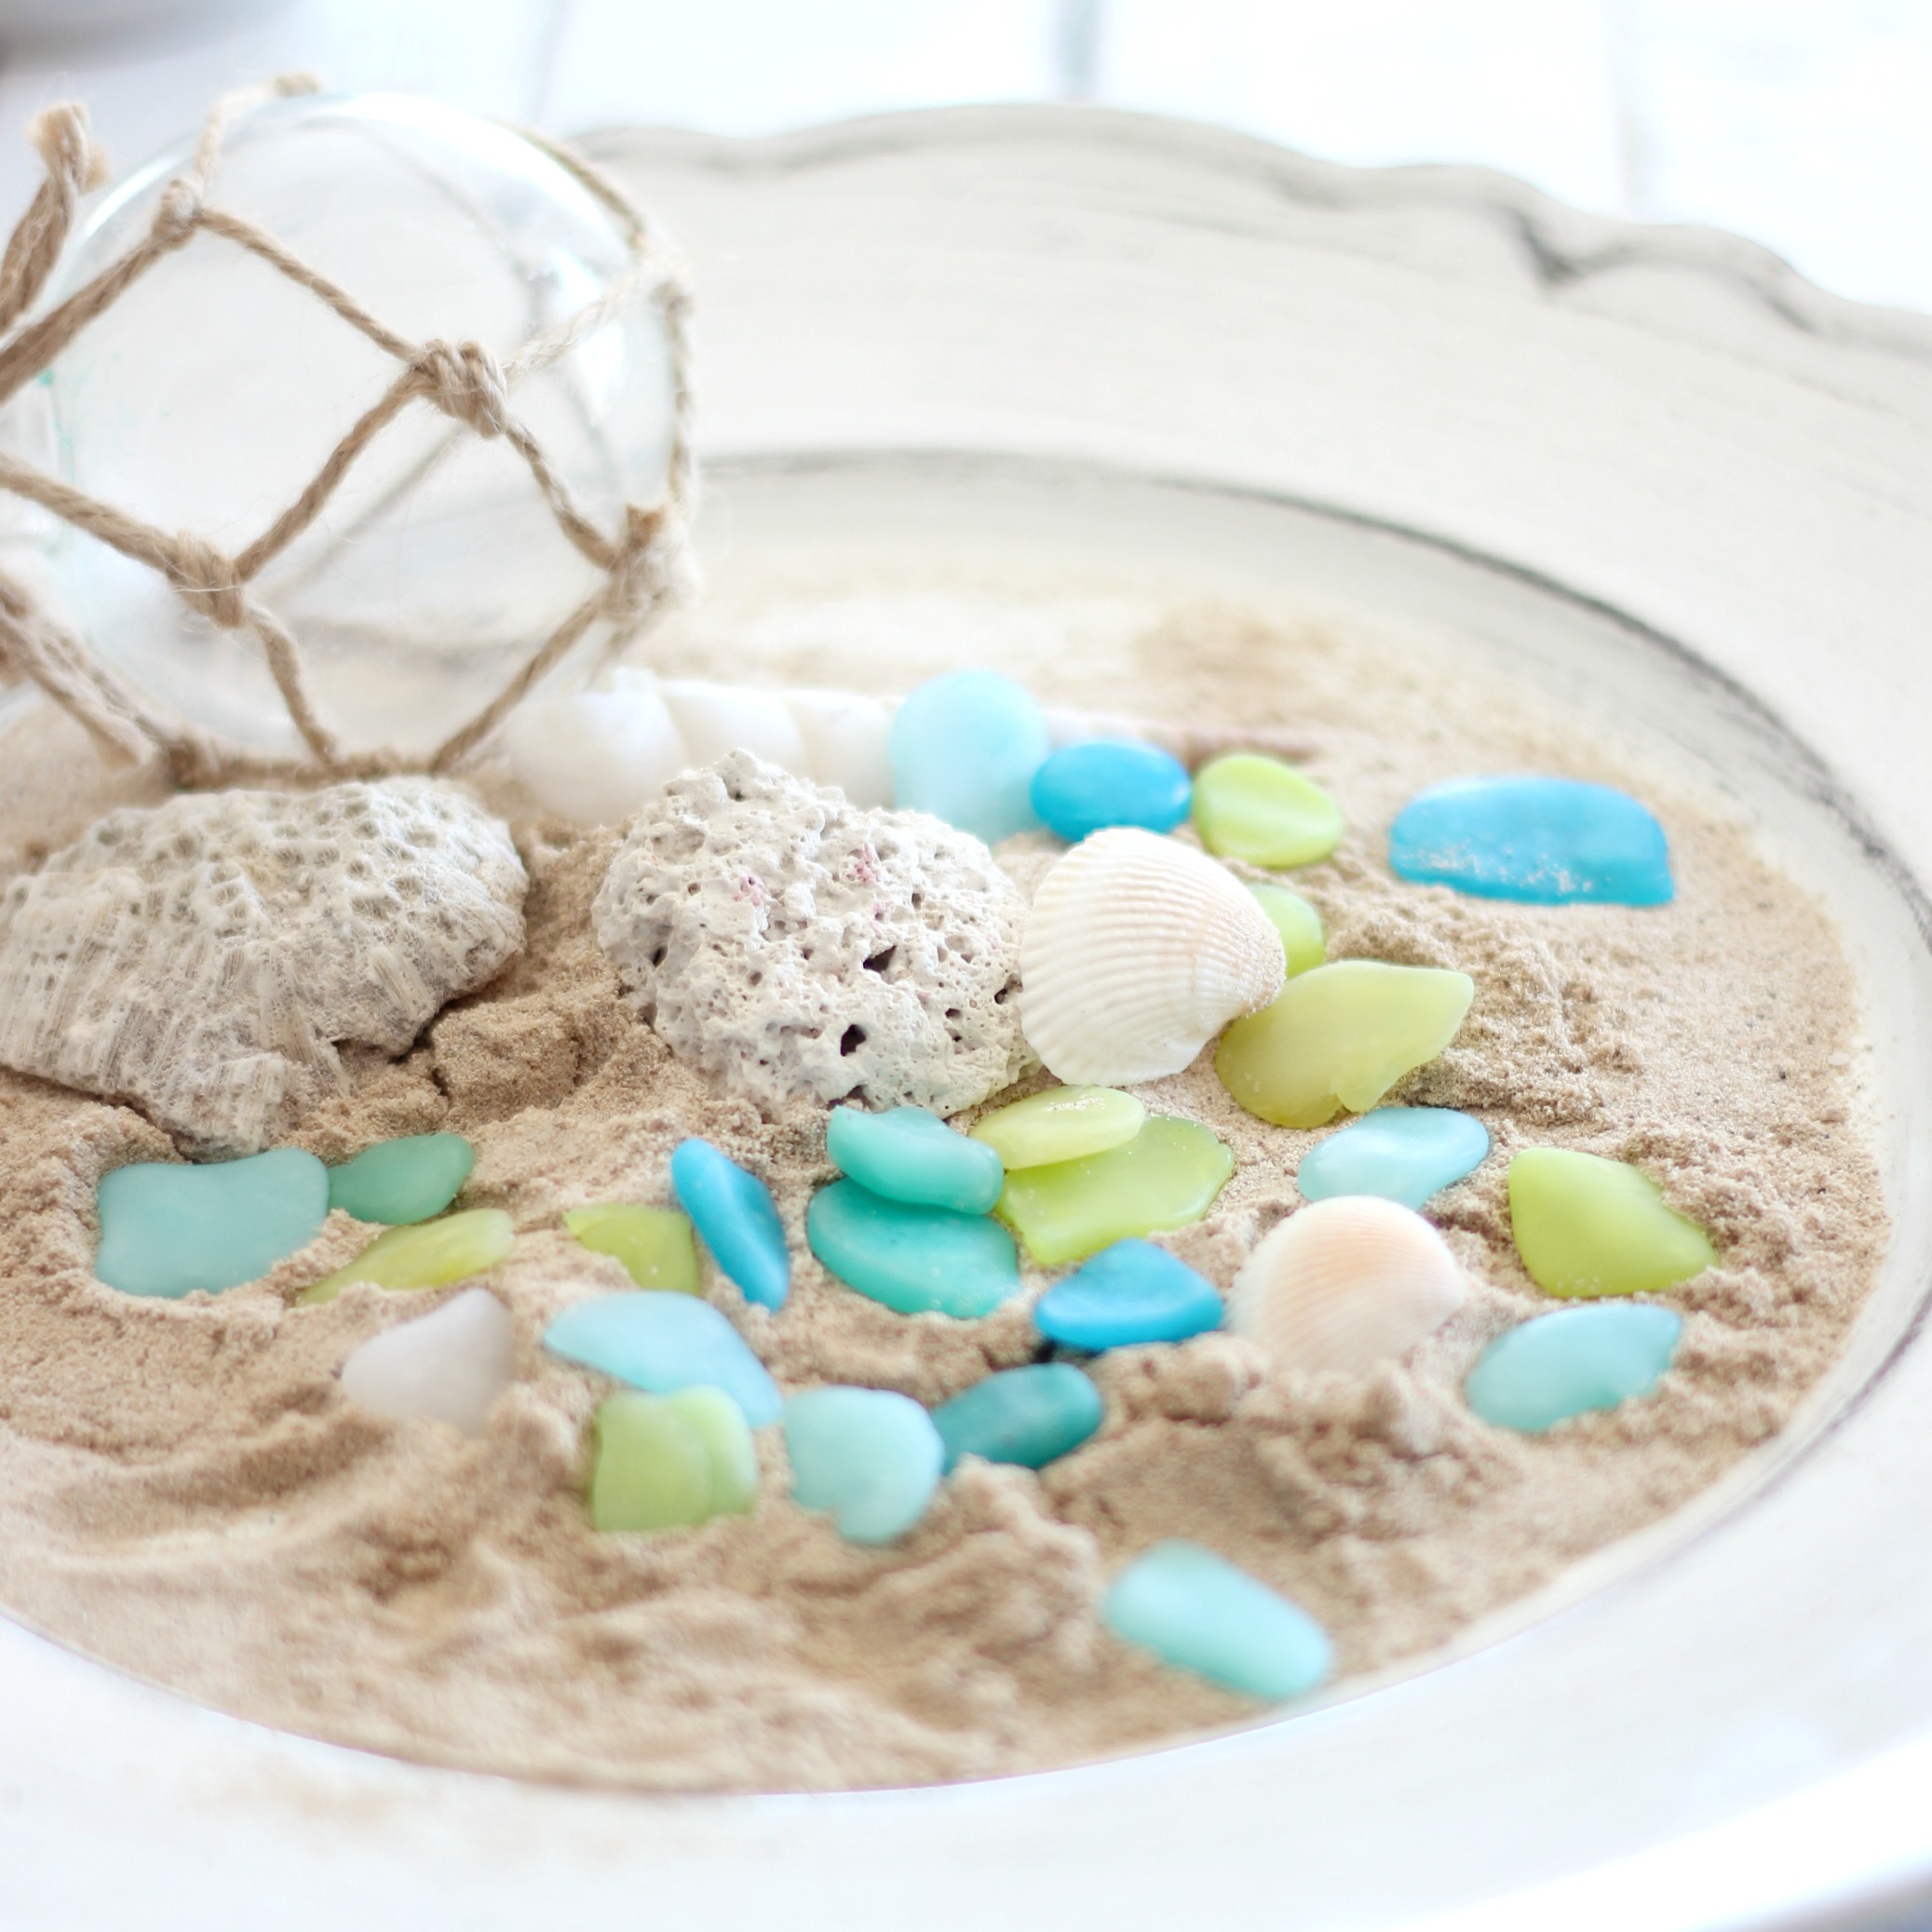
Though you can never replace the real beauty of sea glass, I’m pleased with the end result and think these would make such lovely jewelry beads. They also look pretty simply displayed in a jar or even on a dish like this.
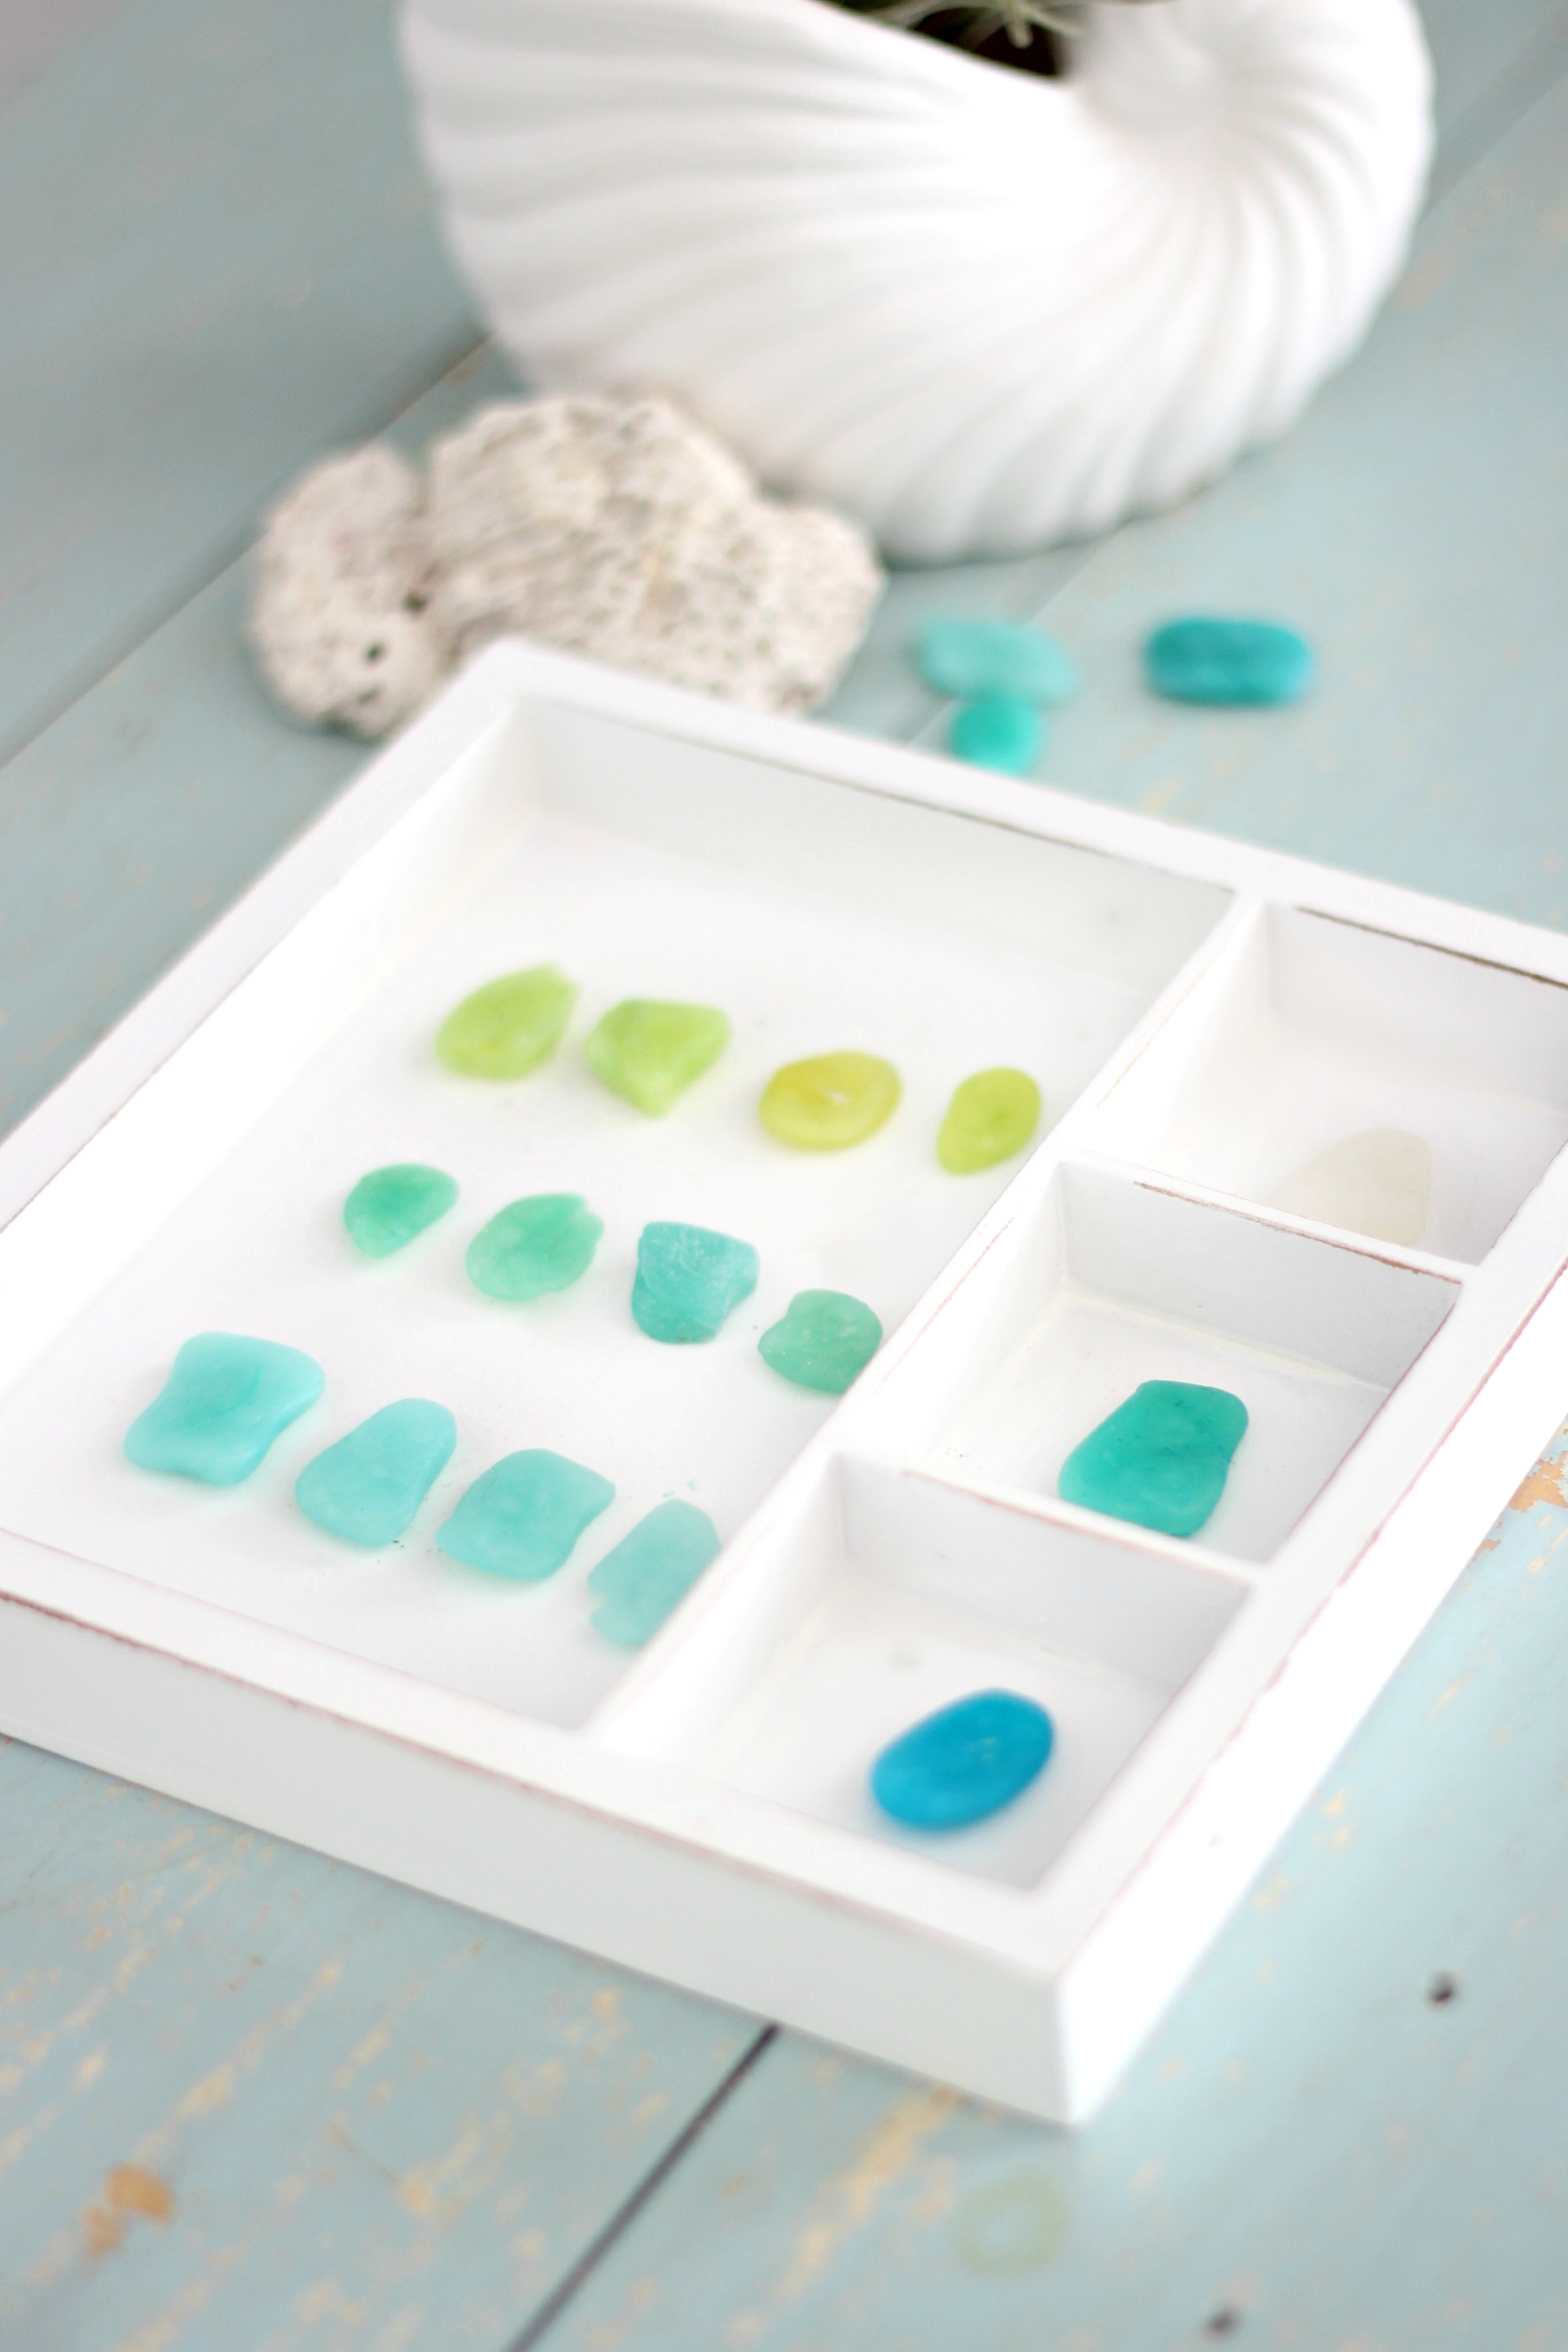
My original idea was to make a pretty sea glass ombre display to place in my Canvas Corp. shadow box, but now my wheels are turning and I want to make other pretty things using sea glass. I do enjoy playing with polymer clay. How about you…have you ever played with polymer clay, and if not, perhaps it’s time…:)
Thank you so much for visiting today. See again soon.
much love,


Here are some other Polymer clay posts you might enjoy.


That is amazing, Lucy! I do think the translucency is the real key to making the pieces look real. I have never heard of that brand of clay but I will look for some. I have always used the Fimo. Hope you are having a great summer with your “noisy” family. lol xo Diana
Oh wow! You do the most amazing ‘faux’ work I’ve ever seen! It looks like the real stuff and I should know. My sister and I went to the beach one year after we went exploring in some of the mansions in RI. We both love sea glass and guess who found a whole bunch of sea glass? Not me! I wanted some so bad to do a craft with and I had to buy some! Her’s was blue and green, mine that I bought was yellow. It’s my favorite color. It looked like sea glass but who knows what I really bought as I’ve never seen yellow glass. I want to try this! Thanks for showing us how to do this.
How beautiful – i really must try this. Thank you for the clay comparison, will look out for the Pardo range ;-0
Oh wow those look so great , I agree the translucent ones look closer to the real thing. Thanks for the demo.will have to check out the clay.
Have a great day.
I’m in love with the faux planter! How cute!!
What?! These are amazing!!! Can’t wait to try this!
Lucy – I absolutely love your blog and all of your artwork. I am a frequent customer of your pillows and art from Society 6.
I recently downloaded the turquoise buggy and have had problems printing it. I usually send my printables to our local UPS store to print, but this one has more then 25 mb so I couldn’t attach it to a gmail and so I saved it to a thumb drive, but it shuts down the UPS computer when they try to print it and it also shuts down my computer when I try to print from home.
Any suggestions on how to resolve this?
You are so creative Lucy! I’ve never seen the polymer clay that you used. That is really neat how transparent it is. It really does look like you made sea glass. Another fantastic project!
Hey Lucy, You did great job with polymer clay and make stylish glass of faux sea. Its wonderful job and i would also like to try it.
Gracias por compartir….
Hello! I’ve included your faux sea glass as part of a DIY Inspiration – Seaside…
http://adorablest.com/2015/11/04/diy-inspiration-seaside/
xx Claire
Cookie Time | Heather Bakes
If you are looking for Pardo Clay, you can find it at http://www.polyclayplay.com/Cart/categories/Polymer-Clay/Pardo-by-Viva-Decor/Pardo-Translucent/
You can find all your favorite Viva Decor products there.
Thanks for sharing your tutorial!
Love your photography, you make your items look really good. You might want to rethink your comment ‘do not over bake’ when using Pardo clay, especially when attempting to produce clarity in your results. If you bake Pardo at higher temperatures than those recommended on the packet (hint: try going up to 160c rather than the recommended 120c if looking for greater transparency) but you will need an oven thermometer for this to ensure that your oven is at the correct temp’ since 160c is getting close to where this clay can discolour and even burn, so the thermometer is a really good tool. If you try this, I think you’ll be surprised at how good your results can be.
Great article!
Here is a nice tutorial on translucent clay:
https://www.fimodiy.com/jewelry/translucent-polymer-clay-tutorial.html