Hello friends! I hope you had a great weekend.
This week, I am honoured to bring you a series of guest posts from a few friends that I think you would love to get to know (if you don’t already). These ladies are not only talented, but beautiful inside and out.
We’ll be kicking it off with my dear friend Rachel from Shades of Blue Interiors. Rachel is one of those people whose infectious joy makes you feel good all over and you can’t help but to laugh when you’re around her. I am blessed to call her a friend and honoured to have her share with us one of her amazing wood staining techniques.
She is a master at refinishing furniture and I encourage you to visit her beautiful blog to see for yourself.

Hey ya’ll! I am so excited and honored to be guest posting here on Craftberry Bush today! Lucy is one of my most favorite people ever and I’ve been incredibly blessed by her friendship, since we met last year at Haven Conference.
To tell you a quick bit about me, I’m a transplant mid-westerner (St. Louis!) and I blog over at Shades of Blue Interiors. I do a lot of furniture makeovers, some furniture building, interior design tips, DIY home decor, crafts, and a few recipes. Since I’m most known for unique finishes I create with paint and stain, I thought I’d show you a finish that I created recently and reminded me of one of my favorite stores: Restoration Hardware!
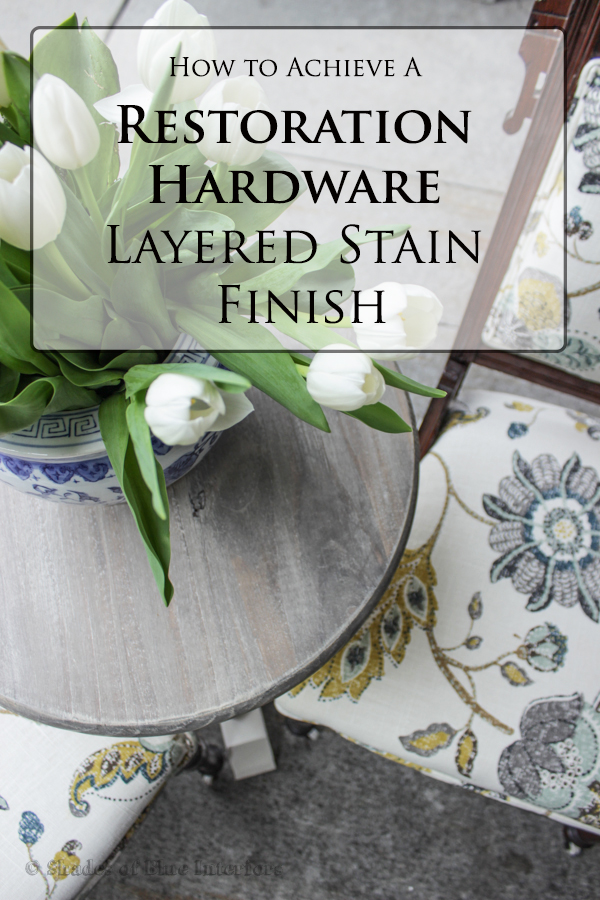
Last month I posted free plans on my blog for a small trestle end table that I designed and built. After I did one, I just couldn’t stop! I built two more and gave them this very same unique Restoration Hardware Layered Stain Finish. Well, last weekend was a huge upscale vintage market where I had a booth, Vintage Market Days, and I missed them so much I made another so I could show you this tutorial on how to achieve this look.
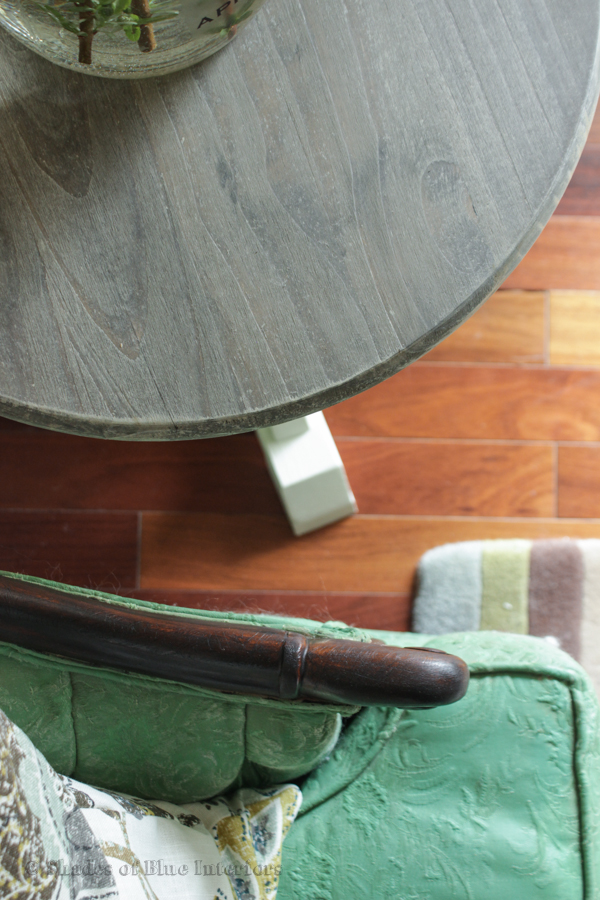
While I used this technique on this small table, you could absolutely do this same finish on a dresser top, a dining table top, a console or buffet… you get the idea!
To start with you will want to have a clean, smooth, bare wood surface. The wood should also have been sanded with 220 grit evenly, prior to staining.
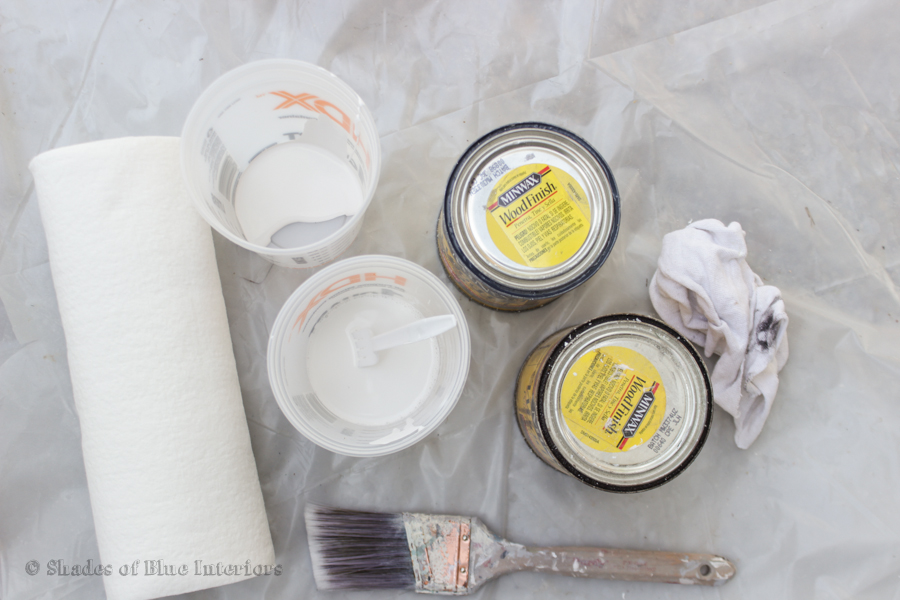
Supplies You Will Need:
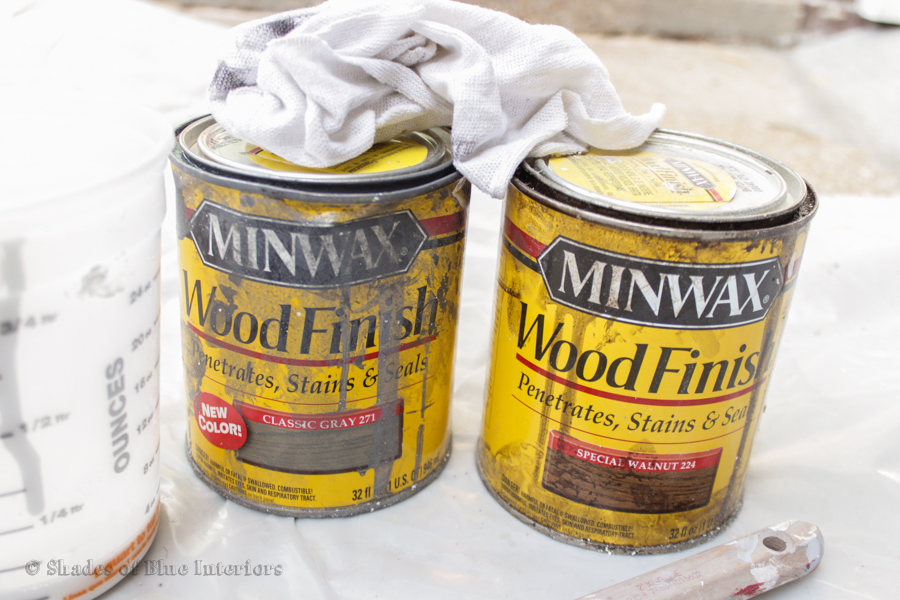
- Minwax Classic Gray oil-based stain
- Minwax Special Walnut oil-based stain
- Cotton rag to apply stain
- A cup of white-wash (watered down white paint –I’m using Annie Sloan Chalk Paint in Pure White– watered down about 50/50)
- A couple tablespoons of normal consistency white paint in a separate container (I’m using same paint as above)
- Paper towels
- Paint brush
Step 1-
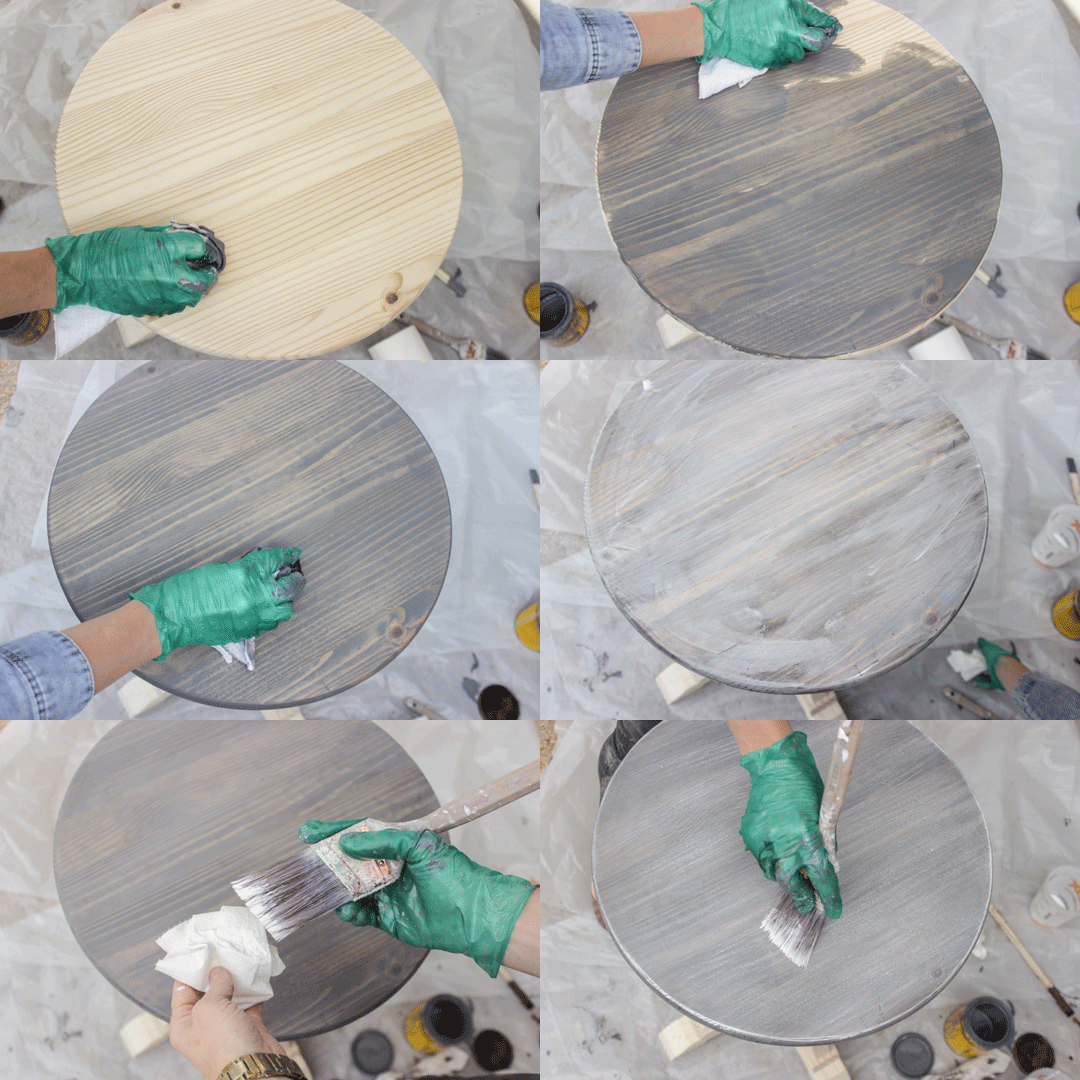
Apply Classic Gray stain with rag, wait a couple minutes and wipe off excess with paper towels.
Step 2-
Apply Special Walnut stain with same rag, on top of classic gray stain, just applied, wipe off excess immediately.
Step 3-
Apply white-wash on top of stained surface, and with a clean paper towel, rub in and wipe off excess so marks aren’t visible. Let dry for about 10 minutes.
Caution: I have not tried this with water-based latex paint. Annie Sloan Chalk Paint had no problem adhering to the stained surface and soaking in.
Step 4-
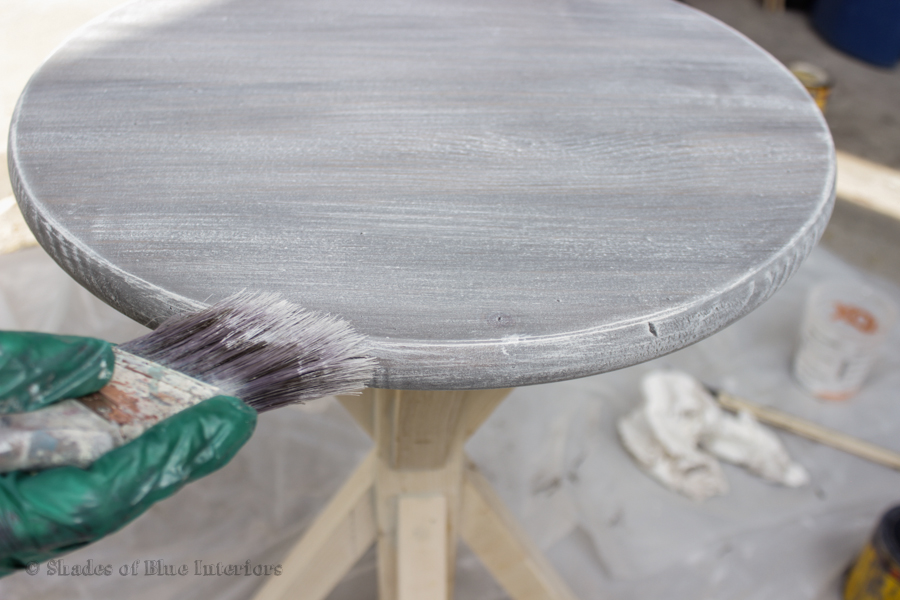
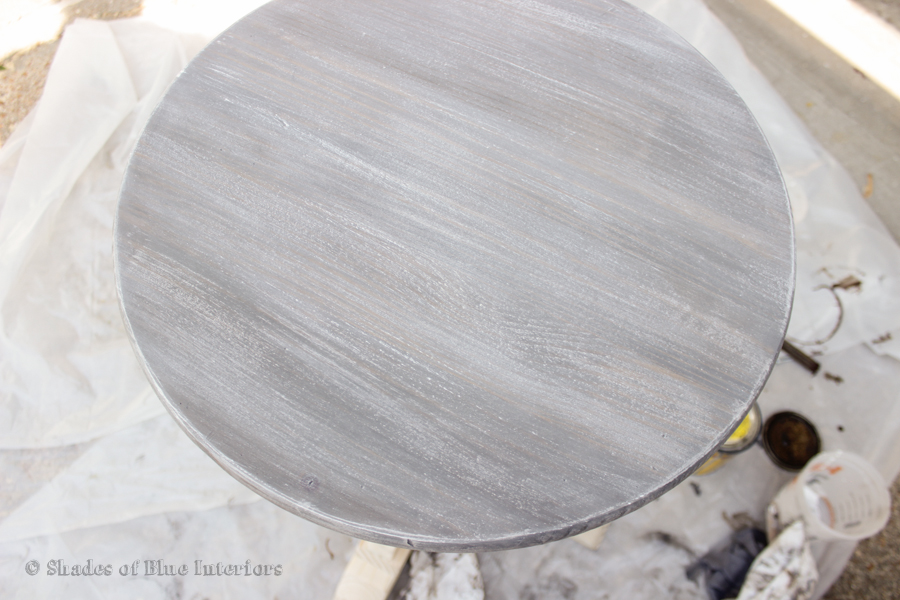
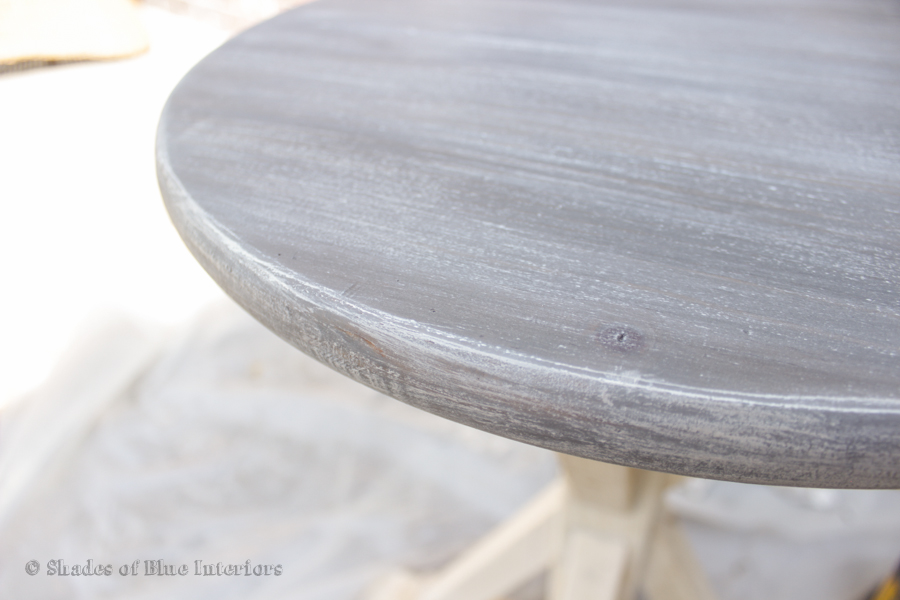
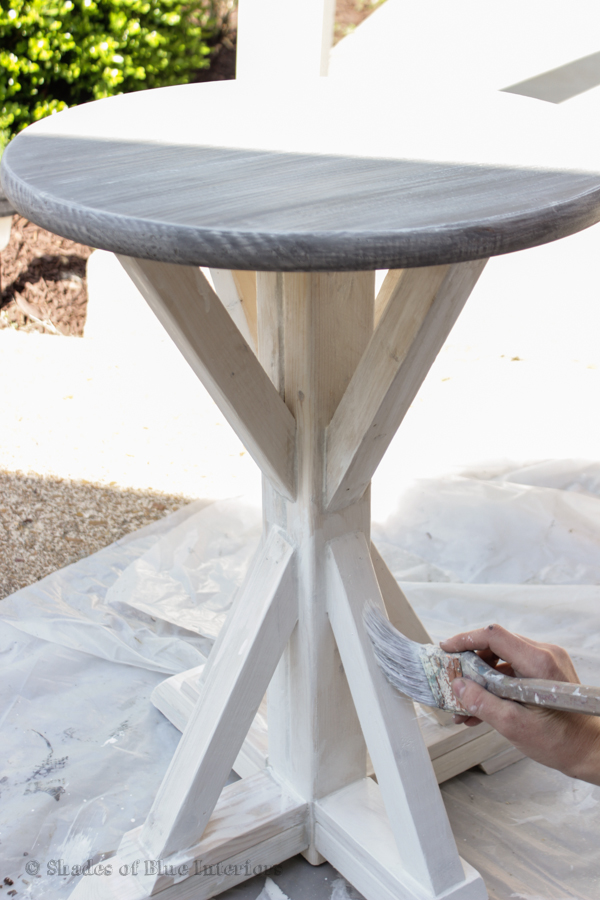
Using brush, dip in normal consistency white paint, and thoroughly dab off onto a paper towel. Dry brush, going in the direction of the grain, across stained and white-washed surface. Don’t forget the edges! For a more detailed demonstration on how to dry brush, you can watch my video tutorial HERE.
Step 5-
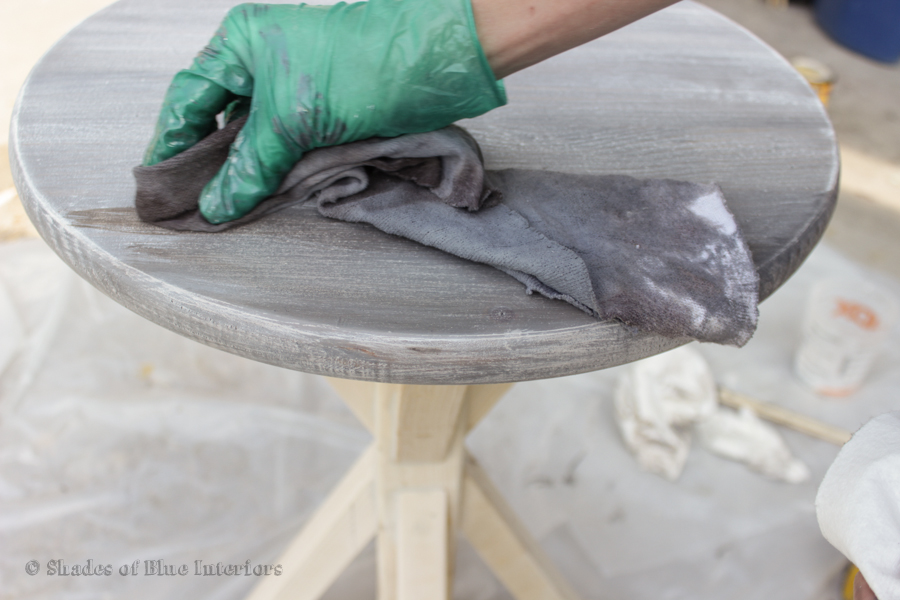
With same rag used for previous stains, use a small amount of Special Walnut stain and rub on top of dry brushed surface, to add back some warmth. Use such a small amount on this step, that you won’t need to wipe off excess.
Step 6-
Apply desired topcoat. I used Minwax Wipe-On Poly, only sanding very lightly with 600 grit between coats (I did 2 coats only).
I created an animated GIF to demonstrate all the steps:
Here is the part where I am dry-brushing the edges.
If you prefer a cooler gray finish, you could omit this step of wiping a little Special Walnut stain on top.
I love the texture and visual interest this look creates.
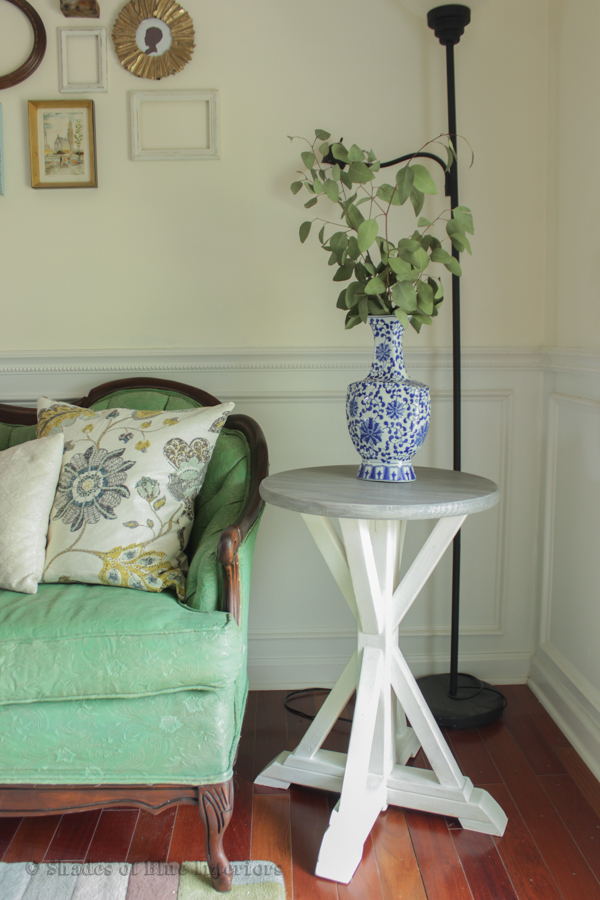
While I could have done this same finish on the entire end table, I didn’t for two reasons: it would be a pain to do all those steps into all the corners and crevices of the base and legs; and I liked the contrast look of a white base and layered stained top. It makes it a little more special. 🙂
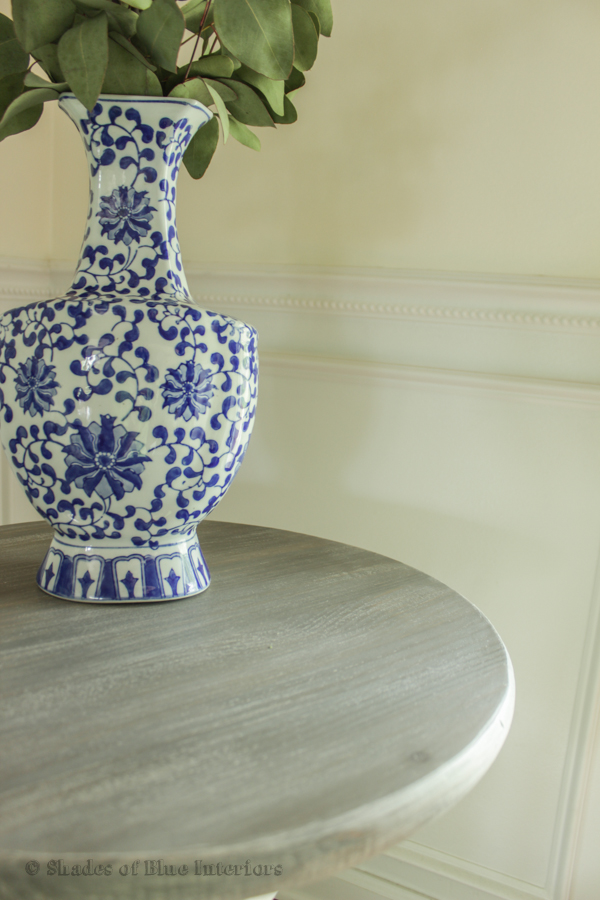
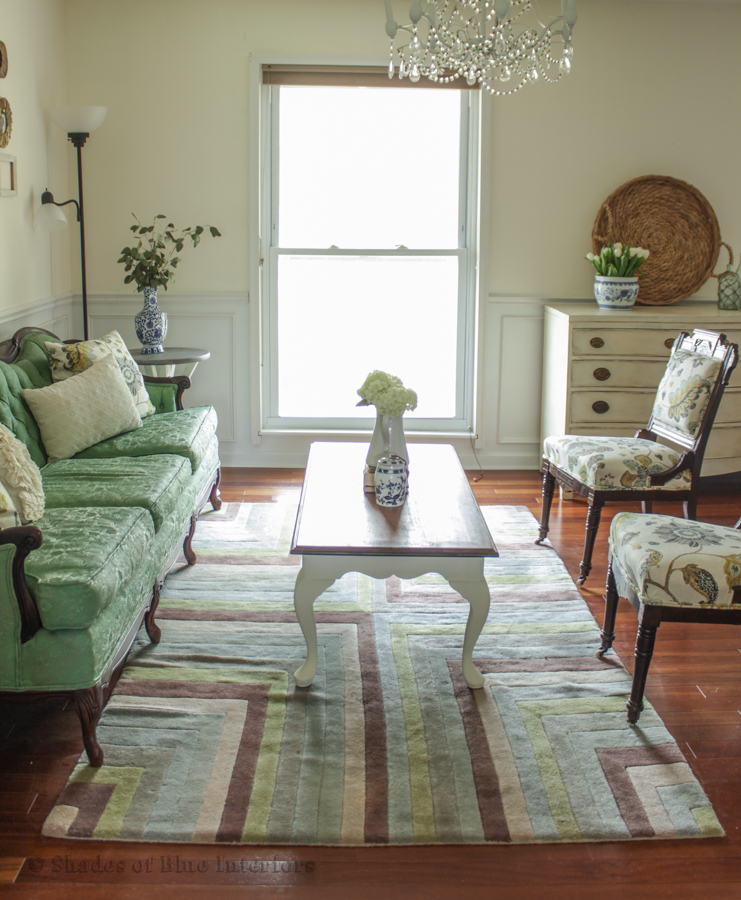
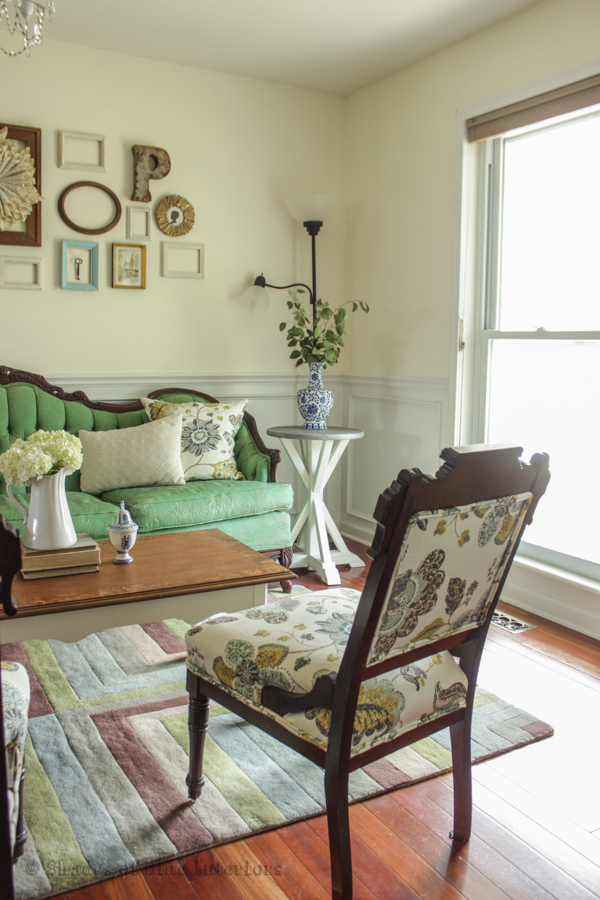
Here she is, in my front room, with a pretty thrifted vase on top!
I don’t worry too much about mixing stain finishes in the same room. The colors all still work together, and I’m so happy to have that perfect-height little table back where it belongs!
The Eastlake parlor chairs are what was leftover from Vintage Market Days a couple weeks ago, and I upholstered them with the same fabric I used to sew the pillows sitting on the green couch I painted. I’m thrilled they didn’t sell, because I love them in this room!
Thanks again to lovely Lucy for letting me visit and share with you a little of my expertise! Hope you enjoyed this tutorial and if you have ANY questions please comment below!
If you are feeling social, I would LOVE if you followed along my creative journey:

Great tutorial! I LOVE all of Rachel’s painted pieces and techniques.
SO perfect! I cannot wait to try this!!!
What a great finish! Love this look – thanks for sharing Lucy and Rachel. So glad to get to know your blog.
Great job Rachel and Lucy! Thanks for sharing this step step restoration guide! The outcome is lovely and it blended well with the interior.
Great job guys! I always wanted to learn on how to restore things just like this chair!
Love the finished look. Do you let it dry before applying the wash and then let it dry before dry brushing ?
I had the same question! Did you ever figure out what to do? Thanks!
I’d like to do this look on my fireplace, but a little more white. Would you reccommend this method or should I keep searching? Thanks in advance!!
Thanks for sharing this experience with us. It turned out great. The pictures look classy as always!
Hello Sir
what is your guest post price in your site=https://www.craftberrybush.com/
i am waiting your response
thanks….
Greetings, my friend! I have long wanted to try betting on sports, but didn’t know where to start. A friend recommended this bookmaker’s office, and I did not regret it! The registration is very simple and the interface of the site is understandable even to a beginner overview. I have already won several times and withdrew the money without any problems. I recommend you to try it too!
Do you happen to know where you got that vase from that you placed atop the table? I picked up an identical one at a thrift store in Chicago and cannot find the origin. Hoping you can help me put the pieces of the puzzle together.
I’m very glad that my friend recommended this cool and high-quality site for playing slot machines online – 1win . I really like this site, and I think that this site is the best place to play slot machines online! So try and check out this site, because here you will find something to play! Goodbye.