Today I have the pleasure to introduce you to my friend Susan from Kindred Vintage.
Susan is brand new to the blogging world and I am so honoured that she agreed to guest post here for us.
Susan has a beautiful home which she shares on Instagram and her beautiful soul inspires me everyday.

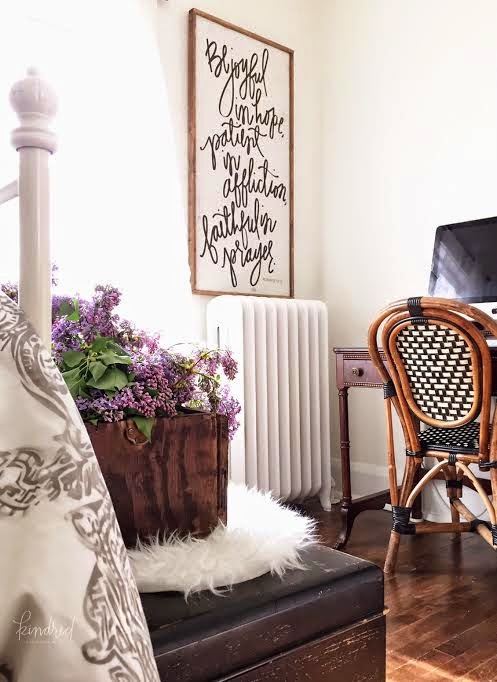
I am so thrilled to be guest posting here at Craft Berry Bush today! I was beyond humbled when Lucy reached out to me and I am very excited to take on my very first guest post since starting my blog last month! Since day one of finding Lucy on Instagram I have been absolutely awed by her talent, inspired by her art, and at home with her words. I am so blessed to have her not only an inspiration, but as a dear friend and mentor as well!
Today I am going to share with you my latest, trash turned treasure diy. If you know me you know I have a very hard time leaving anything wooden, rustic and vintage behind. So when I saw this old toolbox for a couple dollars at a garage sale I just knew I had to have it! (Now if you asked me what it was I planned to do with it, well that was a different story.) After a few months of it collecting dust in our garage I finally came up with the perfect little diy project for the old guy using stuff I had around the house and I love the way it turned out. This wooden toolbox is now a charming flower box and a gal can never have enough flowers so it’s perfect!
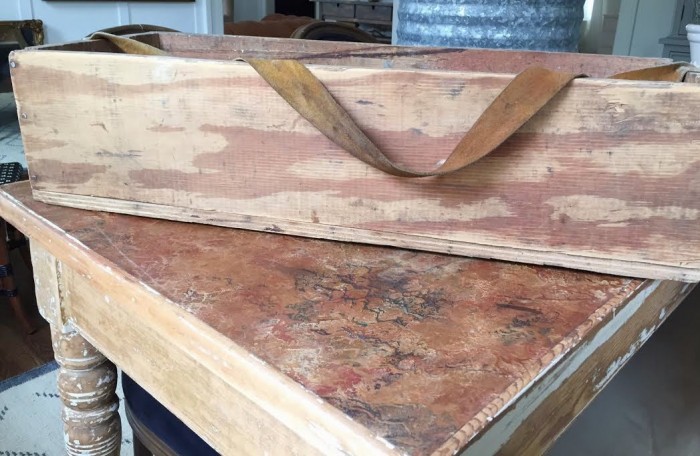
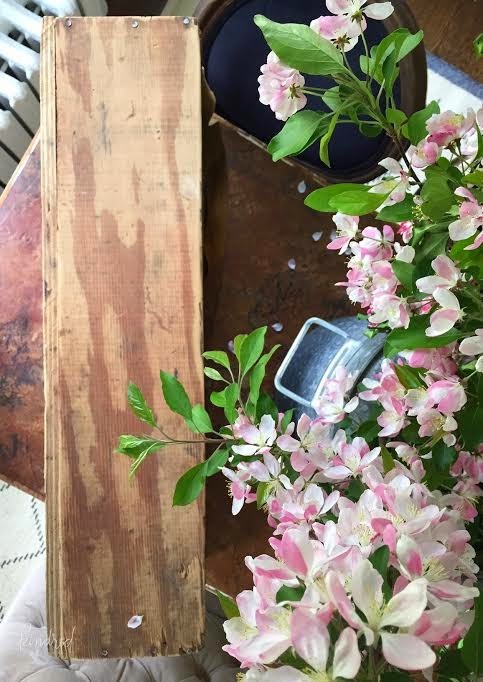
If you are looking to recreate something similar just follow these simple steps and have fun!
SUPPLIES YOU WILL NEED:
1. Hand sander or sand paper
2. Varthane wood stain in weathered gray
3. Miniwax wood finish in dark walnut
4. White paint (I used behr premium plus in snowfall but any paint will do)
5. Cotton rag to apply stain
6. Paper towels
7. Chalk marker
8. Small paint brush for lettering
LET’S GET STARTED:
Step 1-
Sand down wood to get off any old stain or finish in order to make the surface smooth.
Step 2-
Apply dark walnut stain with your cotton rag making sure to coat the entire surface. Wipe off excess with paper towels. Wait two to three minutes for stain to settle in.
Step 3-
Apply weathered gray stain with your rag, on top of the dark walnut stain you just applied. As little or as much as you would like, depending on how weathered of a look you are going for. When you have achieved your preferred look, let the stain dry for about twenty minutes.
Step 4-
Once the stain has dried free hand whatever saying your heart desires onto your flower box. I did this with a white chalk marker so that I could clearly see the outline to make painting easier but a sharpie would do the trick as well.
Step 5-
Fill in your lettering with a very small paint brush and your white paint of choice. Once complete let dry for about thirty minutes.
Step 6-
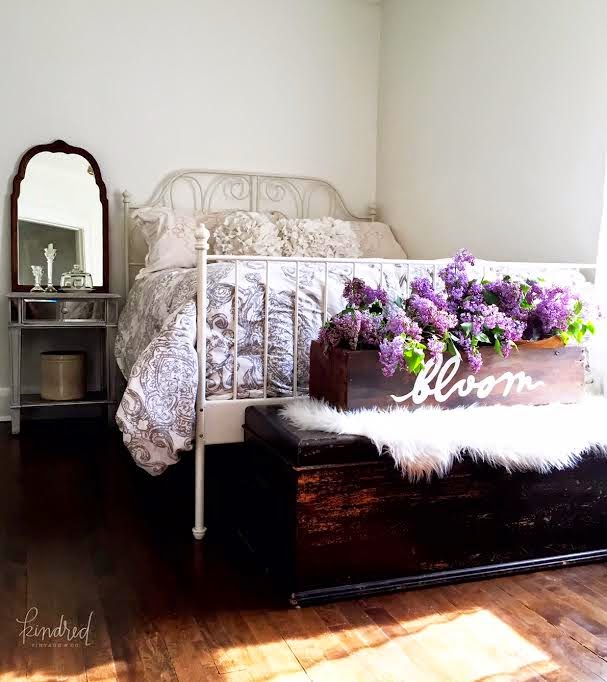
Bring that beauty inside and stuff it to the brim with pretty flowers! As you can see, lilacs were my flower of choice!
Thank you so much Susan for sharing a little bit of you with us. We can’t wait to see your beautiful journey unfold. xo



i found susan on instagram and just loved her style!
Such gorgeous style!! I love!!
Que alegre y bonito!
Great website, just love the content. just love the
articles in your blog I will share this blog with friends.
Looking forward to reading the latest update !
My wife and i were so comfortable when Emmanuel managed to do his web research through the precious recommendations he was given out of your web pages. It is now and again perplexing to simply continually be giving freely information and facts which often some others could have been selling. And we also take into account we’ve got the writer to appreciate for that. All the illustrations you have made, the simple site navigation, the relationships your site help to foster – it is all terrific, and it’s really leading our son in addition to the family imagine that the subject matter is satisfying, which is particularly indispensable. Thank you for all the pieces!
Fälschung ring gold love http://www.neuestearmband.net/