During our holidays last week, I was able to visit one of my favourite little shops. It’s a quaint little place that offers all sorts of beautiful items from artisans from around Ontario. I have purchased some really unusual items in this little shop, where I also seem to find inspiration.

For example this little sea side jar. This picture was taken with my iPhone and I had taken several pictures from every possible angle because I wanted to come home and try to figure out how to make the netting around it. I am sure the shop owner was wondering why I had the jar upside down, right side up and side ways…
Long story short, I got out my jute and started playing with the netting as soon as I came home (not even having unpacked three days worth of dirty clothes).
I thought I had it figured out and was happy that it had only taken me a couple of minutes, but was not too happy with the way the top of the net looked, as it wasn’t as clean as the one I had pictured at the store.
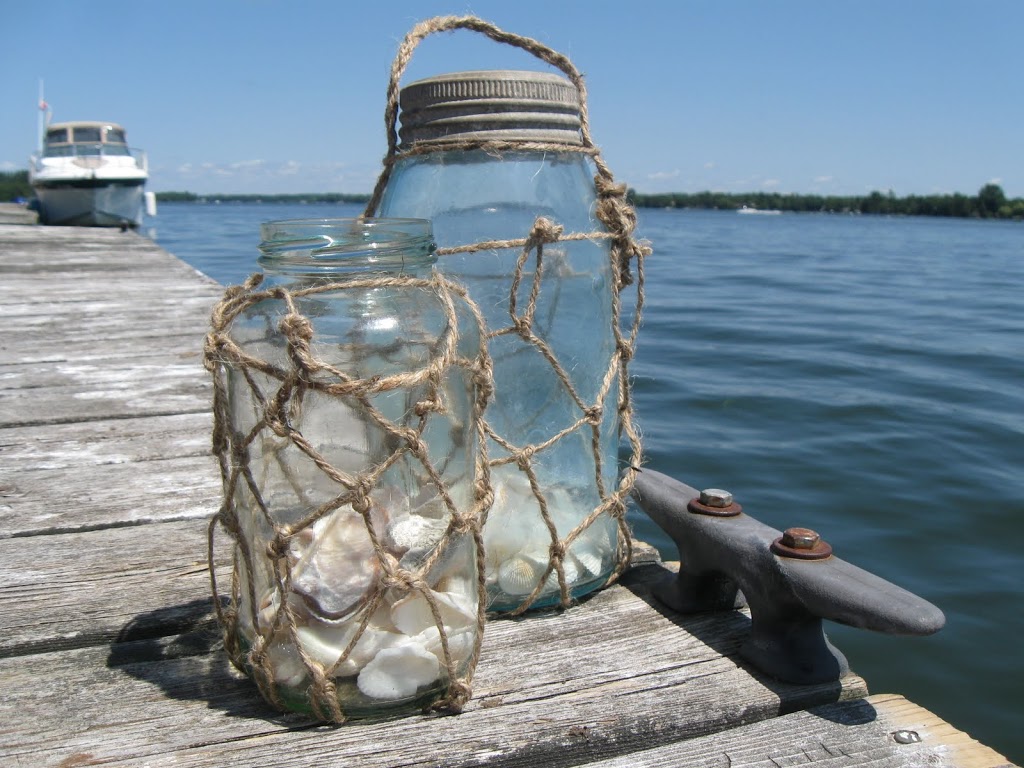
I still took it back to the docks on our next visit to the cottage and snapped a couple of photos…
There were a lot of boats on the water that day, with their wakes making the docks sway back and forth, so I handed hubby the camera and he took this shot (I have to give him credit for this one, since we’re always competing to see who takes better pictures).
I like to get low to the ground and take pictures from unusual angles…
But I digress, I decided this little jar would make a fantastic cottage lantern and so I tied a ring around the top and knotted the net to it. I also made a little braided handle for it, and that’s when it hit me….
In order for the netting to look clean, you need to start at the top and work your way down. And so I went back to the drawing table (actually, the kitchen floor) and did a little tutorial for you. It’s ok, you can thank me later…:)
1. Wrap a piece of jute around the neck of the bottle.
2. Cut six pieces of jute of approx 1.5′ in length (or depending on the height of your bottle, triple its size; it’s better to have extra than to not have enough).
3. Tie a hitch knot (I believe this to be the name of this knot).
4. Continue to tie all six pieces of rope evenly around the original jute loop.
5. Take a strand of jute from the left and a piece of jute from the right (adjacent strings, from 2 different knots). Picture 5 and 6 show you how to tie the knot. Looping both pieces under and
6. over into the loop
7. This is what it should look like
8. Continue to do this around the bottle until you get to the bottom
9. At this point, the net still looks a little uneven and loose.
10. Make another ring approximately half the size of the circumference of the bottom of the bottle.
11. Tightly tie all of the pieces using the same knot as steps 5 and 6
12. Trim all the extra pieces of jute; for extra strength, you might want to add a bit of glue to the knot.
Notice how much neater this net looks now….yay!
I was pretty happy with the way it turned out…
The best part is that this same technique can be used to make a much bigger net to hang as an accessory for a beachy theme. I might do a tutorial on that in another post.
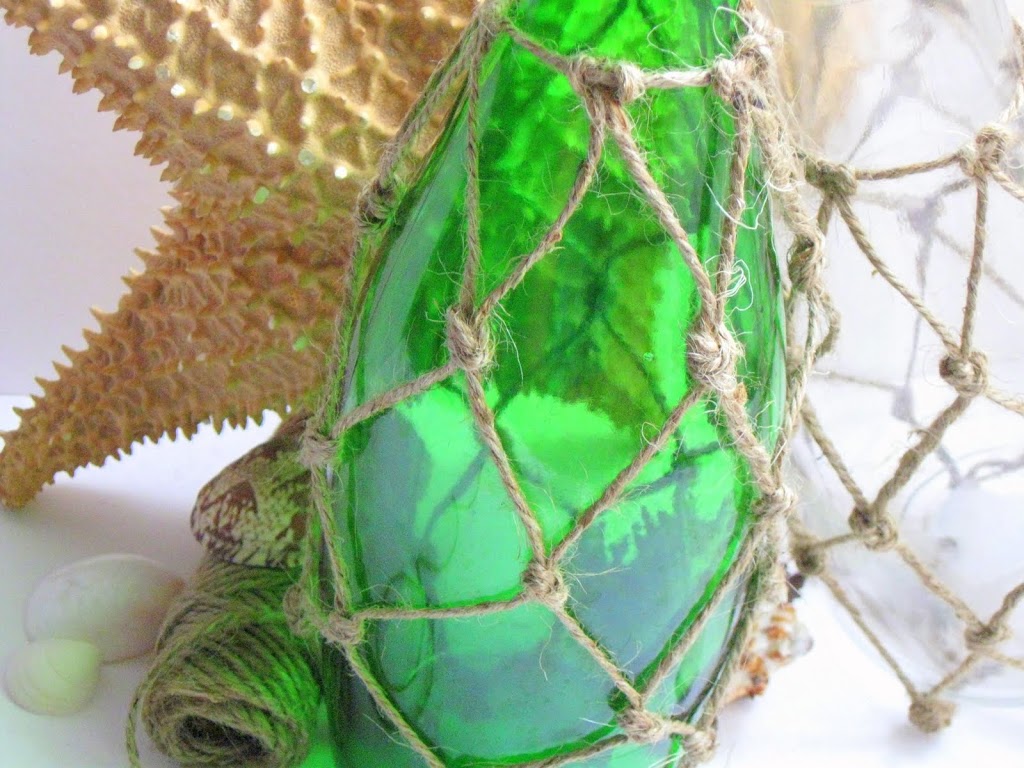
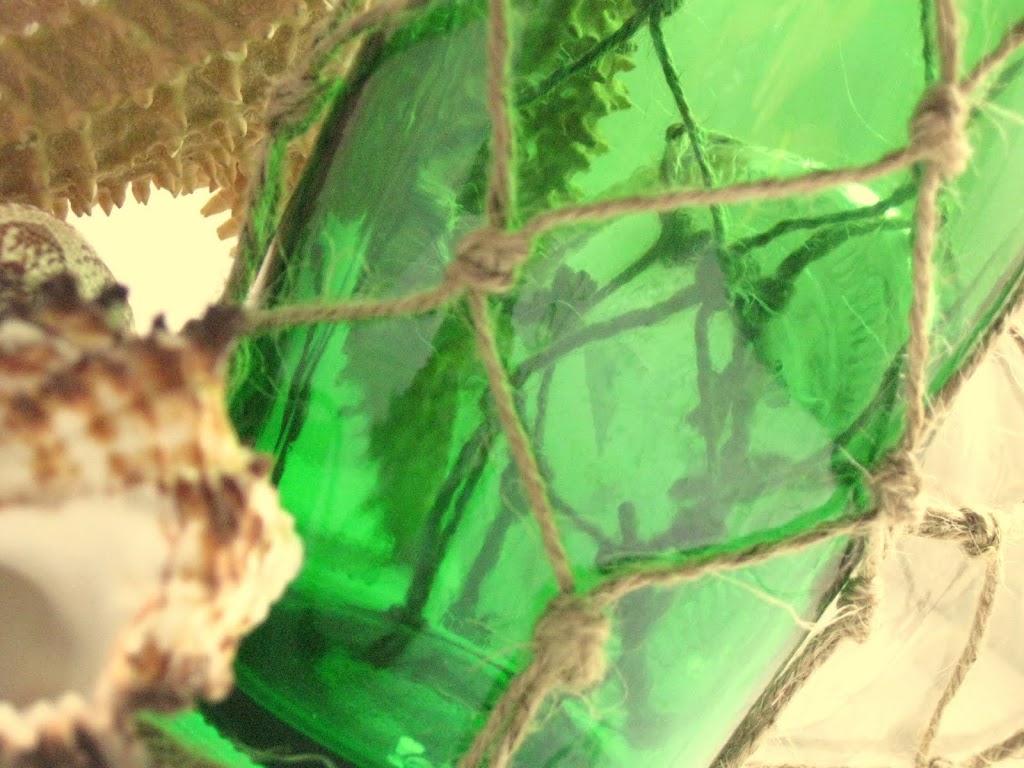
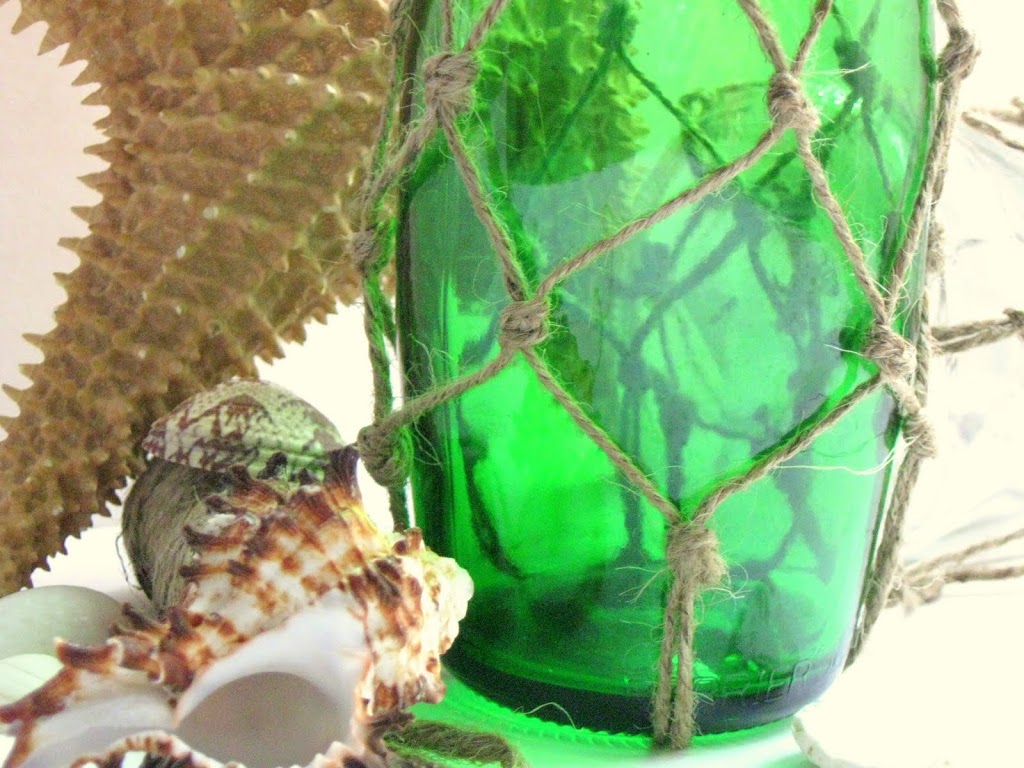
This green bottle is an empty Perrier sparkling water bottle….
But isn’t it pretty?…it kind of looks like…
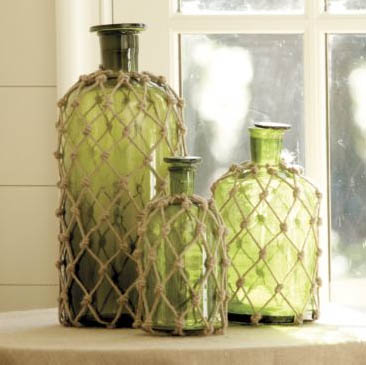
While looking for ‘how to sew a fishing net’ on line, I came across this image from Ballard’s Design. Because we don’t have a Ballard’s here in Canada, I am not familiar with their products (I speak about it here) so I did a knockoff without knowing, which tells me one of two things. Either…
1. I’m good enough to be a Ballard’s designer 🙂
or
2. I have no originality 🙁
Well friends, I know this was a long post, so I apologize and thank you for reading along. I’ve missed talking to you.
I hope you have a great weekend!
much love,
Lucy
ps. as I was looking to add the link for the above, I ran into this , which unfortunately
confirms number 2 …:( LOL… oh well!
Linking to these wonderful parties, thank you for hosting.





I think you did a perfect job! It’s more than I could figure out!!
I love this!! Thanks for all the hard work so we don’t hace to think lol
Oh I love it Lu! Guess what? You missed macrame by only ONE generation. We were knotting and tying our fingers to the bones. We knotted up tables that hung from the ceilings and held a piece of glass for the top~ the plants that we had were not nearly as remarkable as THE MACRAME PLANT HOLDER! We made purses and belts, hats and hangings but I have NEVER seen a demi-john net holder! See, your generation can put a whole new twist on it. Now where the devil did I put my twine and beads?;>) xo Diana
Very, very, very cool! Thank you so very much for posting this tutorial. I am actually thinking about doing this with thin wire instead of twine around a bottle to knock off “chicken wire hurricane bottles” I recently saw in a catalog. Your tutorial helps me know how to approach it.
Wow. I’m so trying this. Just bought another Ball jar this week. Now I only have 321 jars. I wanted to get this look and found a pretend fishing net in a package at Goodwill this week, too, and was going to wrap circles of the fishing net around the jar and loop jute around the neck of the jar to secure it. This looks so much better and authentic. Thanks for showing us how to do it!
What a neat piece…thanks for the awesome tutorial showing how it’s made!
This is so cool. I love that you gave a tutorial to it, too.
Pinned on pinterest. 🙂
Cheers,
Tracy Screaming Sardine
Love it! Great idea, and really well done, this just says “summer” to me! I think I’ll do up a few odd bottles and jars and have them on a shelf in my sunroom. Thanks for sharing! I’d love for you to stop by my blog sometime, http://www.icantstopcrafting.blogspot.com
I did it with two nice colours: fuchsia and blue. Thanks a lot for your nice tutorial!
Great idea! So much better than Ballard!
DebbiE
I love this idea.. I’m addicted to jars so I have plenty to practice on! Thank you for the step-by-step!
Kelly@The East Barn
Thanks for sharing this wonderful tutorial, Lucy! How about adding a #3: you are authentic in your inspiration… that’s what matters! “Authenticity is invaluable; originality is nonexistent.”—Jim Jarmusch
I will try, thank you for your post:)
I was so inspired, I did one right away. It came out great! Thanks for the inspiration and the great tutorial!
I’d love to find a jar large enough to make a lamp like this. Thanks for the helpful instructions!
Beautiful. I love how it gives such a different look to some otherwise plain bottles and jars. If you get a chance I would love you to link your fish net up to More the Merrier Monday. It lasts through Wednesday so you have plenty of time to stop by. See you there. http://diyhshp.blogspot.com/
Fabulous tutorial. this brings back many memories for me of macrame days of way back when. I love this look around the ball jars. And that Perrier bottle is looking all dressed up now.
Aw, those look awesome! Great tutorial too!! I linked this to my project: rope post today too, well done!
Thanks for the instructions. I tried this myself a few months ago but gave up. I’ll give it another try!
This is just fabulous and now I am going to do no work today as I want to try this out right NOW.
I recently used rope to make some easy vases from tin cans HERE. What do you think?
Thanks so much for sharing this great tutorial.
I love this! My hubby is really good at fishing knots, I may ask him to make me one of these 🙂
These look awesome! I’d love for you to link up at my Tuesday tutorials link party! 🙂
thekurtzcorner.com
thanks for stopping by so i can find your wonderful blog. i will stop often to get inspired 🙂
Great tutorial, I made my very own fishnet decorated jar for a beachy room I am putting together. Also included a link to your tutorial …hope you don’t mind!
Great instructions and marvelous work! Thank you so much! Pinned to my “Inspired to Create” Pinterest board too 🙂
Thanks for sharing!
I’ll copy you!
I think that if you want the knots to look flat, it’s better to use macramé knots (also used for friendship brazalets)
XOXO,
CRIS
Thank you! I was looking everywhere on how to make these!
This is absolutely beautiful! Just what I need to create centerpieces for my family reunion fish fry! Of course I’m using storage jars vs. Ball, but they will have the same look, and I’m letting seashells and/or starfish dangle like charms. Thank you so much for your tutorial. It is thorough and easy to follow.
Ms J
I enjoy your posts about Max so much. I have a toy Shih Tzu by drawstring carrier bags the name of Sasha and she does exctly the same thing after she eats. Soooo cute.
These are beautiful, I want to share them on my blog this Thursday, hope that’s ok!
Seriously awesome!
Your tutorial is the clearest and easiest to follow. This was exactly what i was after for the mason jars in my bathroom. I love them, thanks 🙂
I like a lot this nice job of us. Fishing
You did a Great Job.
I did the same thing you did on your first one, doesn’t take long to learn tho does it? Lol
Thanks again for sharing
Lovely, Simply Lovely
Use a laundry ball. The laundry ball keeps the laundry from getting tangled, but it is also said to be good for rinsing.
http://cc.vmm789.com