Hello friends – I hope you’re all having a good week.
I’m glad to report I’m – as my Nana Diana would say – ‘getting my mojo back’. She suggested I was just feeling blue due to the gloomy weather and that I should take some time to recharge and she was right. This week I have been working on some Mother’s Day ideas to share with you which I’m hopeful you will like.
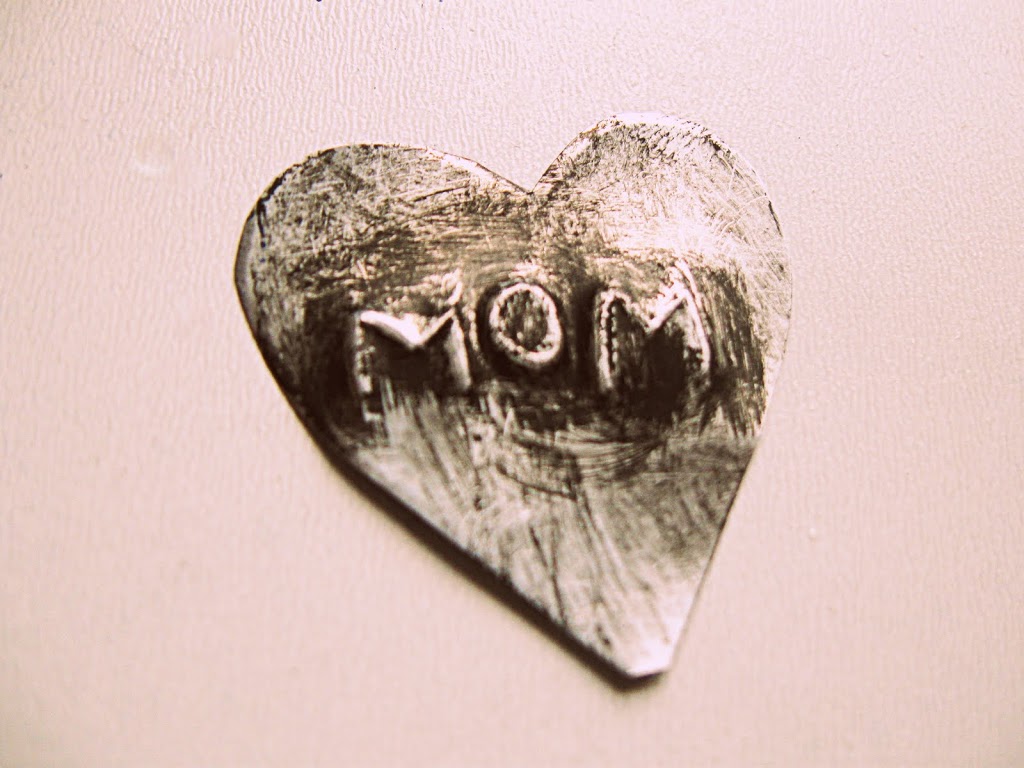
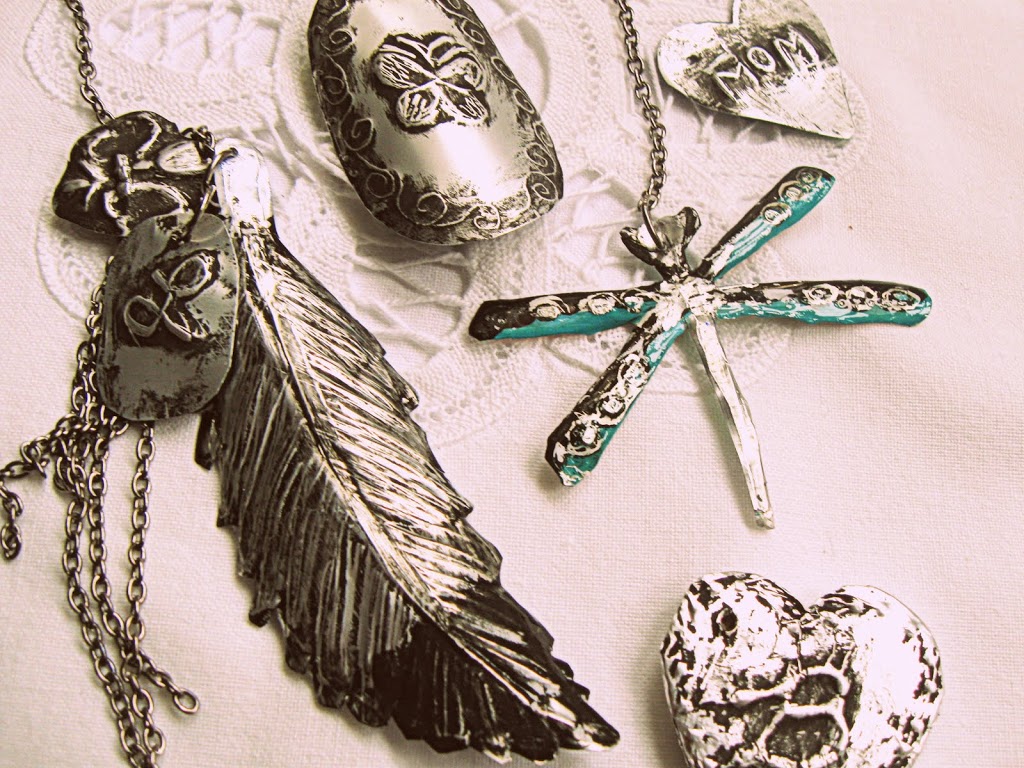
I have been in love with feather earrings for a while now, but most recently I am in love with those feathered hair extensions you see Steven Tyler wearing….so Boho.
1. Start by carefully cutting the top and bottom of a pop (soda) can.
2. Cut can through the middle to form a sheet and with a permanent marker, draw desired shape (try to keep shapes and designs simple).
3. Cut around the shape with small sharp scissors.
4. Turn figure over and with a ball point pen, draw around the shape. Add details if desired.
Note: I recommend the use of gloves, although the tin is not very sharp and I personally opted not to. But I do not want any law suits.
5. The pressure of the pen will emboss the tin . The harder you press, the more you will see the design.
6. For this particular design, I decided to fold the edges of the tin with pliers. In retrospect, I did not have to do this.
7. With a fine paint brush, paint if desired. You could also use colored sharpies.
8. If you used paint, you can gently scrape any additional details with your scissors or tack.
9. Gently pierce a hole with a tack, making sure the hole is not too close to the edge.
10. If you use a sharpie marker, you can skip this step unless you would like a nice sheen on your design.You will need to use varnish in order to prevent the paint from peeling off. You can use any kind of varnish, but I used Varathane for wood. This is the same varnish I use to seal and add shine to my polymer clay creations.
11. Carefully brush varnish onto design being careful not to plug hole. You can use your tack to stop varnish from going into the hole.
12. Allow varnish to dry completely. Insert a jump ring.
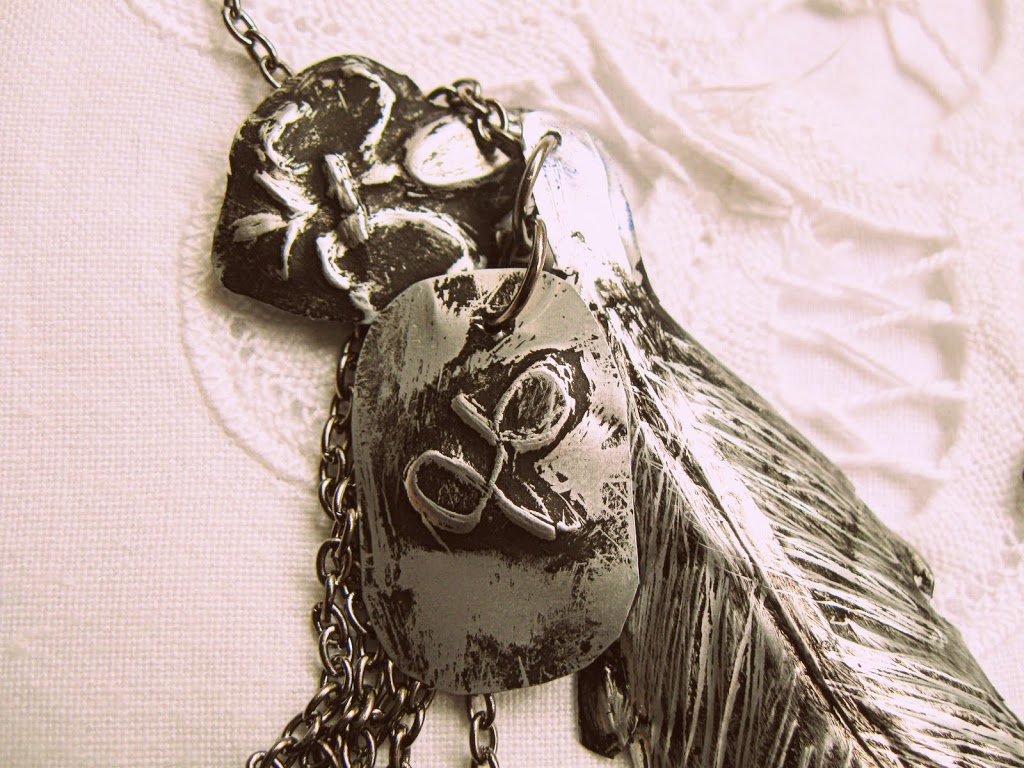
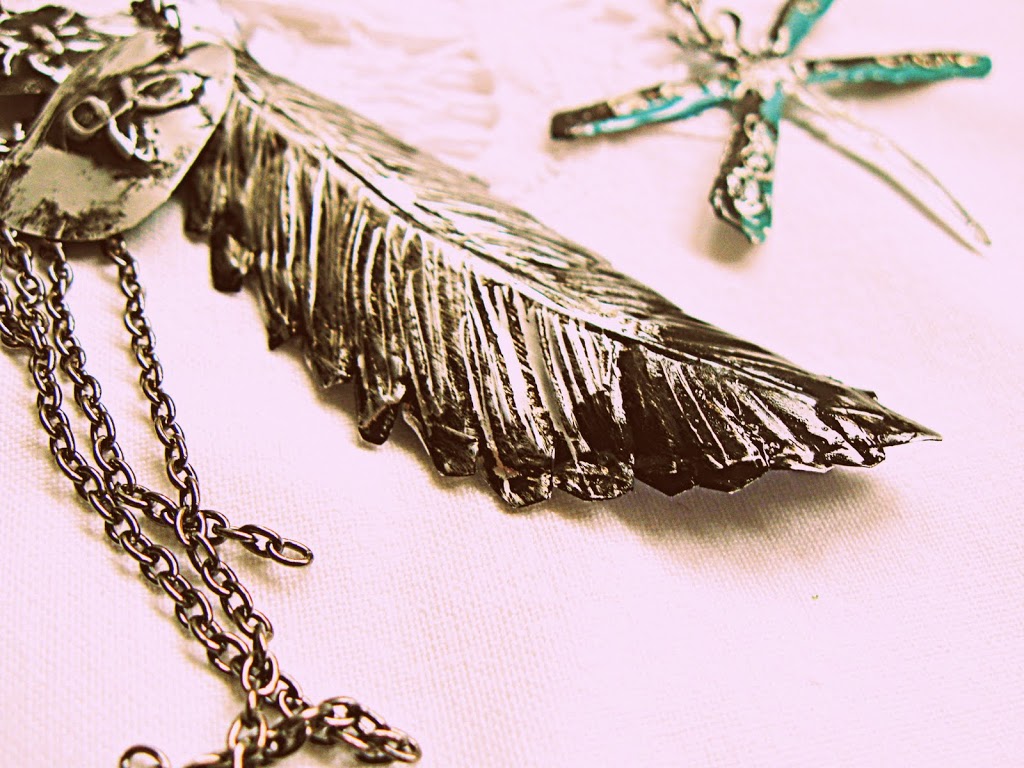
Here is the same process for the feather charm.
1. Design, cut and emboss.
2. With black paint, completely cover the feather.
3. Gently rub off paint with a paper towel or rag. You might need to repeat process until you get desired look.
4. Paint the bottom of the feather with black paint if you desire this particular look.
Note: I painted the back of the charms to completely cover the color of the can. You will have to varnish both sides of the charm to prevent paint from peeling off.
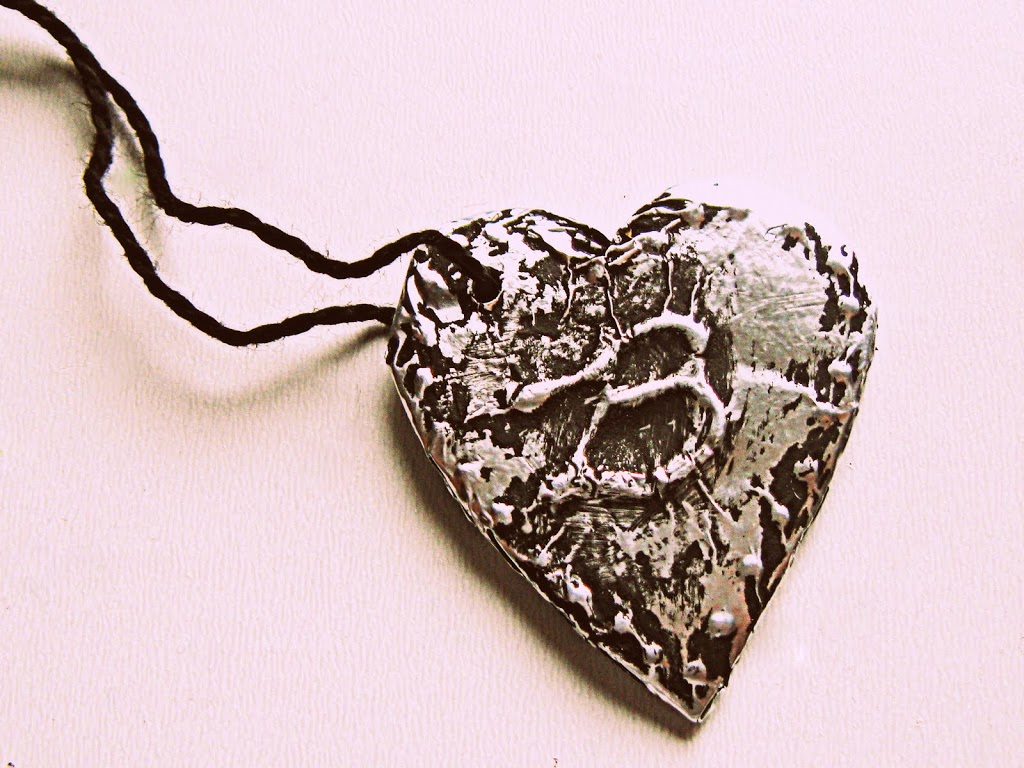
This particular craft is not geared towards children but on Thursday I will show you a technique that is safe and yields very similar results (pictured below).
I hope you enjoyed this little tutorial. It really is very simple and the results are, in my humble, yet obviously biased opinion, fantastic. I can’t wait to hear any thoughts you might have – they serve as encouragement to keep creating.
Have a charming day!
much love,
Lucy
please go here to see the children’s version




Well, dang, this is super cool!! I’ve been saving my pop can tabs for some crafts, and now I can start using the cans – lol!
You’re more than welcome to link this and any of your other marvelous creations up at the Sunburnt Cow link party.
Cheers,
Tracy All Thumbs Crafts
These are amazingly beautiful! You are a very talented artist!
Best Wishes and Blessings,
Amanda
des merveilles , que des bravos
md
It’s official, you ROCK! I had not scrolled down to the tutorial part of your post yet and I thought to myself, “I would love to know where she gets the raw material to make these charms b/c I cannot not seem to find what my mind envisions.”
OK, so I squealed…THANK YOU for the tutorial. Simply brilliant! I’m a recent follower of your lovely blog (by way of my favorite links) and I was so immediately entranced that I spent a few hours over the next few days pouring over ALL of your posts. A beautiful spot you have here.
I’d leave you a link to my neck of the woods, but I’m on a self imposed sabbatical trying to restructure my time and refocus on how I want my voice to take shape here in the blogosphere.
Hope your mother’s day showers you with beautiful, creative love!
Blessings,
Amy B.
Wow!!! Those are really beautiful!!! Great job:)
Wow! You made this with a pop can? I’ve never tried embossing…I’ll be thinking about that now 😉
~tricia
How cool is that!? Thanks for the inspiration! 🙂
~Liz
These are really neat, Lucy. I especially like the feathers. I can’t believe the materials you combined to make these.
I’m going to feature this tomorrow on a Mother’s Day round up! If you have a chance come check it out!
Amazingly creative!
Thanks so much for the tutorial! I love the feather one.
P.S. I like those feather extensions too. My hairdresser friend just put some on her dog. haha…
How creative are you! Adorable.
Very cool! Definitely going to try this out sometime. I’d love for you to stop by my blog sometime, http://www.icantstopcrafting.blogspot.com
Please! Post this on my Linky Giveaway party, http://the4rsRamblings.blogspot.com
I am asking for links for making something for someone you love…these crafts are perfect!
Lucy – – I LOVE these!! I’ve been told that alcohol ink works well on metal-ly material, so I’m thinking they would work on these!! But I LOVE the silver and black!! I can’t wait to try this!!
Have a super-wonderful day!!
Hugs ~~ Suz
inspiringcreativeness.blogspot
Wow Its really something great innovative idea.
Yaa its really charming gift 🙂
do they bend easy? or would you have to be very careful to not get lean on it?
So, I can gift my mom a wonderful gift this year… Thank you for sharing such great ideas on the blog section!