For as much as I love my family, I must admit we sometimes have communication problems. Not the type where we don’t talk to each other about issues, because we do; we are very close and love each other dearly.
The problem I and most (all) of my siblings have is that we sometimes do not explain ourselves clearly which often (always) leads to a misunderstanding. Well this time, I’ve done it again and unfortunately, you are the recipient (if it helps, I consider you kinda like my second family).

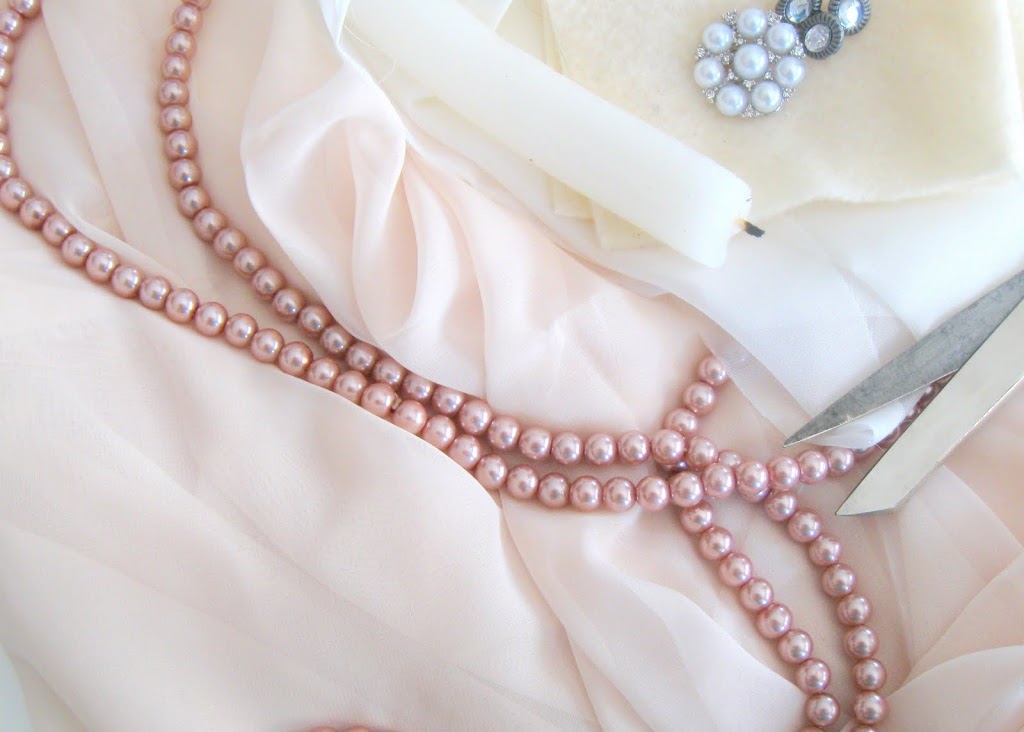
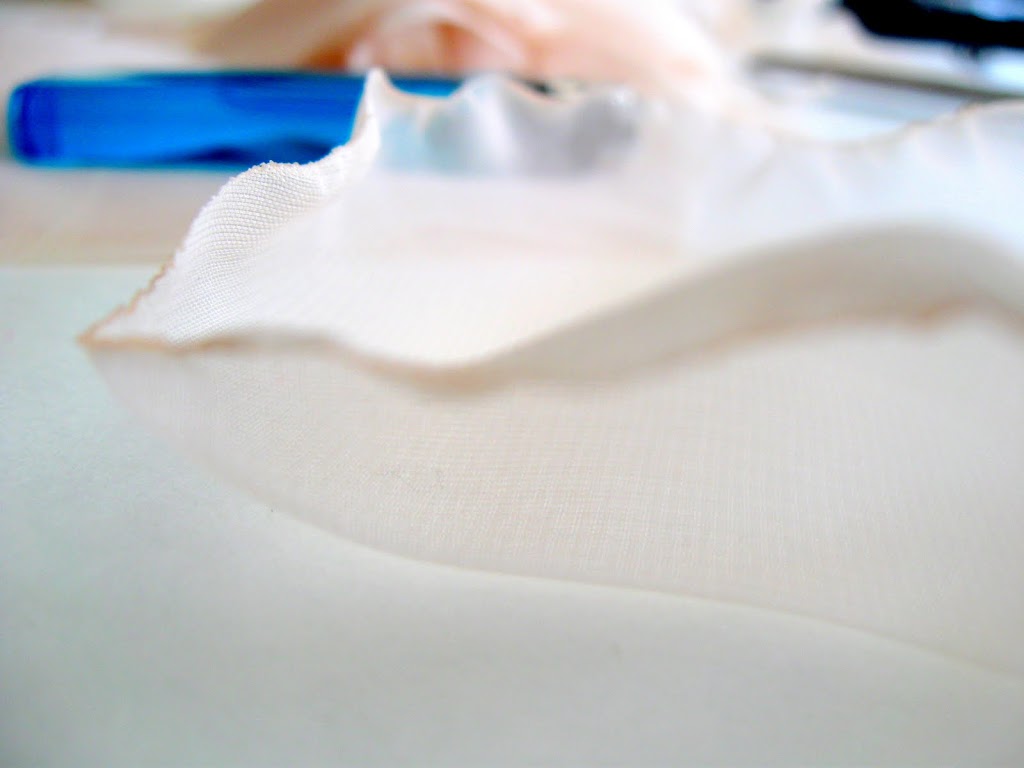
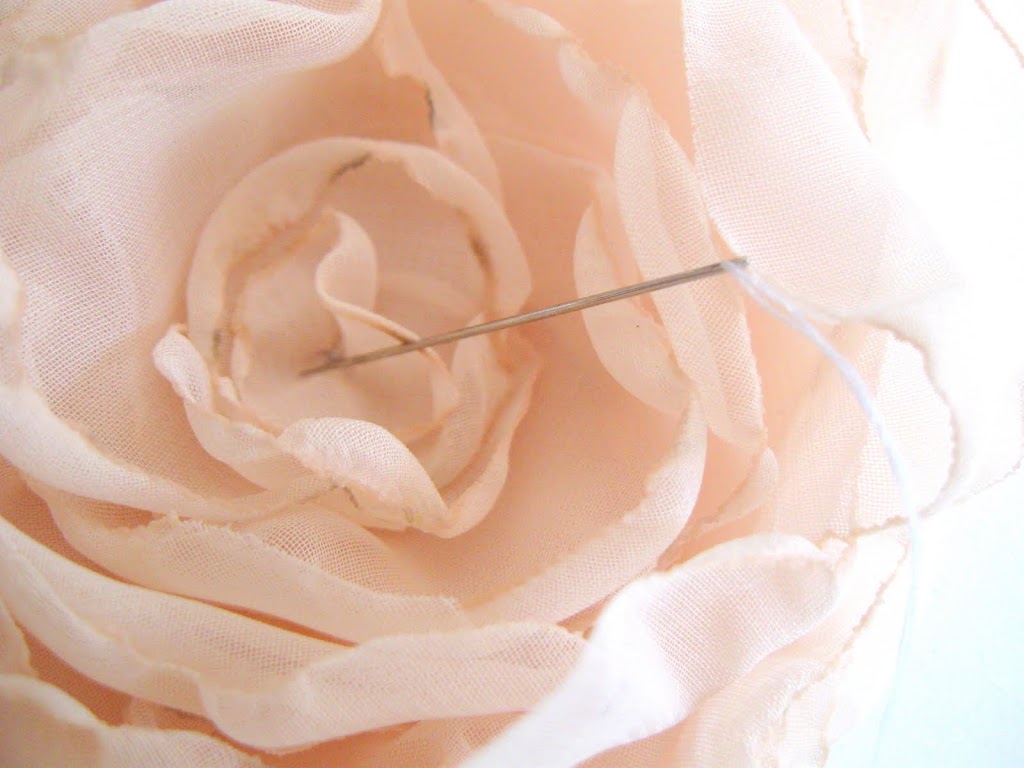
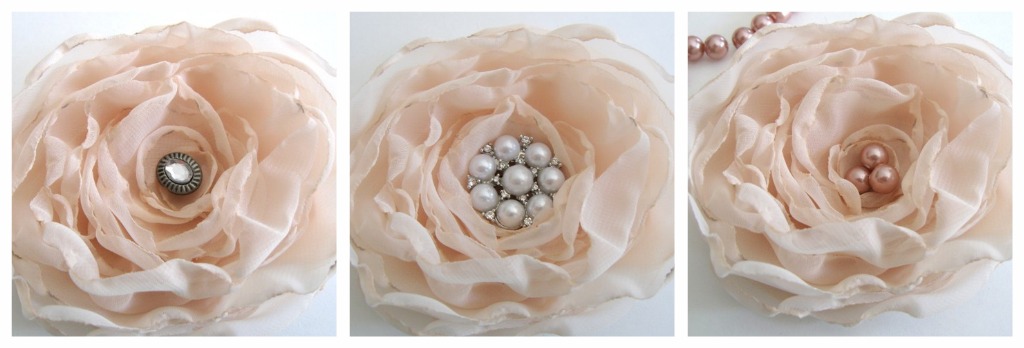
Decide what type of embellishment, if any, you would like to add to your flower. Once decided, glue a piece of felt and a pin to the back (sorry I did not take a picture of this step).
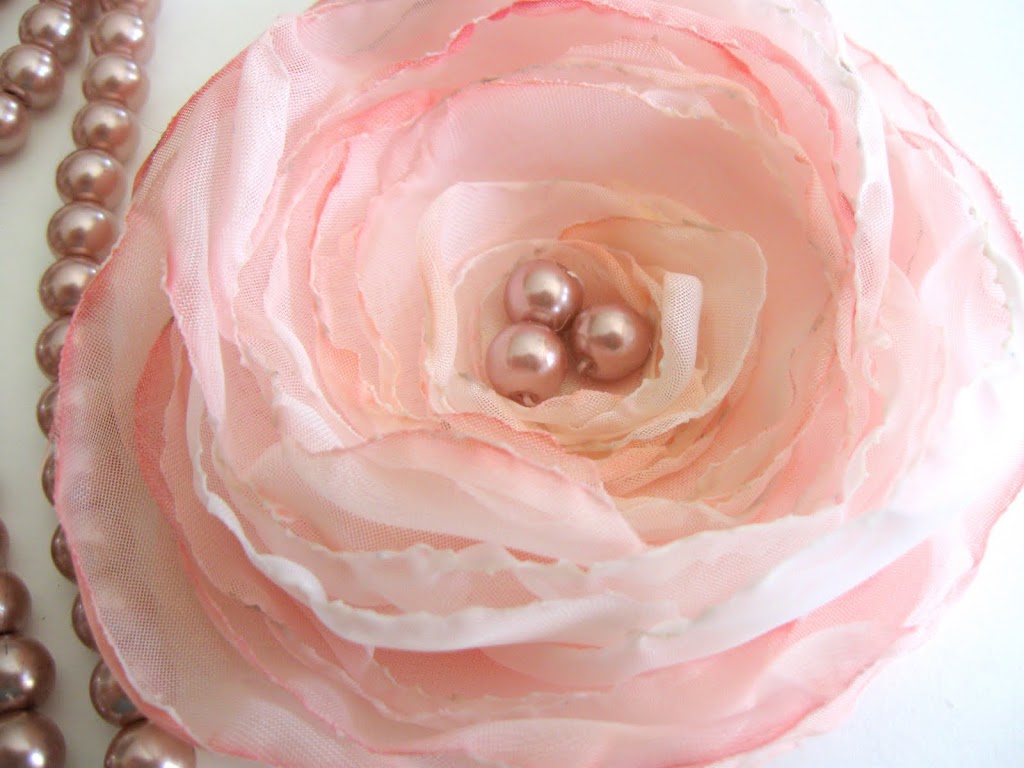
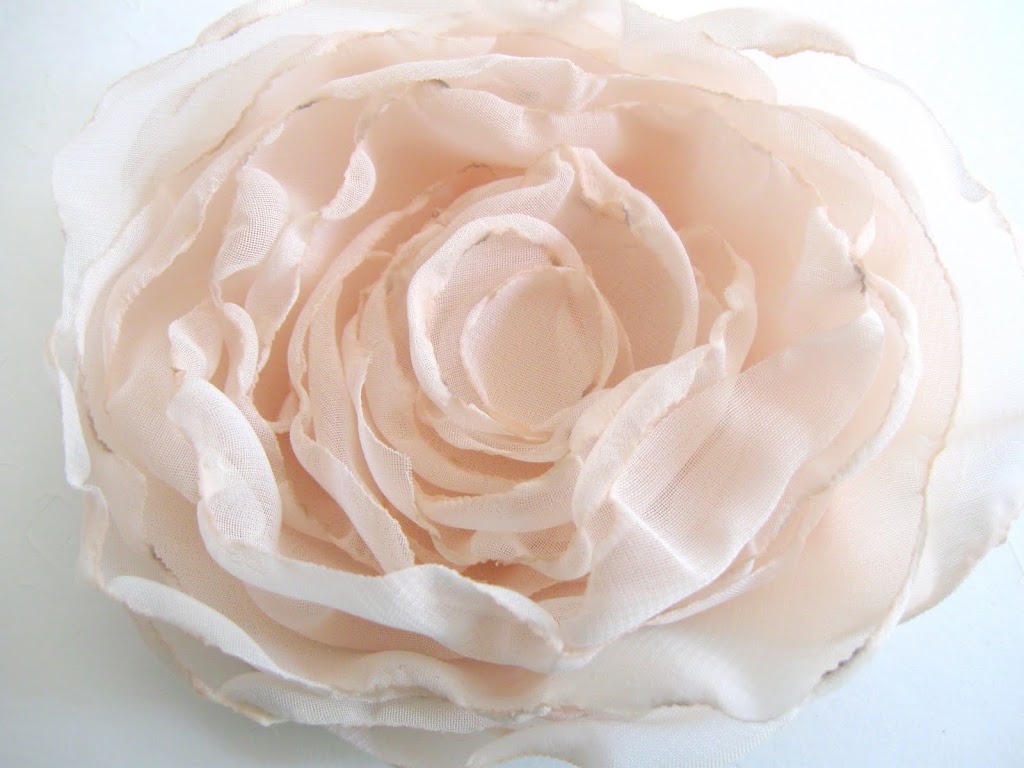
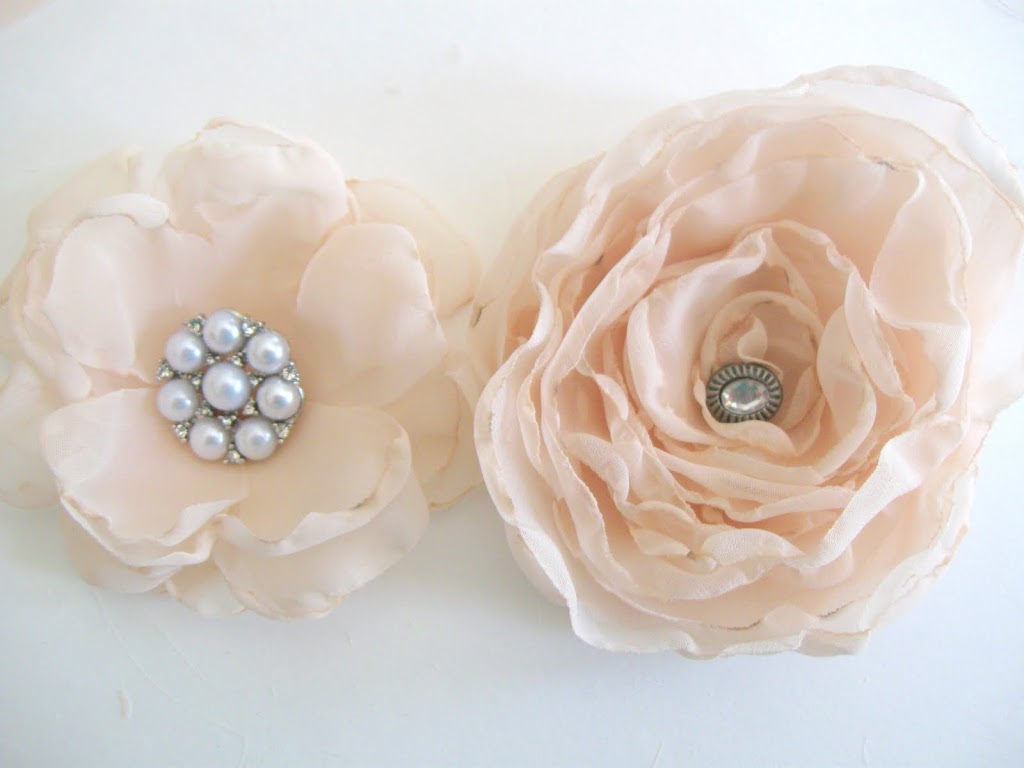
This one was a white satin ranunculus which I had dipped in red food colouring to make it pink. I lightly brushed some yellow food colouring on the top centre petals and sewed some pink pearls.
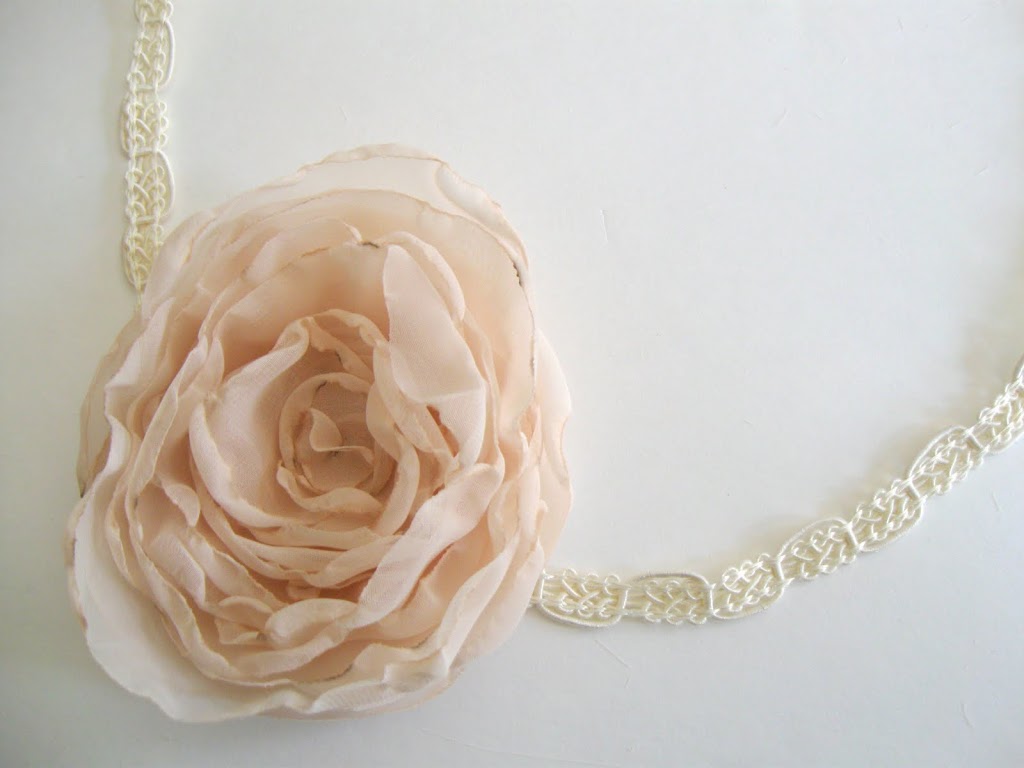
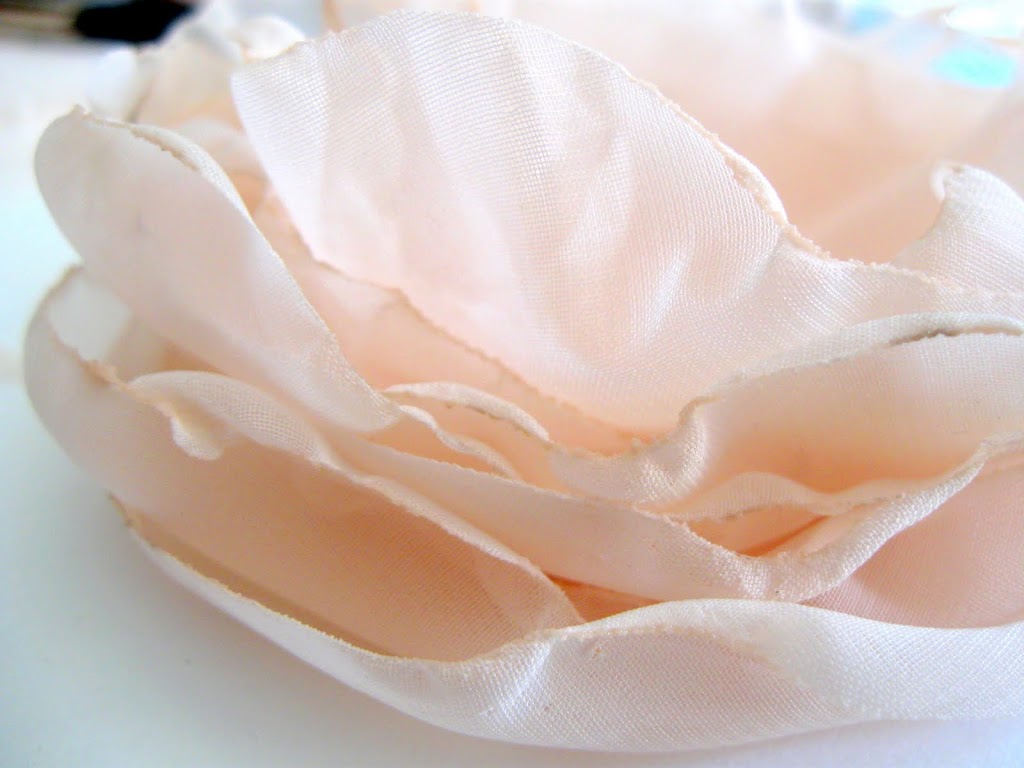
I decided not to embelish my flower. I like the way it looks plain and as the fabric is so light, I simply used a regular safety pin to pin it onto this lace to wear as a necklace, or you can wear it as a pin.
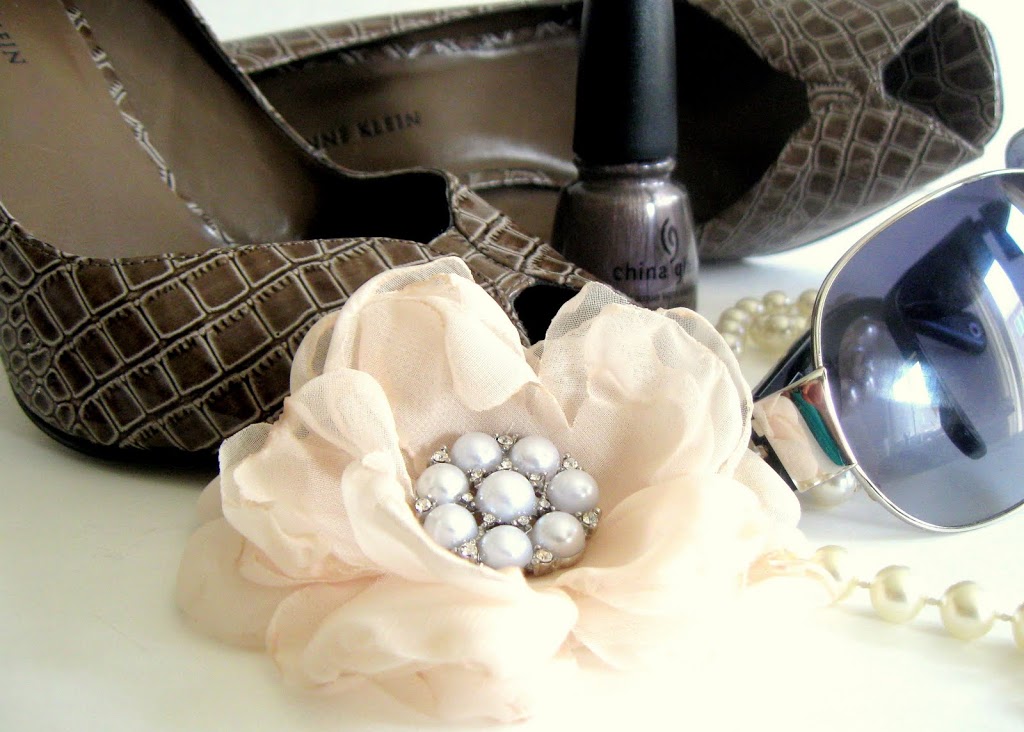
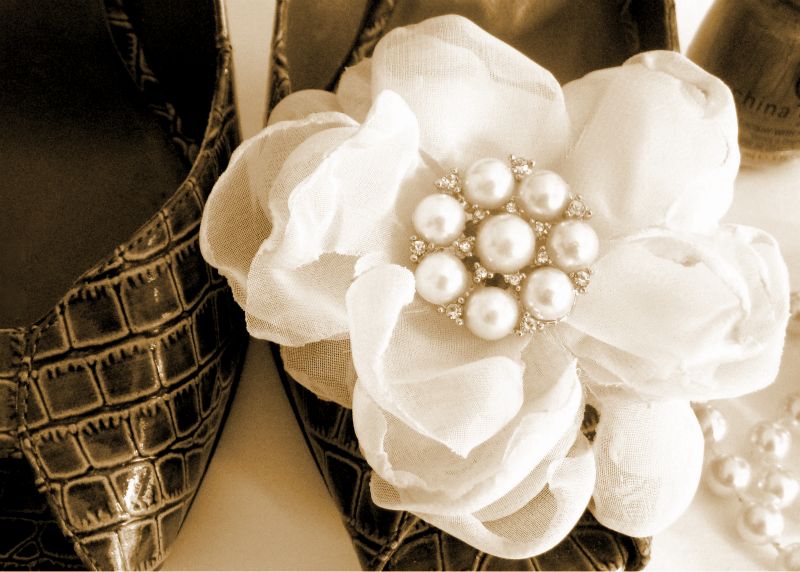
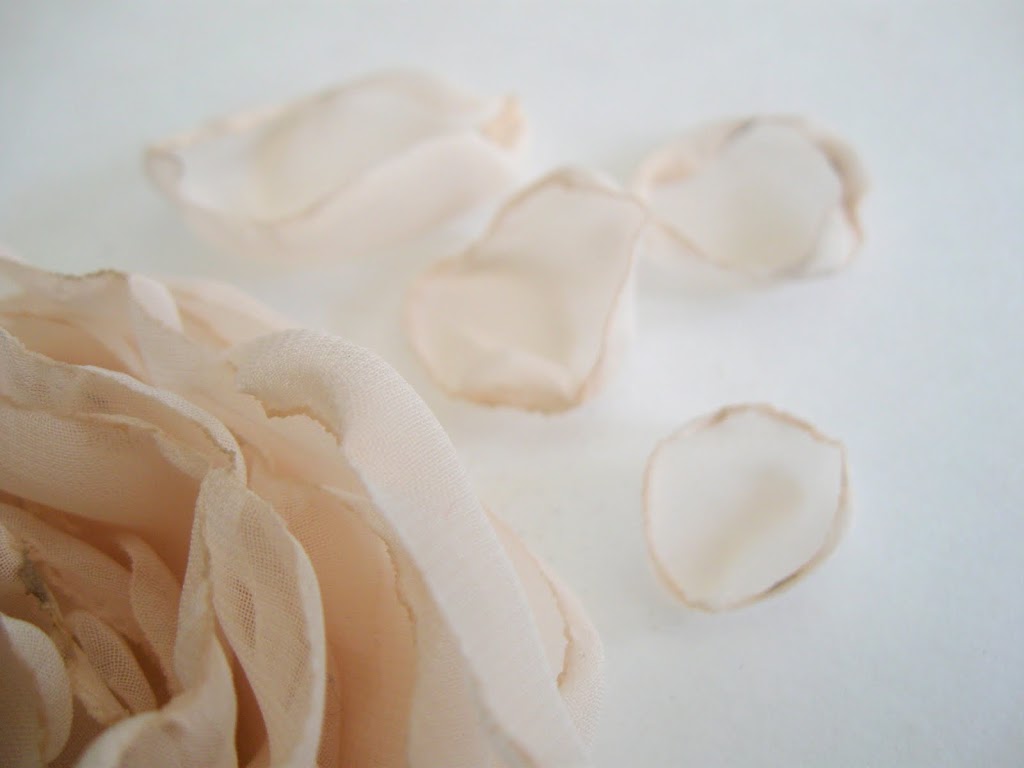
Here is another type of flower I made using the same technique. I like the way the embelishment makes such a simple craft look so fancy; it makes me want to play dress-up.


Beautiful! Wow Lucy – this is gorgeous and I am not disappointed at all! :o) I enjoy your blog so much – you are super talented! PS – you look beautiful in your photos as well!
– Jenn @ Social Salutations
Beautiful! I like to use the long candle lighters with a trigger to light. No burned fingers! 😉
Beautiful ~ both the flowers and ‘you!’ Thanks for sharing.
‘hugs from afar’
You are stunning!
I agree it is difficult to post pics of yourself, but yours turned out gorgeous! I love the flowers too!
Are you kidding me! This is GORGEOUS! WOW! I would love to try to make one. They are just…GORGEOUS! You are gorgeous! I found you on the Whipperberry blog! SO happy I did. I’m your newest follower! 🙂
LOVE THIS!!! thanks so much for posting, i’ve been wanting to try to learn and your tutorial was perfect!
You are so beautiful, Lucy! Thank you for sharing the flower tutorial. I think MAYBE I can make one. Or maybe you can make more and sell them. lol
Lucy, Lucy, Lucy! I can’t believe how BEAUTIFUL you are in addition to how TALENTED and CREATIVE you are…what was God thinking when he gave ALL THAT to you? Okay- this is one beautiful floral project and I LOVE it…but…
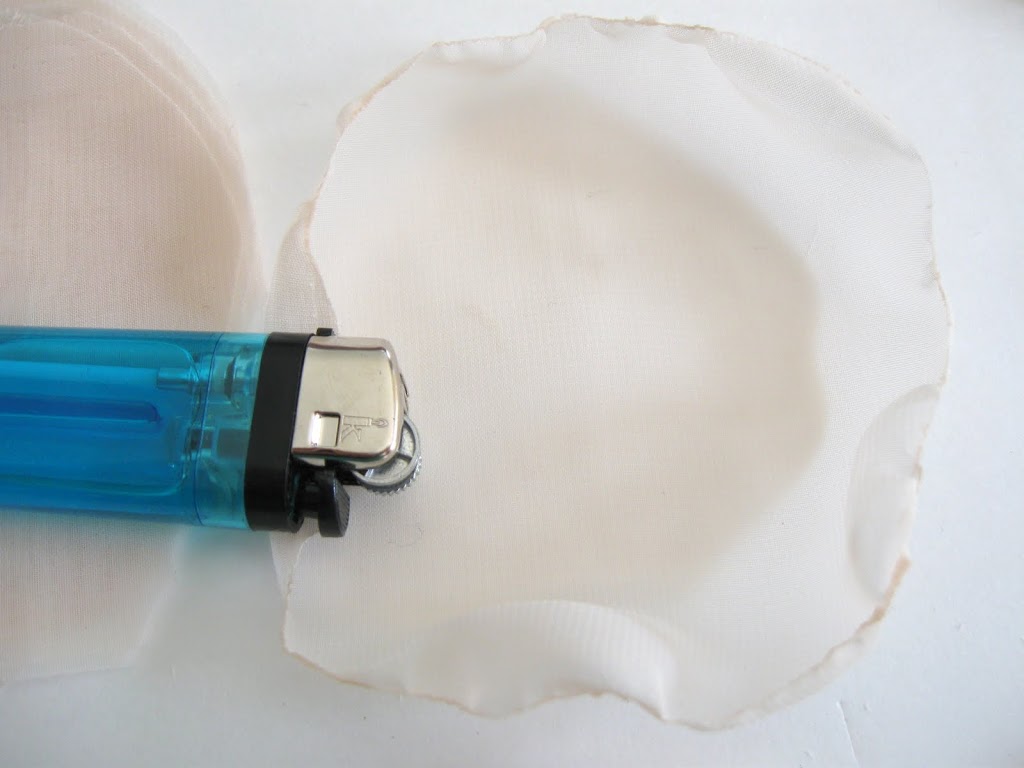
Well, let’s just say this chick won’t be doing any fabric burning because I have been known to set a kitchen on fire with a candle making experiement! I don’t play nicely with matches…and I won’t tell you about the time I threw my red pants in the stove when I was about SweetCheeks age (4) because they were scratchy…oh…did I neglect to add that I almost set the house on fire that time? Yeah…so I won’t be doing this project most likely. Got anything that doesn’t involve burning and/or open flames?;>) No? Well, hugs anyway- xxoo Diana
Hey, Diana!
I read in a 1930s homey-craftsy-magazine about making silk chrysanthemums, and after cutting the petals from silk crepe or georgette they said to simply twist the rims between two fingers to make them roll in slightly and thus form the petal. I wonder if this (fireless 😉 ) way would work here?
Cheers! Julia
Look how pretty you are Lucy! I love those little flowers, I’ve been wanting to try and make them for so long now. Thanks for the wonderful tutorial 🙂
~Tricia
beautiful! Thanks so much for the tutorial!
Lucy, This is amazing!!! I love it:)
I’m going to have to try this one out!! I love how you added some bling into the centre of each flower.
Thanks for the tutorial 🙂
hugs
Manni
Oh I love this! I can’t wait to try!
de magnifiques créations ! bravo ! j’aime beaucoup
bonne journée
Love it as usual! Thanks for the detailed tutorial!
Beautiful!! Love this!
Stopping by from Justsewsassy.com
I’m not sure what’s prettier..your flowers or YOU! Beautiful photos all around!
The flowers are beautiful! Love them!
So Cute!!
I would love it if you would link this up at our What I Made Wednesday Linky Party!!
Alisa
Sweet Peas and Bumblebees
sweetpeasandbb.blogspot.com
Oh my goodness this is sooooo ADORABLE! Love it!
Hugs,
Olivia
Oh Lucy,
What a fabulous tutorial!!! And you’re so beautiful with the flowers in your hair!
Happy Easter to you and your family!!!
XO
Cindy
That looks awesome! I’m going to try making one soon. I’m a new follower.
this is so GORGEOUS! Thank you for sharing this with all of us!!!!
These flowers are absolutely fabulous! Wonderful and informative tutorial, too! Thanks so much!
These are simply the most divine-looking craft I’ve seen in a very long time. GORGEOUS.
You are an inspirational women with so much talent. I LOVE and feel your passion for what you do that it brings me to tears…not many people in this world today feel this way about life. Keep up the great work!! Thank you for sharing with us.
This is absolutely gorgeous! I want to make one 🙂
You’re therefore stunning, Lucy! Thanks with regard to discussing the actual blossom guide. I believe PERHAPS I will help to make 1. Or possibly you may make much more as well as market all of them. lol.
英雄联盟代练
http://fifa15.mmo18.com/
cheap fifa 15 coins
lol elo boost
Another great article! Keep up the good work !
I am following instructions on the melting technique on the flowers but failing miserably. I am doing something wrong. I am usine white & cream organza, satin, & other synthetic fabrics. Holding them @ varying ldistance away from flame, if I get any curling at all, I am getting a black smoked edge, looks dirty. Will you advise. I really want to make the flowers!
There are such beautiful flowers.can’t wait to try them great tutorial
Thank you for this article Fire Hindi