I have been wanting to share this little project with you for quite some time now, but got shot by Cupid’s arrow and have been preoccupied with Valentine’s day. I’m taking a little break from pink and red to show you a white vignette that displays a super easy embossed Venetian plaster project.
Embossed Venetian plaster.
Sounds a little fancy, doesn’t it?
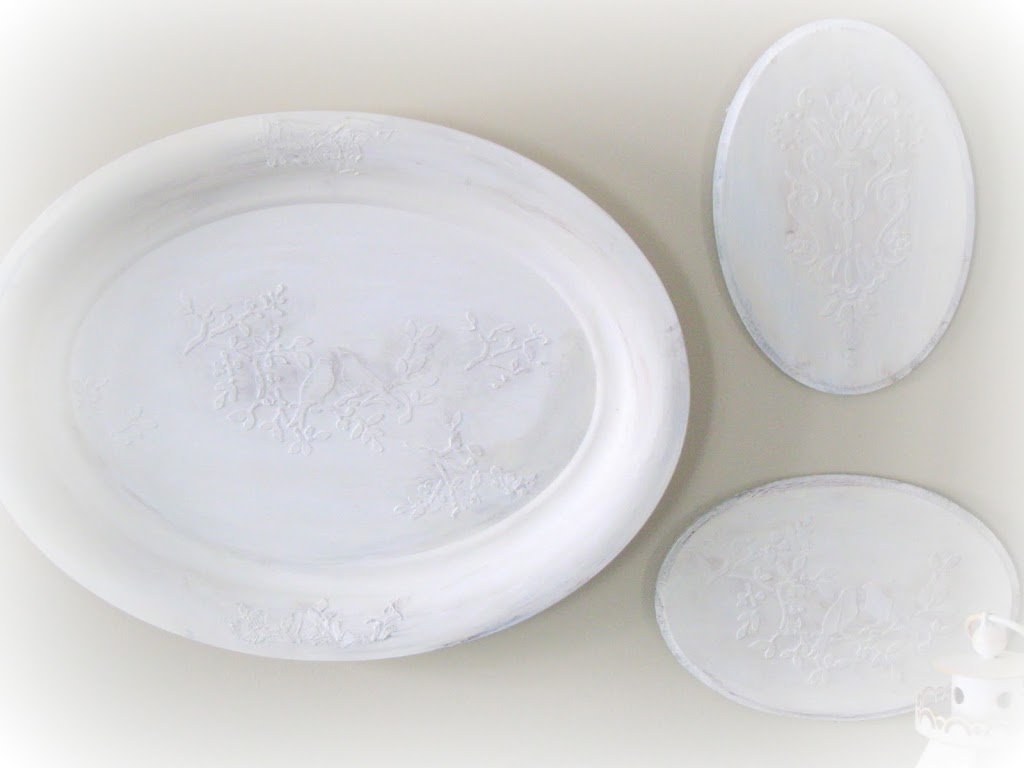
But…it took me less than half an hour to make these three little plaques.
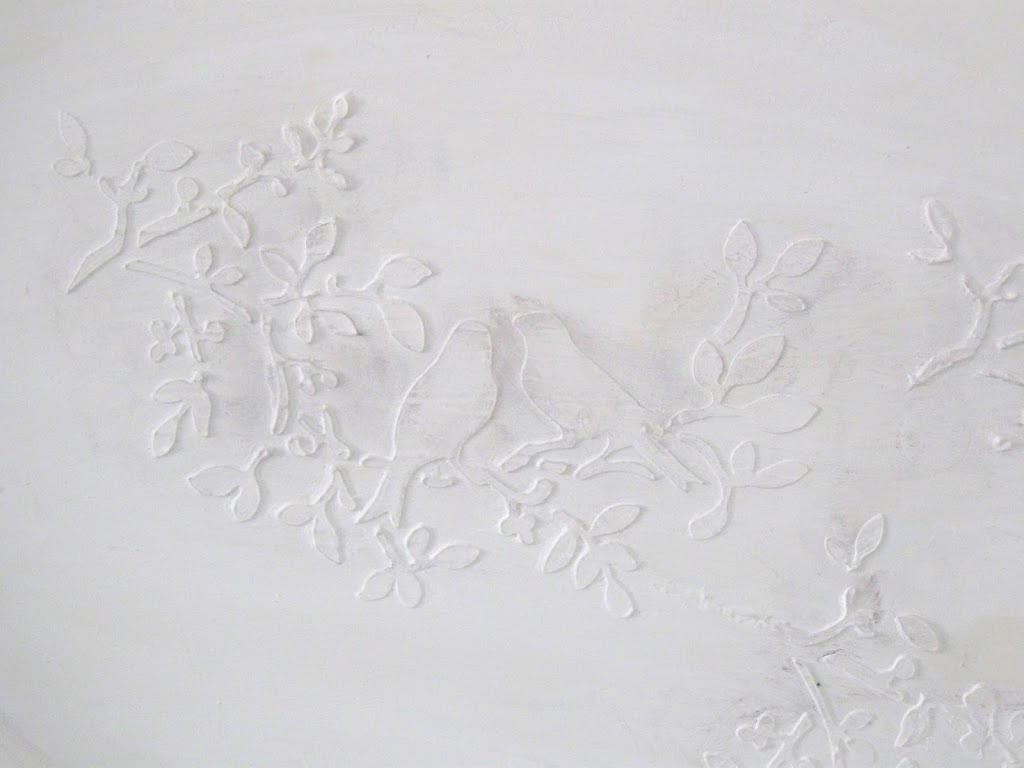
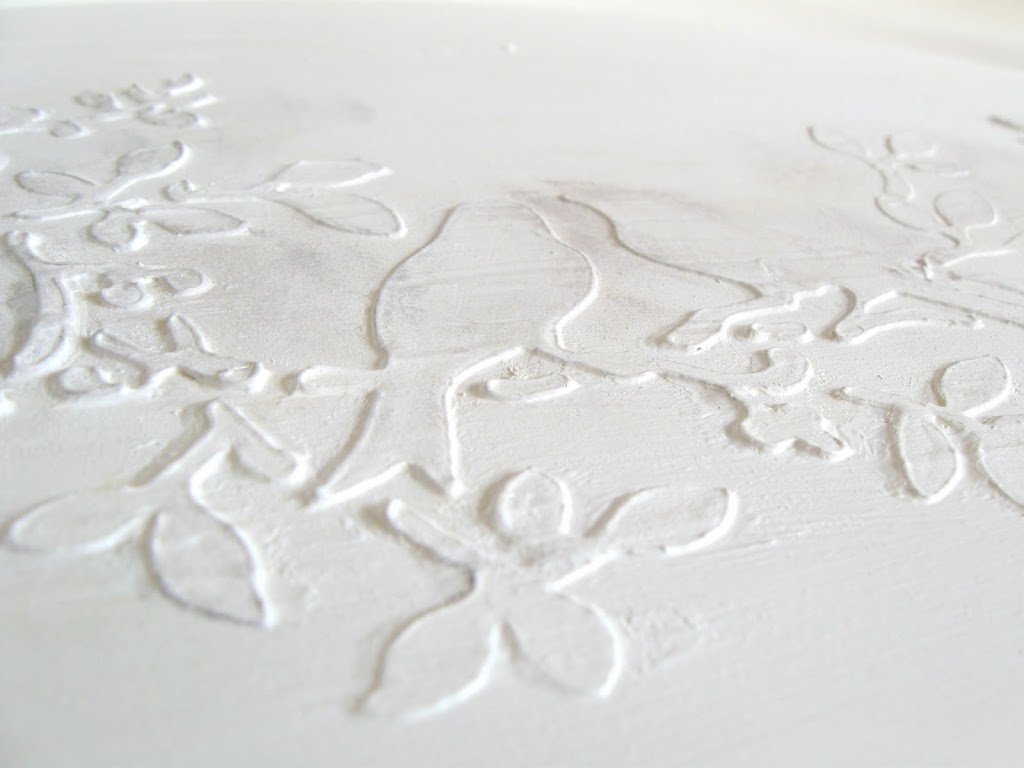
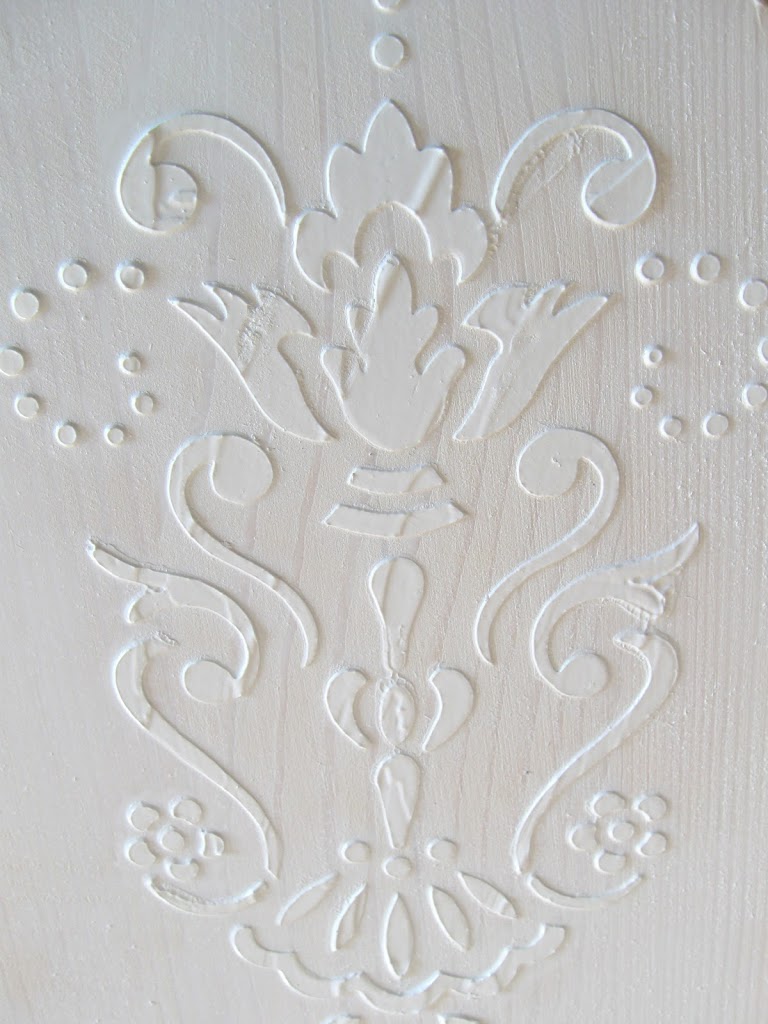
Here is a closer look at one of them.
Aren’t the birdies sweet?
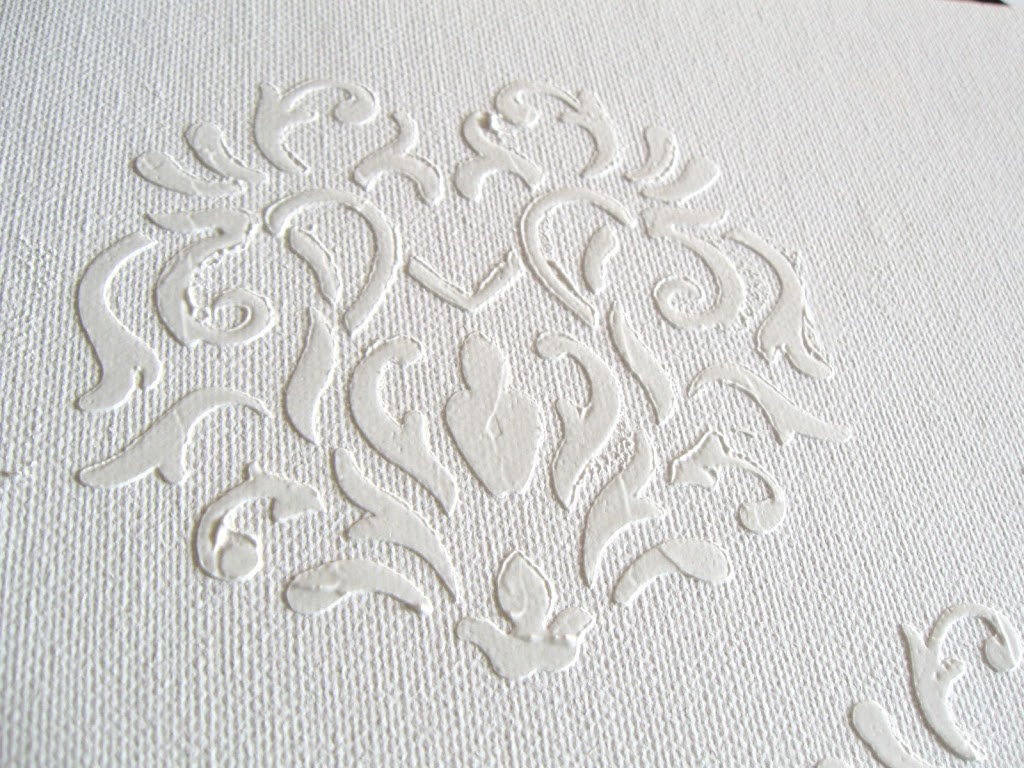
This one is on canvas…
This is on a wooden plaque
Embossed Venetian plaster has been around for a long time and it’s a common wall treatment in Italy and France. It is ideal if you have a wall with imperfections because the patterns hides them well (kinda like the rouging on a shirt…it hides all the love chunks on our motherly figures).
But today we are using it for a different purpose. You can do this on any hard surface and there are so many beautiful stencils out there that the possibilities are endless.
Here’s a quick look at how it’s done…
For my little project I used….
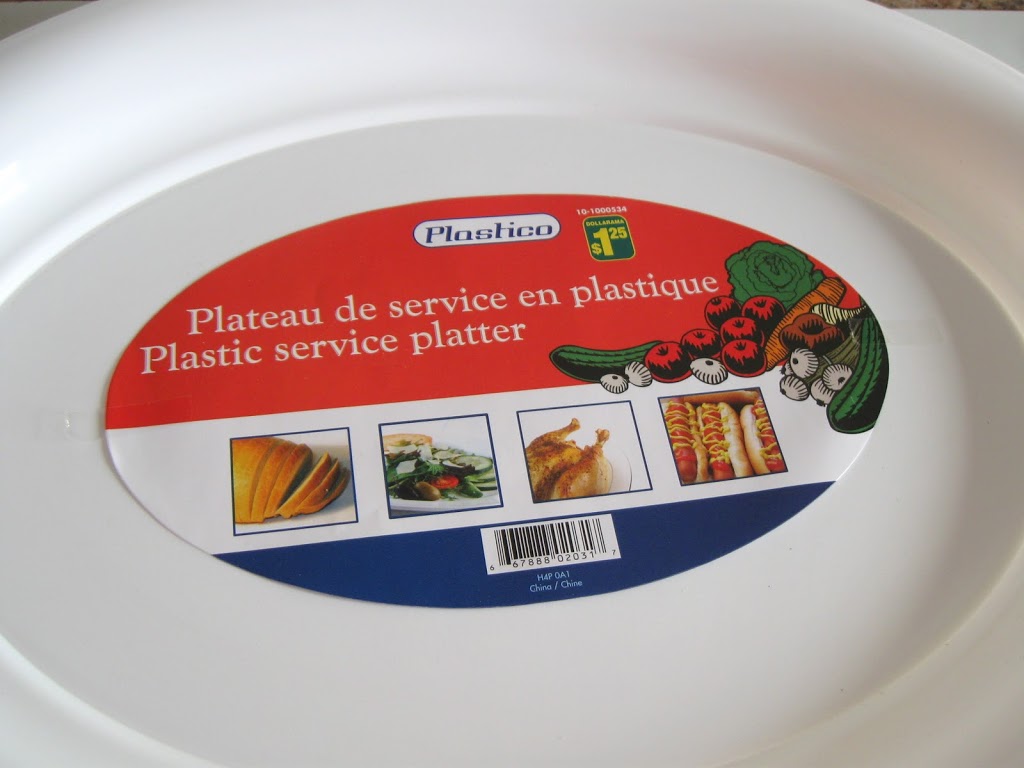
A plastic tray from the dollar store and two oval
wooden plaques from a previous project.
wooden plaques from a previous project.
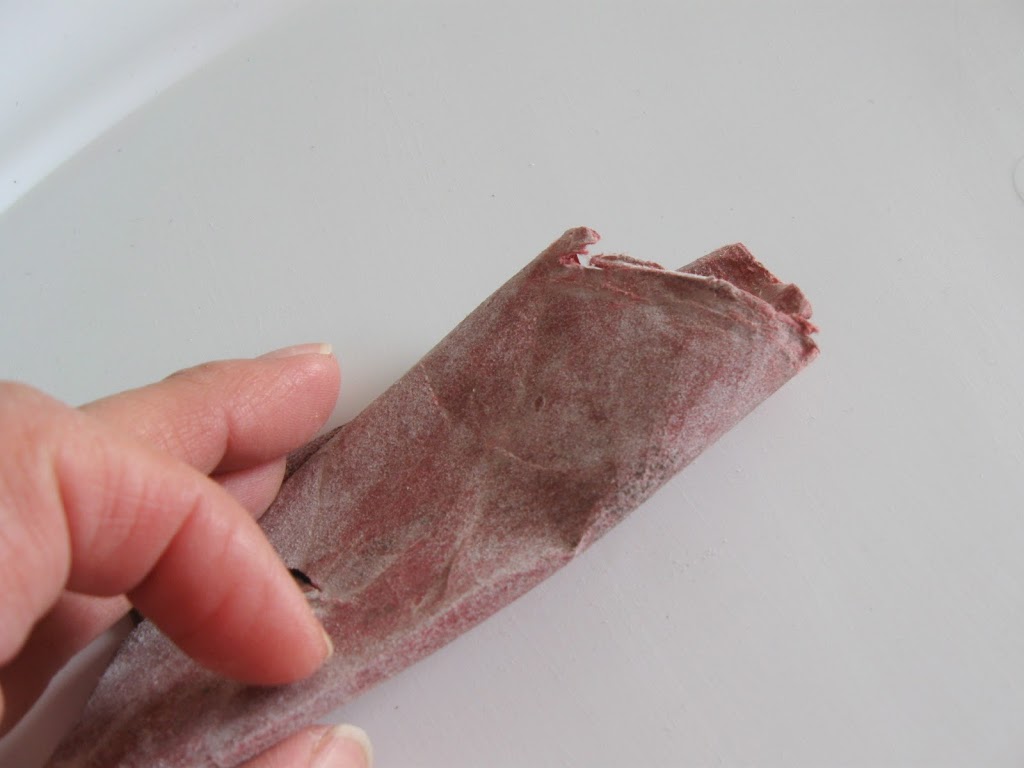
Prepare your surface.
Because I was using a plastic tray I had to
remove all the sheen and make the surface porous.
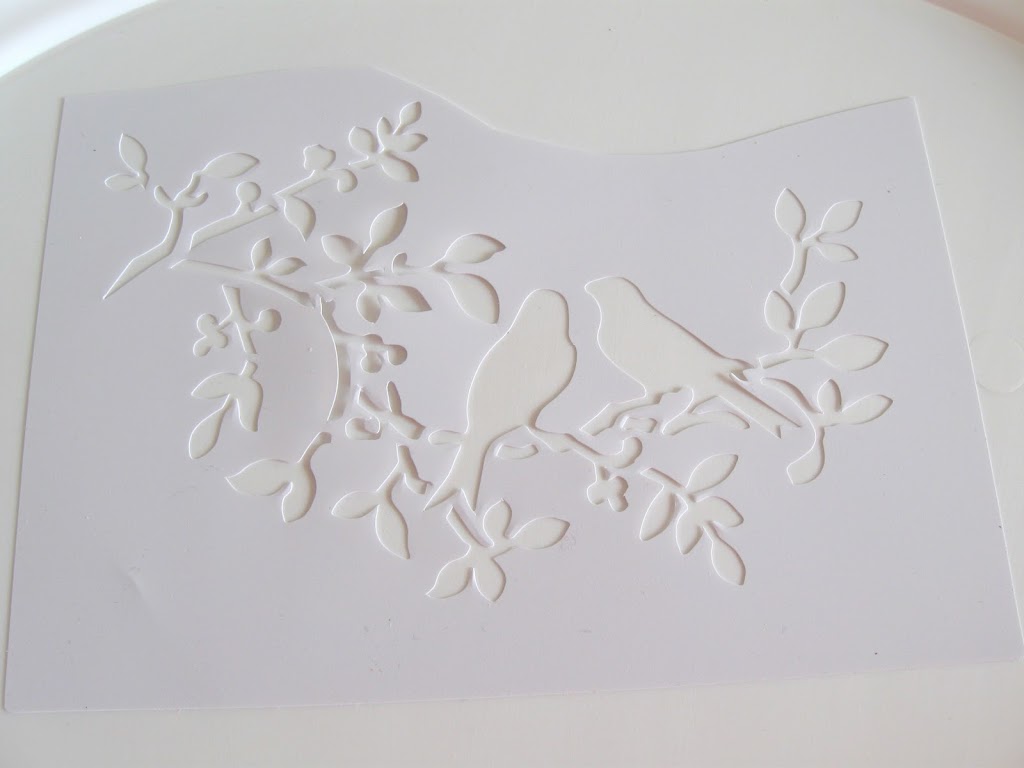
Choose your stencil.
This one is from the dollar store. I have seen many of
you make your own gorgeous stencils and there is a plethora
of stencils to choose from at craft stores and online shops.
Place and secure to the surface.
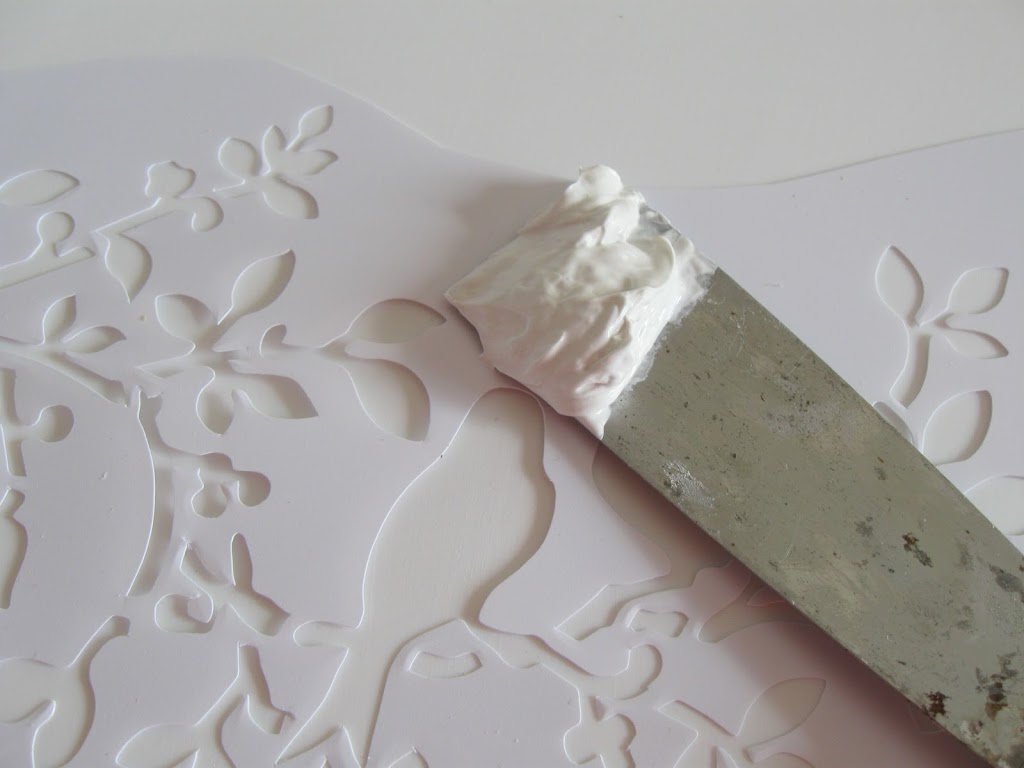
This is premixed wallboard joint compound.
There are several to choose from, but this is the
one I had at home and I like the consistency of it.
There are several to choose from, but this is the
one I had at home and I like the consistency of it.
Ensure the compound is smooth, without any ridges.
It does not have to be perfect as the imperfections
also add to the beauty of this project.
Gently remove stencil, and you have a 3D or embossed effect.
So pretty.
Once dried, I applied a coat of Mod Podge.
As the tray is plastic, I wanted to make sure it stayed put.
As the tray is plastic, I wanted to make sure it stayed put.
(I did not use Mod Podge on the wooden plaques)
For this particular project, I decided to spray paint.
You can use regular acrylic paint or even
wall paint. It is after all wall compound.
Here is one of the wooden plaques.
You can experiment in a small area with different effects.
Most of the time, Venetian plaster has a sheen or glossy glaze.
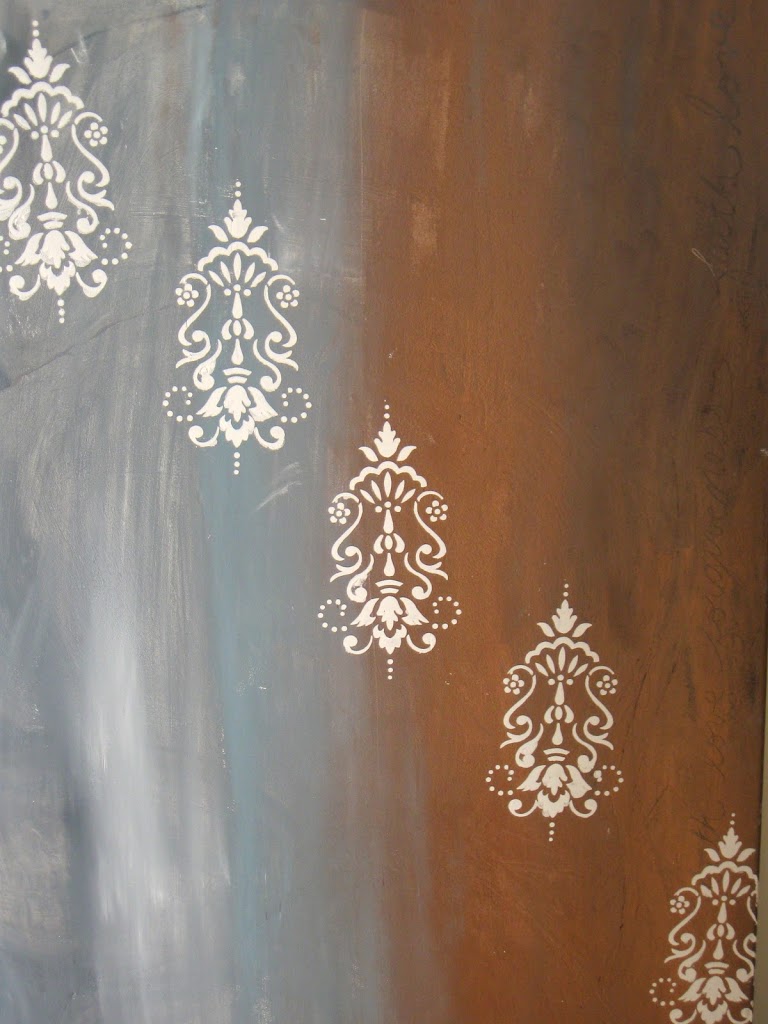
This is a painting I’m working on.
I will share the finished product in a few days.
One more look at the plaques.
Total cost: $3.00 (not incl the compound which was $5.35,
but I already had so we won’t count it in the total)
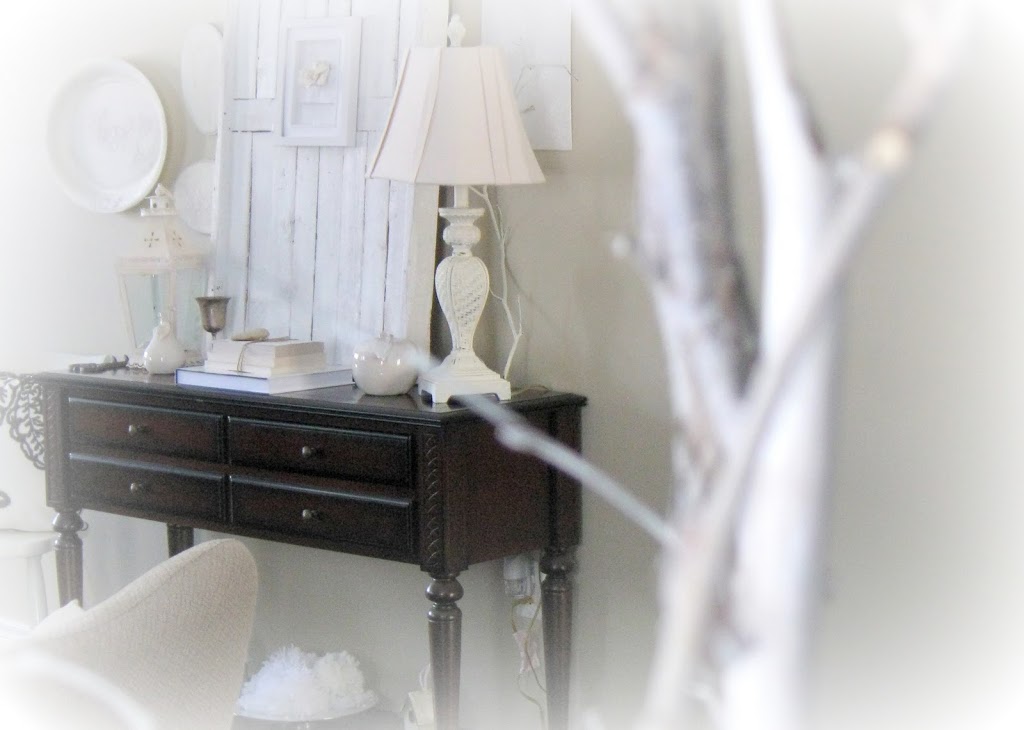
Here is the winter white vignette…
…and a little message for you to remember.
Laugh lots today!
much love,
Lucy


ps. What does this little cupcake have in common with Venetian plaster?
Stay tuned…












Wow, I have never heard of such a thing. It’s beautiful! Thanks for sharing =)
Lucy- I swear you are one of the cleverest people I have ever met. I love that you do so many different things..and you are good at all of them….it’s kind of disgusting actually!;>) okay..you DO know I’m kidding about the disgusting part, right? Hugs- Diana
Those are So Beautiful (and look so easy!!!) Keep sharing all these wonderful ideas, I love em 🙂
Simply gorgeous !
That is so pretty! Is there anything you can’t do with Mod Podge? 🙂
Oh I am imagining a room filled with the bird stencil plaster all over the walls! It would take forever but wouldn’t that be beautiful!
Would plaster be what the cupcakes have in common?
bee blessed
mary
This is such a gorgeous project!! I’m going to do this in a large stencil on a wall. I think it’s such a beautiful effect!! Thank you so much for sharing it! Vanna
That is a great result! Thanks for showing us how you did it!
Wow! Great job! I may have to try this out!
Gorgeous, Lucy! I have seen this before but it’s been a while. Thank you for sharing; yours turned out beautifully!
Blessings,
Sandi
Your projects turned out fabulous. I have used this technique with a similar product. It came in a tube and was colored. We used the venetian plaster to do some things on a fireplace and it turned out just wonderful. I will definitely have to try this technique with the plaster, it is definitely less expensive than what I had used 🙂 Thanks for the tips.
Have a wonderful weekend.
This is so clever! Joint compound?!? Seriously?!?! I LOVE the look of it.
Cool! I linked up at the Dollar Store Crafts FB page today. http://www.facebook.com/dollarstorecrafts
Thank you for sharing this! I need to cover some wall imperfections.
New follower from Thrifty Thursday.
So happy to find your awesome blog!
Freebies 4 Moms
http://casinofreebies3.blogspot.com
That is SO gorgeous
and BRILLIANT
I must must must DO
xoxo
bB
Very Nice Lucy! I can’t wait to try this. Thank you for sharing.
This is such a great idea! I would like to see your venetian plaster cupcakes too! 🙂
Please come join us at the Project Party here: http://www.bubblynaturecreations.com/2011/02/project-party-weekend-make-your-blog.html
Hello! I am visiting from the link party at My Romantic Home. Your post really caught my eye, because I just used this same technique for a border in my bedroom. If you would like, stop by and take a look!
Thanks for the tutorial. You make it look so easy. I’ll have to try this. 🙂
If you have not added this to the DIY Club party-you should. The Feb party end tomorrow
Cheri
what a really cool technique… I have never seen this done, but I definitely might have to try this – it looks really cool.
jenn – greendoordesigns.blogspot.com
Very pretty! We had a flower shop tenant that did this on her walls to make a border. Great idea to frame them.
Dropping by from How To’s Day. Hope you’ll come see the informal picture wall I did for DD2.
Allison
Atticmag
This is so darn pretty! What a great idea.
Holly
504 Main
This is gorgeous & ingenious! Thanks for sharing.
-caroline
http://cwfrosting.blogspot.com
very neat, thanks!
Oh my! –Let me catch my breath here! I am heading STRAIGHT to the dollar store and making some of these beautiful trays!
So fun! My head is swirling with the possibilities- thanks!
wow- that whole vignette is just beautiful and soft. the venetian plaster is gorgeous! what a great idea! i am so surprised at how quick the process is!
This is beautiful!! I’ve been playing a lot with the Venetian plaster technique and I love the idea of using stencils. Thanks!
This comment has been removed by the author.
Tengo la plantilla de los pájaros y estoy haciendo un conjunto de cojín y caja en la que he aplicado la técnica que usted ha hecho aquí.
En breve lo publicaré en mi blog.
Muchas gracias por compartirlo
I have been looking for a way to restore my kitchen table this looks like something I’d like to try.
This is great…..I did the same thing many years ago on a wall behind the bed. I didn’t have a headboard……so I designed one from wrought iron fence stencil I mixed in some black paint……and when the project was dry, I made a faux patina on with a bit of gold leaf!
I have been doing this for several years. So much fun! On candles, boarder on the walls in two rooms. I even did a great design on my kitchen cabinets and drawers. It has held up for over 13 years!
Really pretty idea! You could also tint the plaster or the Modge Podge before using it if you wanted to have a different effect 🙂
It looks great! How did you get it smooth without it getting under the stencil? When you lifted the stencil how did it stay smooth? How did you keep such definde lines? Didn’t the plaster come up along the sides
Es improbable encontrar a escritores con conocimientos sobre este tema , pero creo que sabes de lo que estás comentando. Gracias compartir información como este.
So awesome, so pretty. Thanks for sharing your talents.
It could be tricky getting stencil off without making a mess. Do you have a special technique to do that without making a mess to the pattern?
Many people know, but if I can tell you in general. http://xn--oi2ba146a24mbtbtvt.vom77.com