 Hello friends. I hope you had a great weekend. After a long creative hiatus, I think I’m finally starting to feel creativity flowing through my blood again.I think it has a lot to do with the beautiful sunshine that has been spilling through our windows. There is nothing like sunshine to help you beat the winter blues.You might have also noticed that I’m sporting a brand new layout and look. YES! I took the plunge and finally got the courage to change over to WordPress. It was fairly painless, mainly because I had the help of my good friend Shannon. She has been extremely helpful with everything and I am so grateful. The changeover was done by Andrew from WePwn hosting. To say that he has been helpful through the transition is an understatement. He is also offering 50% OFF to any new customers. Isn’t that amazing?
Lastly, I have joined the twentieth century and now have a working mailing list. Yep, I’m fancy like that. I have had several of you inquire about wanting to be added to a mailing list and well, now you can. You can choose a daily email or a weekly email or both.:)
 But let’s get to the good crafty goodness. Shall we?
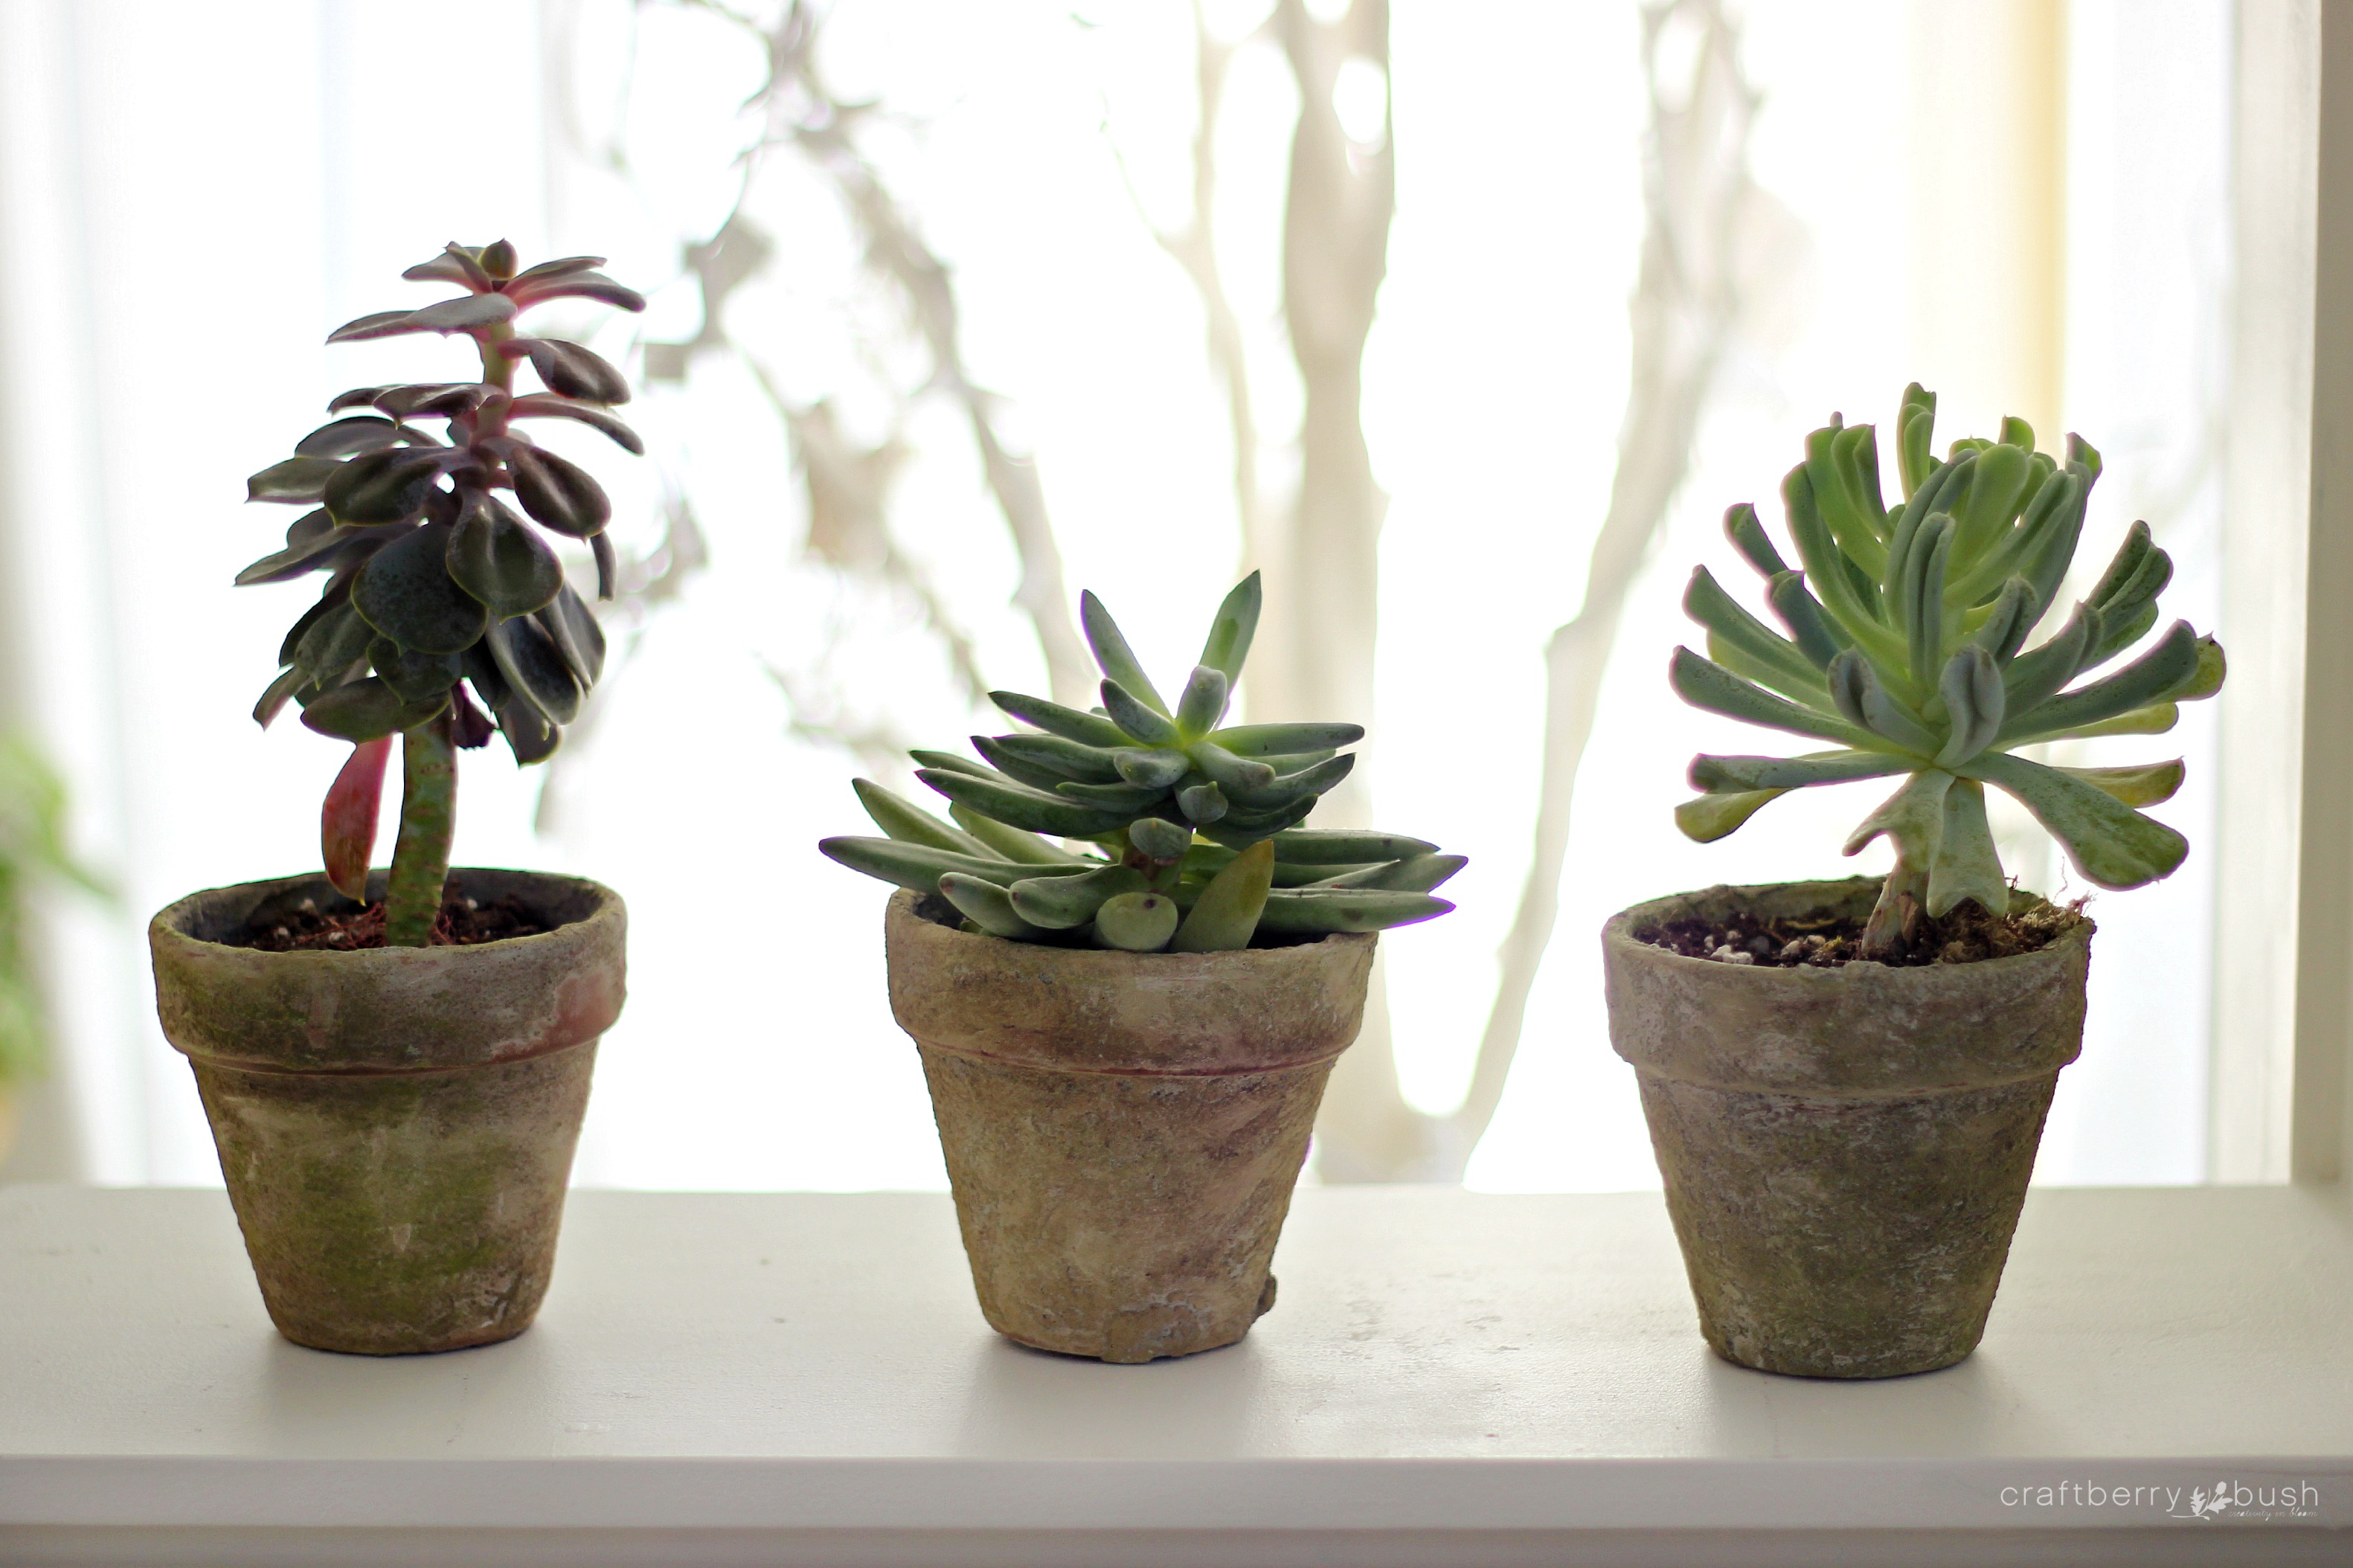 Last week I visited a local nursery and noticed some gorgeous old looking terracotta pots in display. The name on the display said: Antique French Pots and they only cost $12.99 each. Umm…? These were small pots and my DIY heart rarely feels right paying that much for something I know I could probably do myself for way less. So I examined them closely to see if I could mimic the look myself and this is what I ended up with.
Antique terracotta pot DIY
Materials:
Plaster of Paris
Black, Brown and Green Paint
Popsicle stics
Sand
Dirt (optional)
Old tray or disposable plate
Chalk pastels
Sealant
Terracotta pots
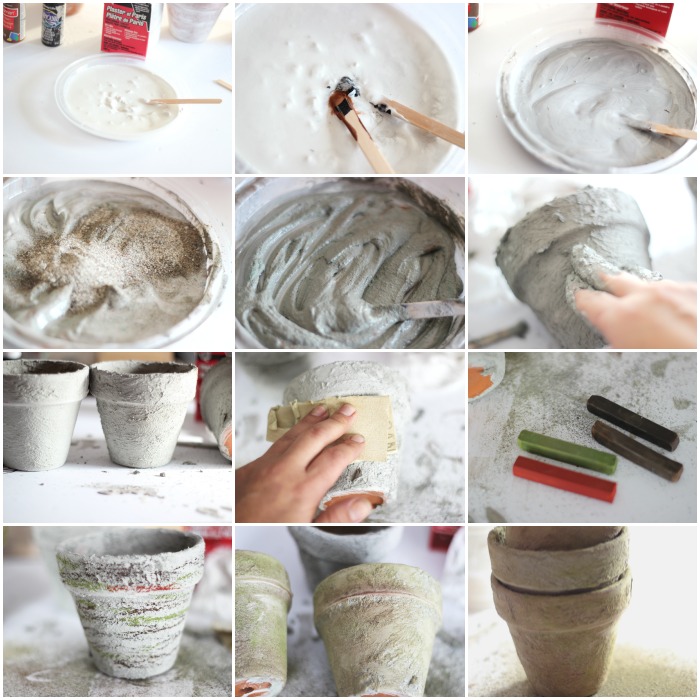 1. Mix plaster of paris as per package instructions
2. Add brown,black and green paint to tint the plaster to the desired color. Please note that the plaster will dry much lighter.
3. Mix thoroughly until desired shade is acquired. I used 1:2:2 (black,brown,green)
4. Add some sand to the mixture. The amount of sand you use will determine how much texture your pots will have.
5. With you hands generously apply a coat of the mixture all over the pot. Including half way up inside the pot.
6.Allow to dry.
7. If you wish, you can sand off some of the texture and expose some of the original terracotta.
8.Take some chalk pastels and randomly draw onto the pot.
9. Spread chalk around the pot and continue adding chalk if needed.
10.OPTIONAL: At this point you can even add a little bit of real dirt to the pot to give it the perfect patina.
11. Spray with sealant .
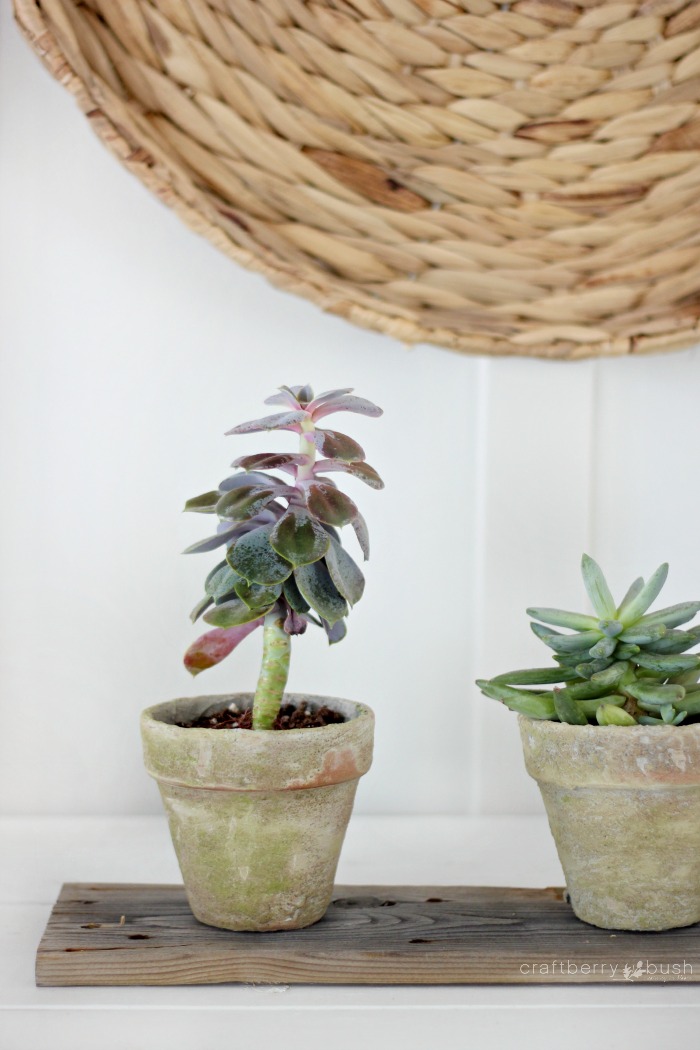
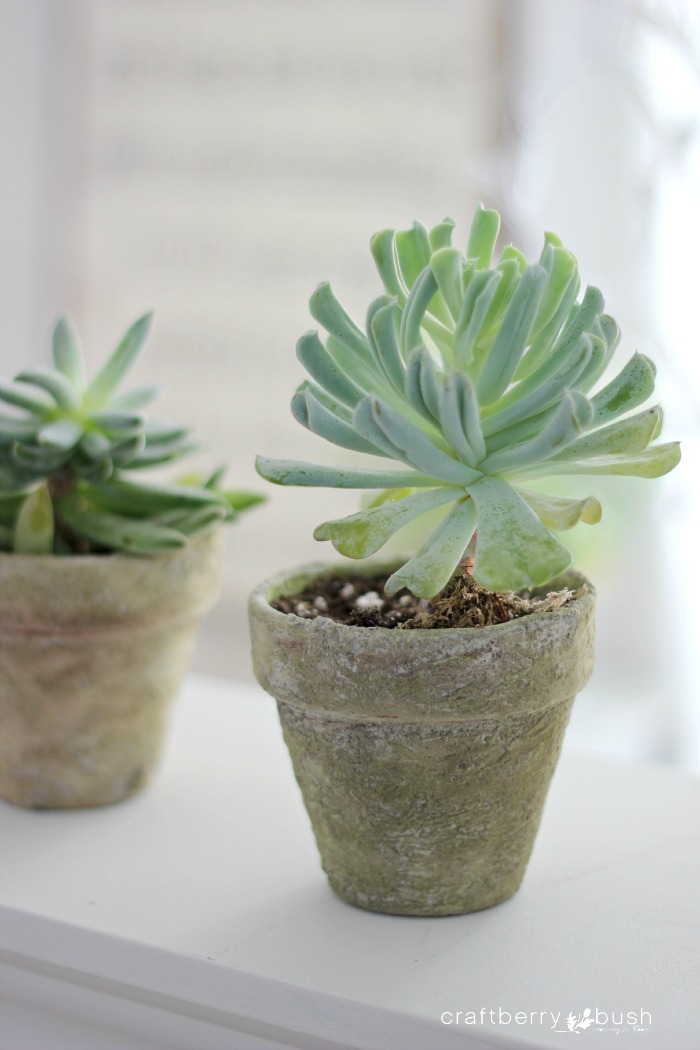 I love how they turned out and how they resemble those antique French terracotta pots.

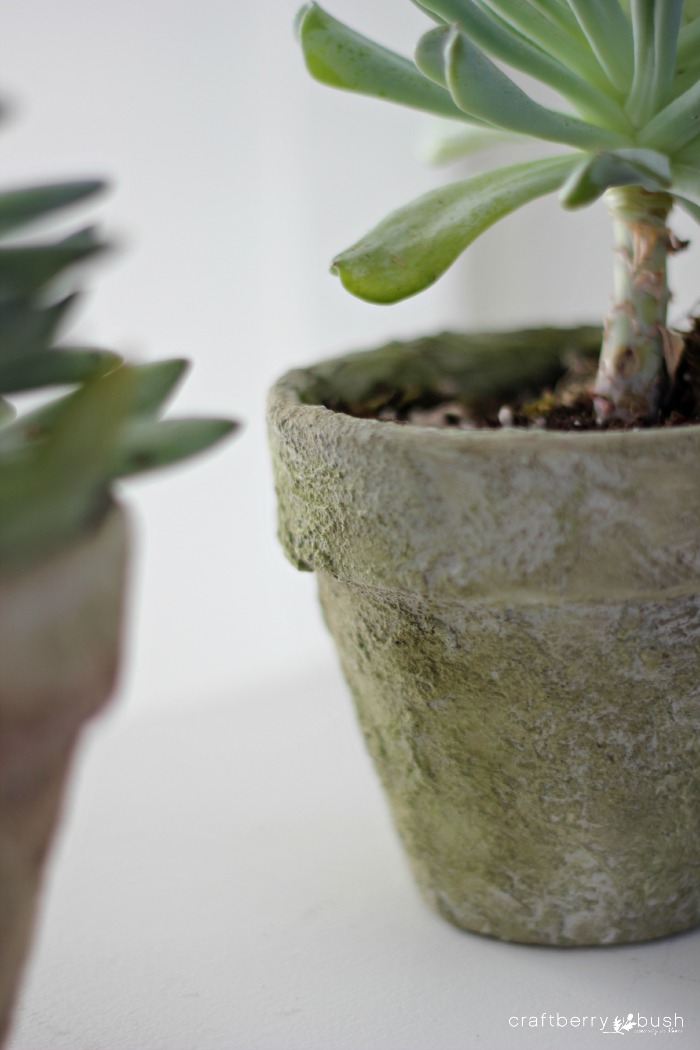
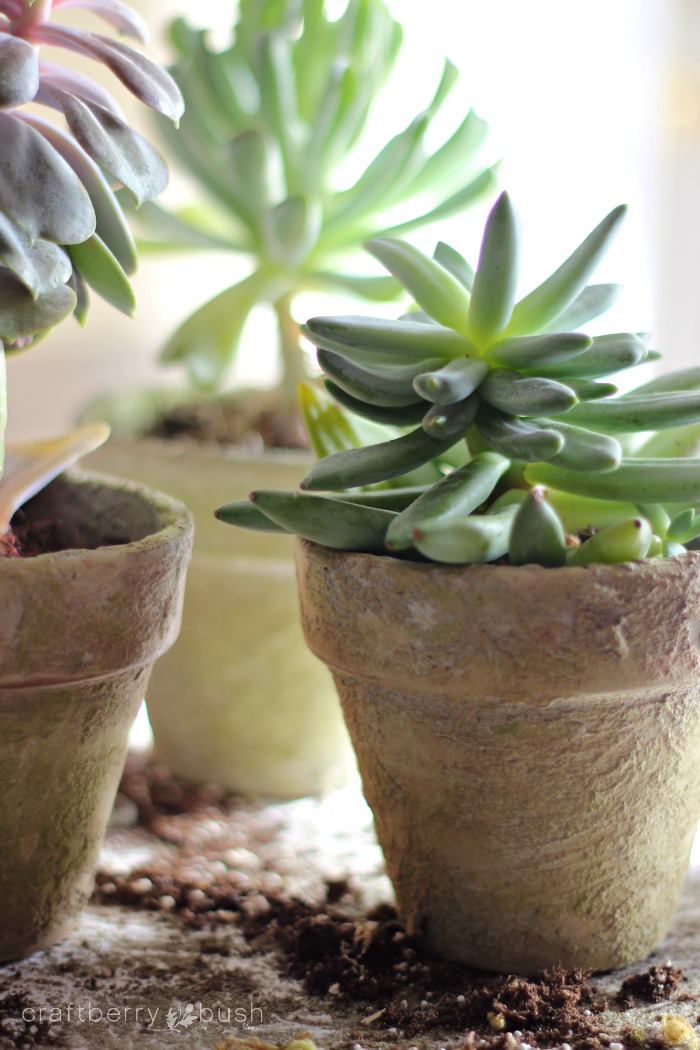
The texture is so rich that it’s hard to imagine that this pot started as 50 cent terracotta pot.
Here is a close up so you can see. Don’t they look like they’ve been collecting that patina for years?
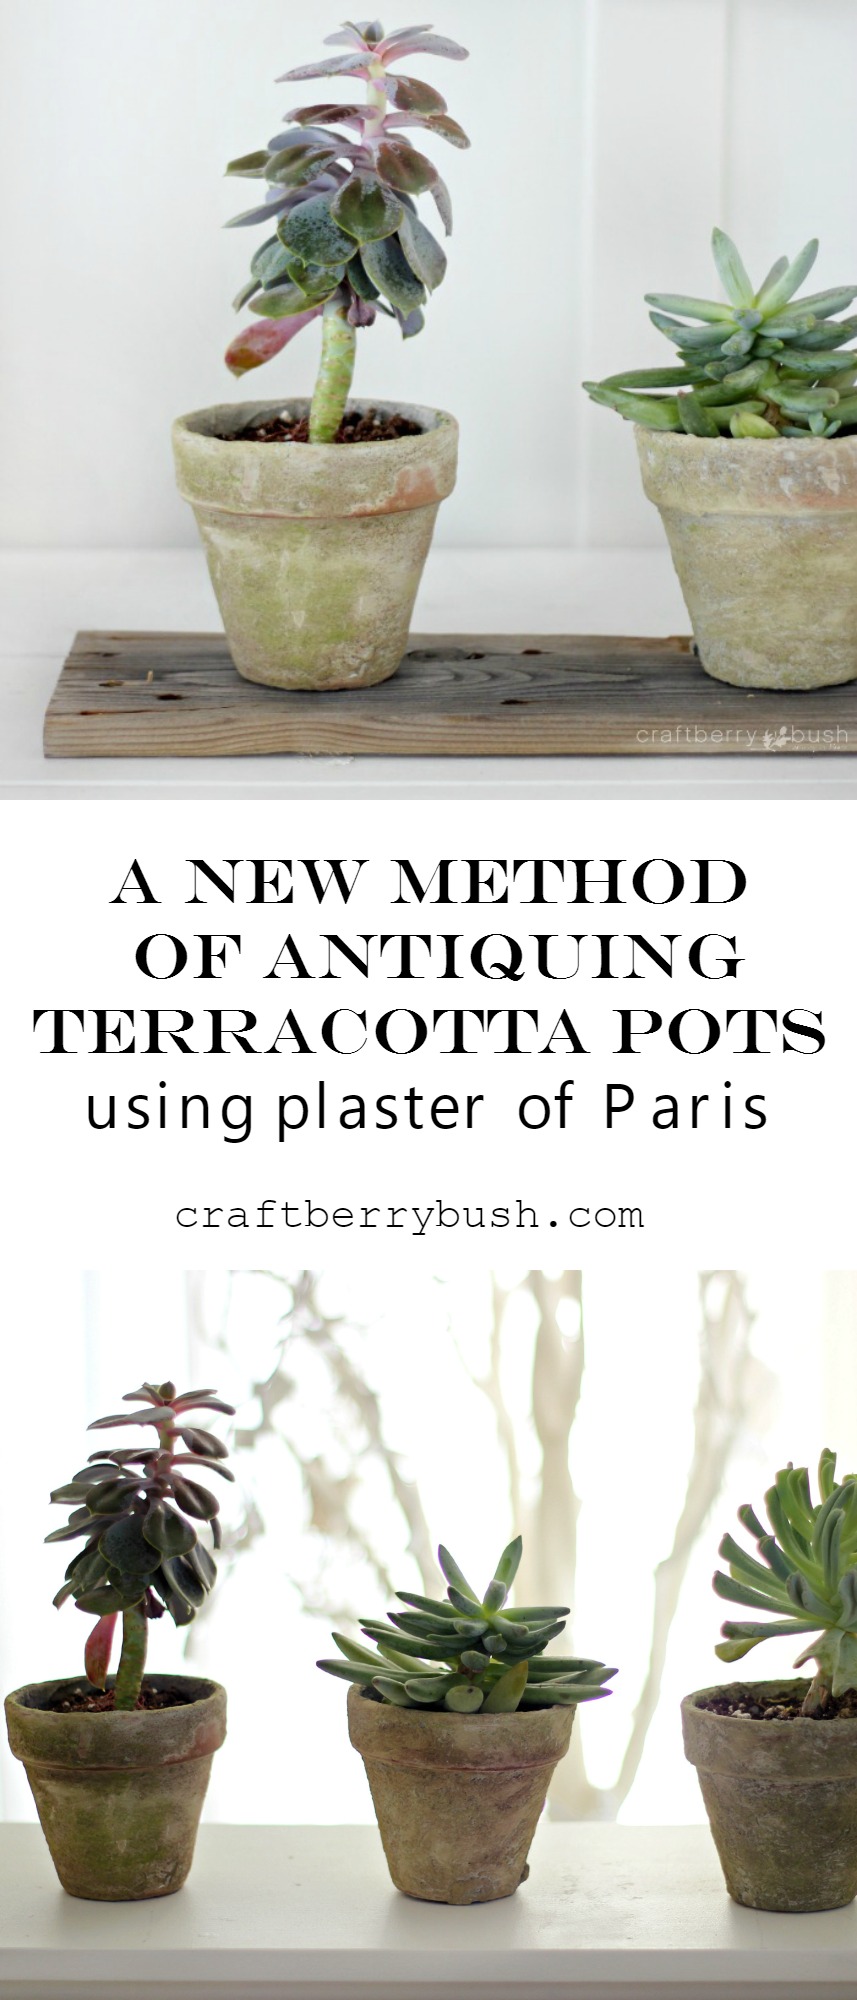
 Well there you go, the fruit of my creative labour…ha.
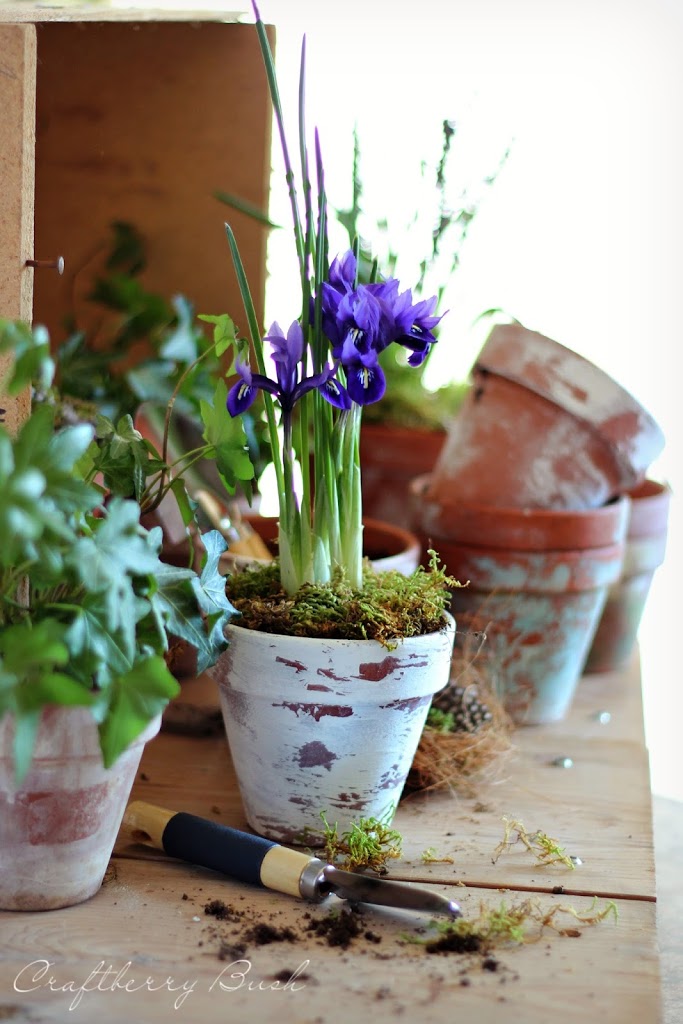
I have used other methods which you can find here :Three methods to age a terracotta pot
 Before I go, do you follow me on Instagram?
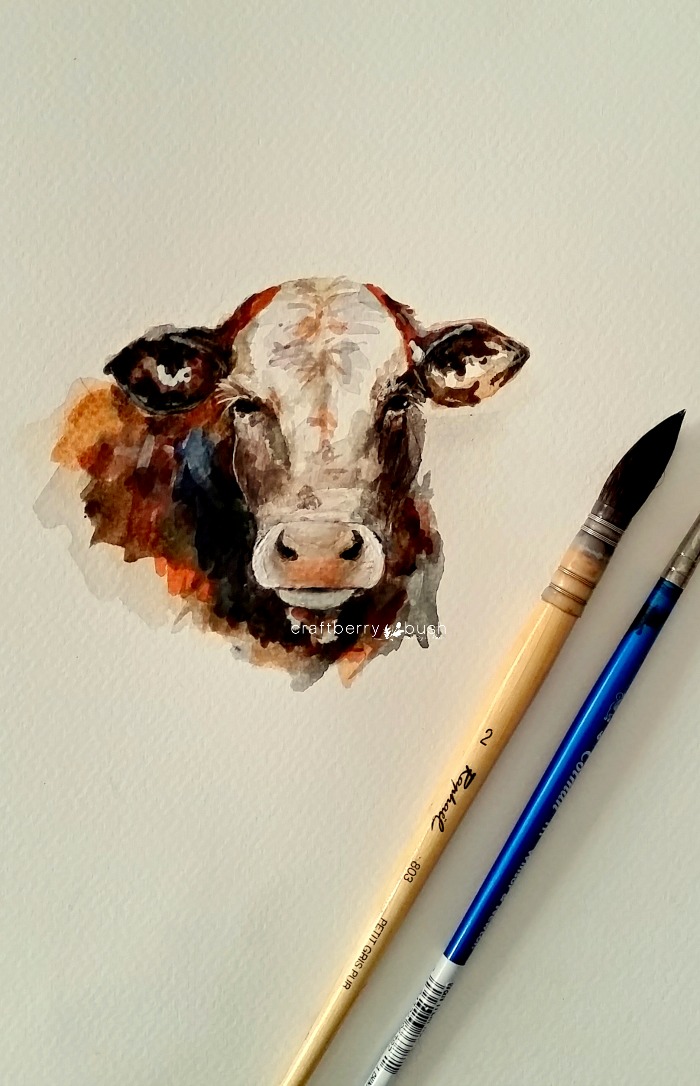
This weekend I shared some fun watercolors that are coming to my shop and a sneak peak to an upcoming post.
It’s a fun way to keep in touch and see what I’m up to.
Thank you so much for dropping by today. See you soon.xo
much love,


LOVE these, Lucy! x
Thank you D…they look so neat in person…:) I want to do it to every pot I own..ha. xo
How cute and crafty. OMG I just did a watercolor just like yours in a cow!!
Thank you Dawn. I can’t wait to see your cow. xo
Great easy to follow tutorial. Great look, I think this would be great for some garden statuary! Well done, thank you!
That is a brilliant idea..now I need to go find some inexpensive statues .
Dear Lucy,
Thank you for this tutorial. I have a terracotta pot that I want to
age before replanting my aloe plant. This post came in the knick
of time. I agree with your sunshine sentiment on a winter day.
I love these pots!! I have to try my hand at them. Your blog is simply beautiful. I adore everything you do. Thank you for inspiring me with each and every post!!
What a great idea! Thanks for the inspiration. These pots look great.
Cleaning company Chelsea
Genius! Any thoughts on if these are ok for outdoor use? Perhaps use exterior rated paint ?
I’m really excited to try these! Thanks so much.
What kind of sealant spray did you use?
These are beautiful! I’ve made them twice and they turned out pretty good! Not as good as yours though lol! The hard part is getting the plaster onto the pots before it dries. It dries FAST so I have to work at lightening speed. Maybe next time I’ll add more water than what the instructions call for 🙂 Anyway, thanks for the great tutorial!
Make sure you’re using cold water: this slows the drying process. Warm water speeds it up. Adding more water could work, just don’t add too much or you’ll compromise the integrity of the plaster. Also, try working in segments, just make sure you spray the previous plaster with some water before adding the new plaster. This helps the new plaster integrate with the dry plaster. Just some thoughts from an artist who frequently works in plaster. Good luck!
I agree, these are gorgeous. I’m an artist who often works in plaster. Just a question: have you had any problem with the plaster sticking to the terra cotta long-term? When adding new plaster to dry plaster, the dry plaster needs to be wet down. Do you recommend wetting the pots first or hasn’t it been a problem? Thanks for a beautiful website and wonderful inspiration.
Do you think this technique would work on some cheap plastic pots (the ones made to look like they are terracotta)?
I can think of 1 or 2 lying around that I would love to change!
What color chalk pastels did you use? Love this look!!!!