Hello friends! I hope you’re enjoying your week so far.
I think it’s fair to say the blog world has moved into
Christmas mode, and it’s no different at our house.
As I prepare our home to welcome the holidays, there is no doubt
I will be resorting to handmade as having to purchase
new items every year to change your decor can be very pricey.
I think it’s fair to say the blog world has moved into
Christmas mode, and it’s no different at our house.
As I prepare our home to welcome the holidays, there is no doubt
I will be resorting to handmade as having to purchase
new items every year to change your decor can be very pricey.
One of the easiest ways to change your decor without having
to spend too much is displaying beautifully wrapped presents under
your tree, or setting them in various places as part of vignettes.
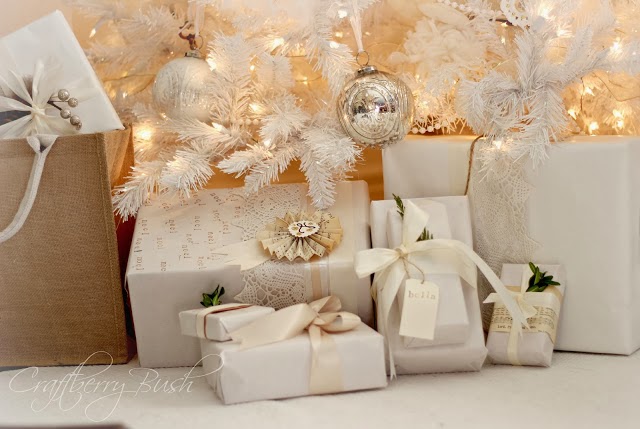
This is a photo of our white Christmas tree from last year.
to spend too much is displaying beautifully wrapped presents under
your tree, or setting them in various places as part of vignettes.
This is a photo of our white Christmas tree from last year.
There are no real limitations to what you can do in terms of colours or theme
with gift wrap. If you have been following my blog, you likely know
that I love working with paper and making paper flowers is a favourite of mine.
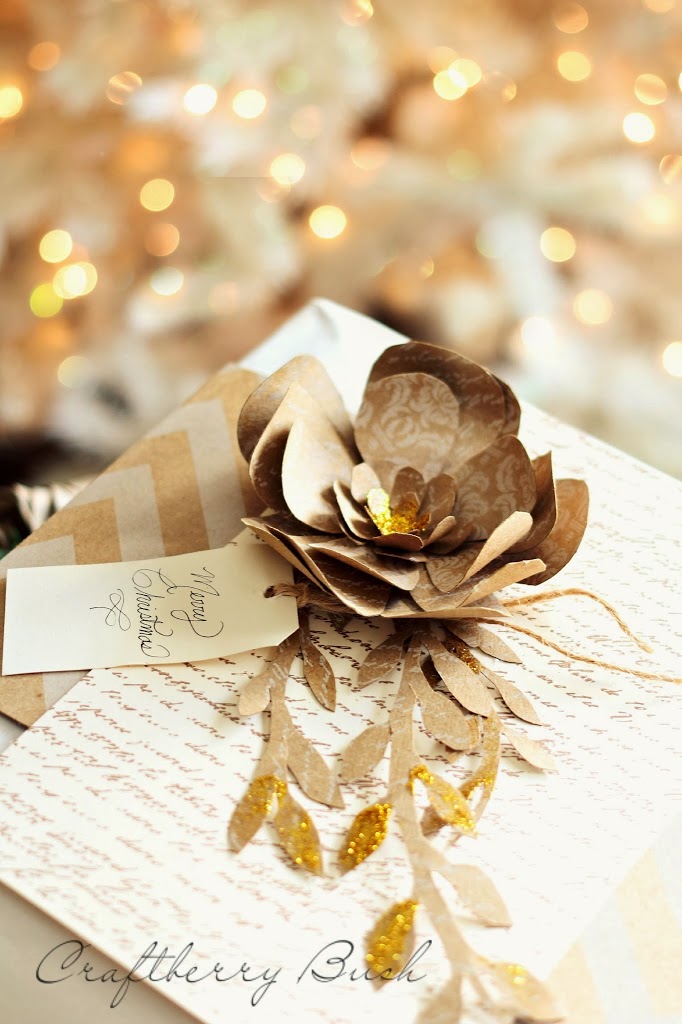
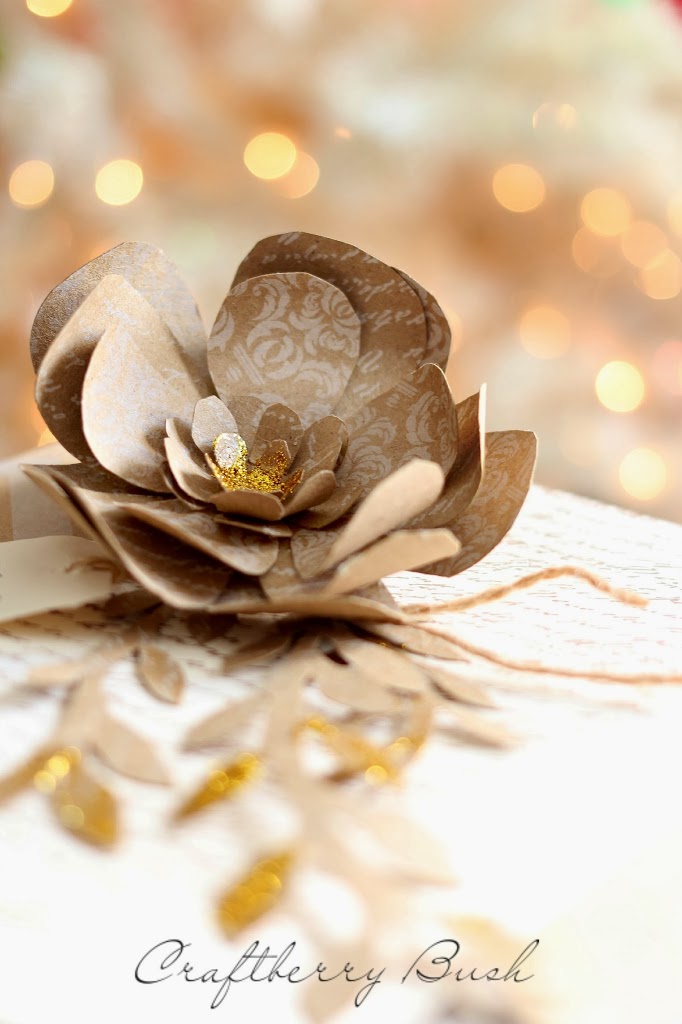
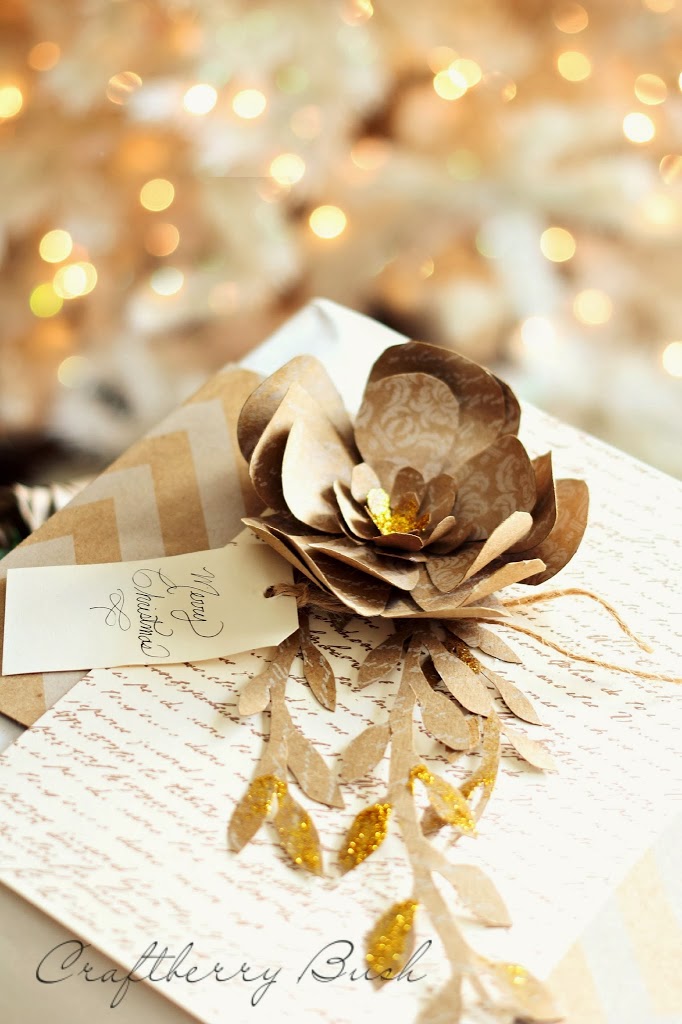
As I prepare for Christmas, I made this pretty and easy paper flower and
put together a little tutorial in case you wanted to make one of your own.
with gift wrap. If you have been following my blog, you likely know
that I love working with paper and making paper flowers is a favourite of mine.
As I prepare for Christmas, I made this pretty and easy paper flower and
put together a little tutorial in case you wanted to make one of your own.
Here is what you will need:
Thick cardstock paper
Gold and Kraft Damask and Gold and Kraft French Script by Canvas Corp.
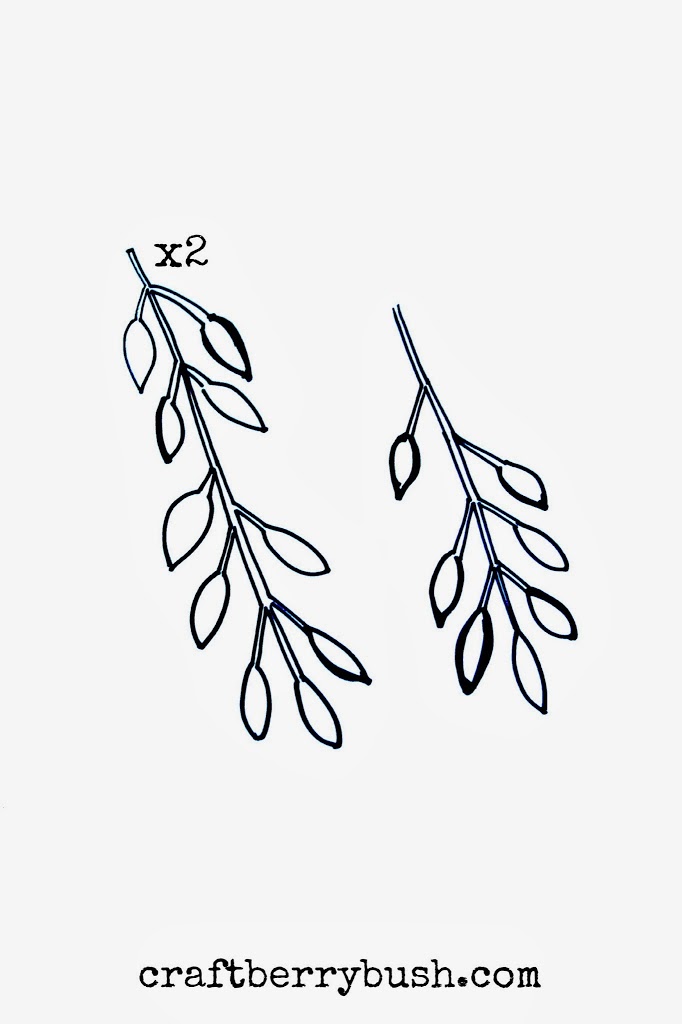
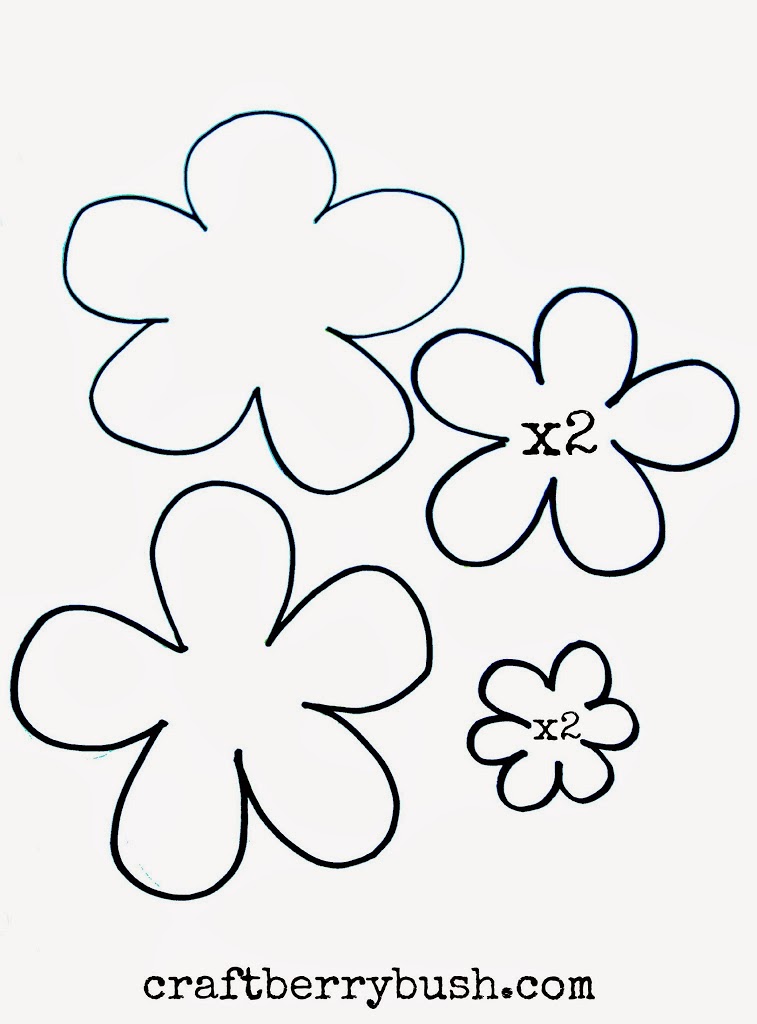
Templates
Scissors
Glue
Hot Glue
Gold glitter (optional)
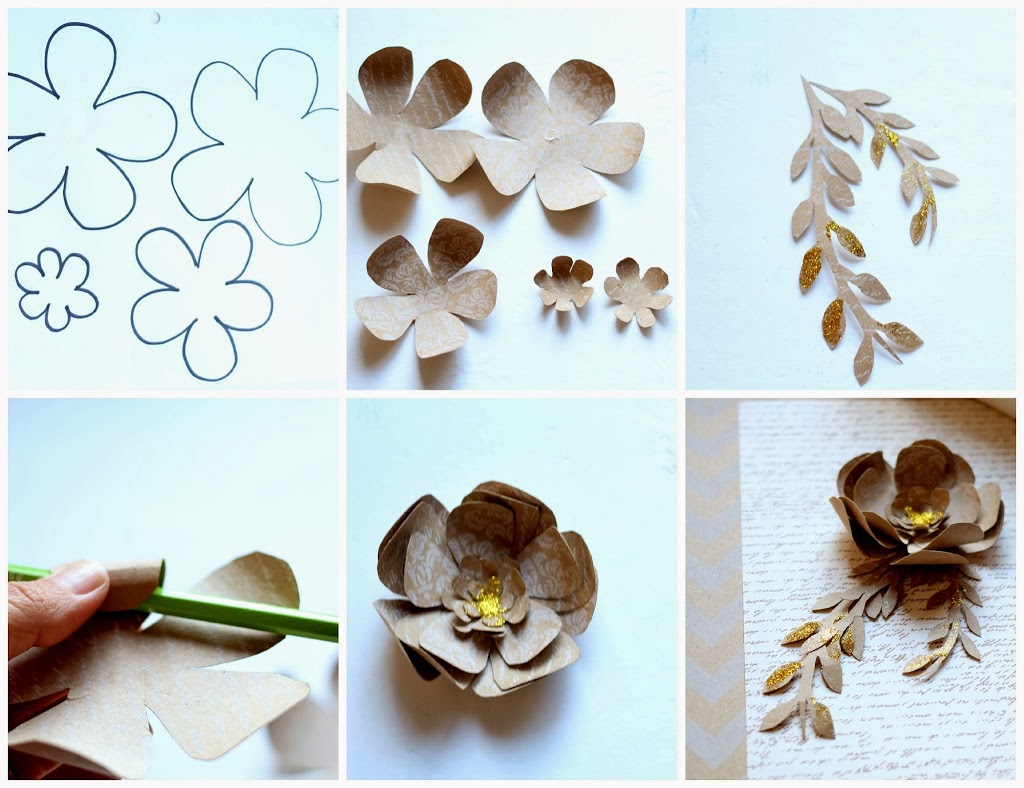
1. Click on template below (right click, save to computer and print)
2. Cut out flowers and boxwood out of thick cardstock paper
3. Add glitter to boxwood
4. Wrap petals around pencil to curl in
5. Hot glue the centre of the flowers from largest to smallest
6. Add glitter to centre of flower if desired
7. Hot glue flower and boxwood onto gift
Click on image to enlarge; right click and save to your computer.
Such a pretty and easy way to dress
up a simple present, don’t you think?
up a simple present, don’t you think?
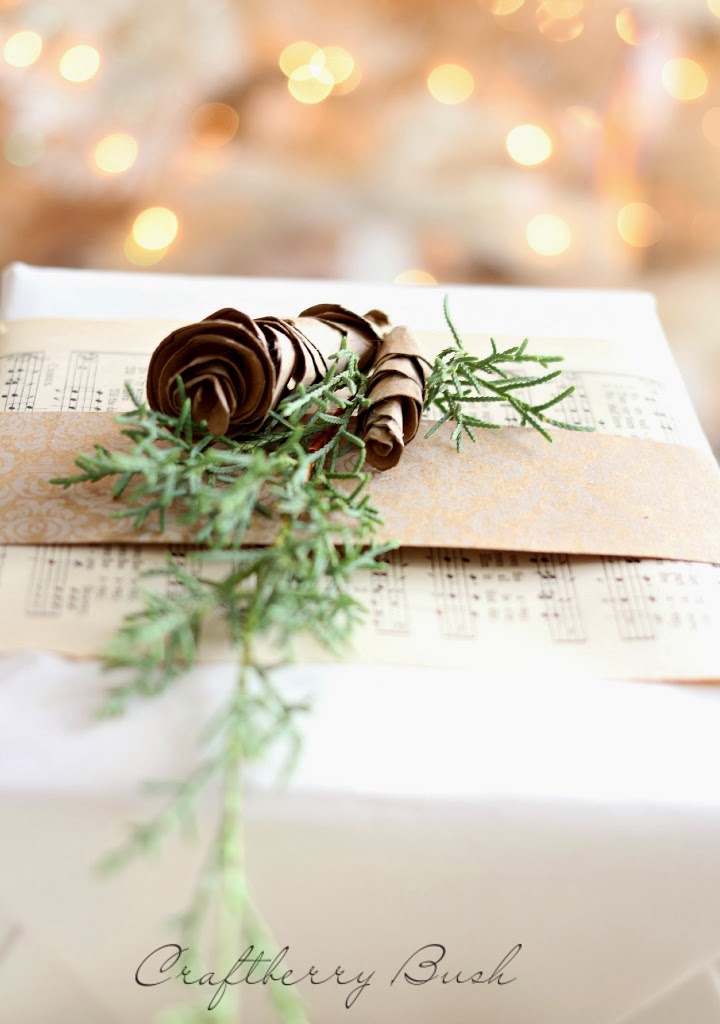
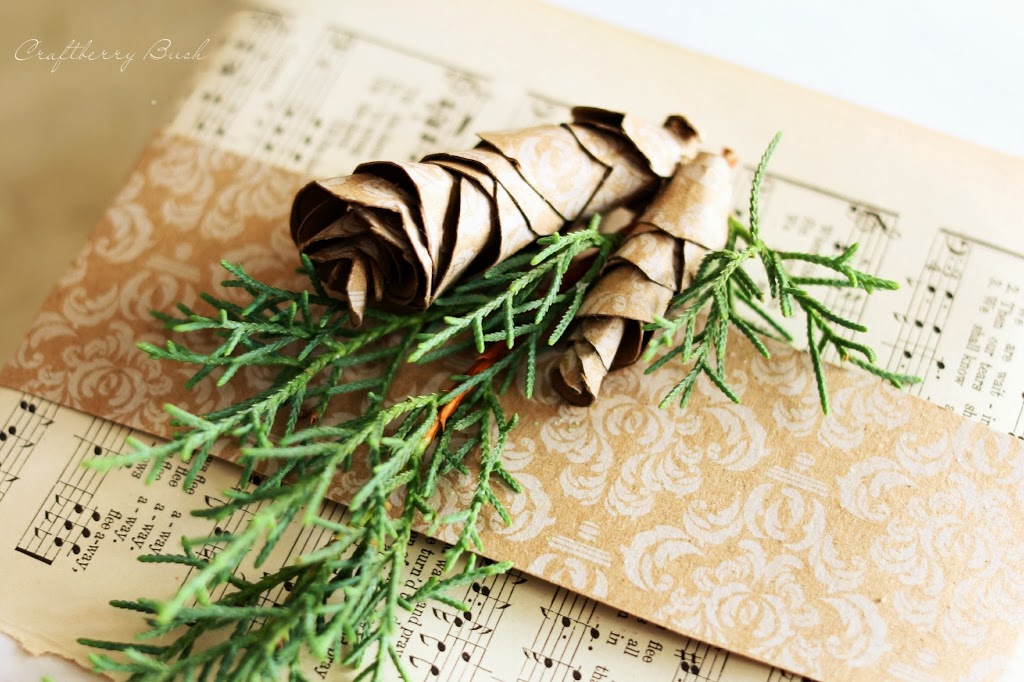
I also made some cute paper pine cones…
I’m working on a template for you and hope to have it ready for you tomorrow.
Until then, you can check out other gift wrap ideas by visiting the Canvas Corp blog
Happy crafting.
Happy crafting.
much love,
Don’t miss a thing ! Keep in touch with me via:



What a stunning presentation! Thanks for sharing the tutorial! Pinned 😉
It’s a beautiful flower and lovely “ambiance” , I like it , thanks’ for “tuto” (sorry i don’t speak English) Oups !!!!
Amitié also Pin it 🙂
Thanks for sharing the tutorial! Pinned 😉
Those are so beautiful, what a nice presentation
Gorgeous! I’d have to save the wrap on this one for sure.
Hugs,
Patti
love!
love!
Muy buen tutorial, me encanta la buena y bonita presentación de los regalos. Gracias por compartir.
Abrazos.
These are BEAUTIFUL. I cannot wait to see how you make the pine cones!
– Tasha @ Designer Trapped in a Lawyer’s Body
So pretty! What a great idea.
Just wanted to say THANK YOU !! for sharing your lovely ideas with us!! I love visiting your blog very much
Evelyn from Arizona
Lucy, these are beautiful! I love the simplicity and rustic feel. Thanks for sharing!
You seriously have the best stuff!! You need your own book or TV show or something! I’m going share this on my FB page 😉
Hugs,
Jamie @ somuchbetterwithage.com
I love these but I’m confused. If you use the decorative paper, why do you need the heavy card stock? I know the directions say to cut the shapes out of the heavy card stock, but the pics show the decorative paper. Can you clarify for this confused lady??
imagine picture,like that.Celebrate Christmas with a beautiful bouquet of festive flowers! Our decorative centerpieces perfectly express the holiday season, and make a cheerful addition to any home – especially when guests are expected! Send a live plant for a beautiful, memorable gift that will last far beyond the season, or try a gift basket full of gourmet treats to make a festive Christmas!
Please enter my subscription bebekennedy30@gmail.com .
Please enter my subscription bebekennedy30@gmail.com .
These are gorgeous and would definitely make me smile if my gift was decorated with one. It’s the details I love so much!
This rare, fall blooming farinaceous plant is additional ordinarily known as the Saffron Bulb or Saffron Crocus! It begins blooming in Gregorian calendar month and continues through October! The purple flowers have deep purple veining! It’s orange-red stigmas square measure the supply of saffron, the worlds costliest spice! Plant fully sun or partial shade and well-drained soil. It grows 3-5in. tall. Hardy in Zones 5-9. In cooler regions the saffron may be full-grown in containers. you’ll be able to harvest the saffron once the flowers square measure blooming. Hit’s is one amongst the few corporations that supply this rare bulb to the agriculture public.
Wedding Flowers
I cut the flower and leaf pattern out of Christmas fabric; stiffened the fabric and glued it all together! It turned out fantastic! Thank you for posting this pattern.
There are lots of DIY ideas which you could use
on those colorless cabinets in your kitchen to bring
back that sparkle. Four Dinner Plates one of each pattern: Leaves, Letters, Links and Circuit.
Many units are designed with that in mind,
but they can still be used free-standing.
You’re so awesome! I do not think I’ve read anything like this before.
So good to discover somebody with some original thoughts on this
subject. Really.. thank you for starting this up.
This site is something that is needed on the web, someone with
a little originality!
Right now it appears like Drupal is the best blogging platform
available right now. (from what I’ve read) Is that what you are using
on your blog?
The weight of an iron can depends on a variety of factors, including Dimensions (length, width, thickness of walls) and type of alloy or material
used in its production. To calculate the weight of the وزن قوطی 20×20 iron can, you can use the following formula:
1. Formula for calculating the weight of the iron can (profile)
The weight of the profile or can is calculated using the following formula:
Can weight
=
Iron density
×
Can size
Can weight=iron density×can volume
The density of iron is usually about 7.85 grams per cubic centimeter.
The volume of the can is equal to the surface area times its length.